MAJOR ASSIGNMENT 1 - lined paper project
1 Drawing
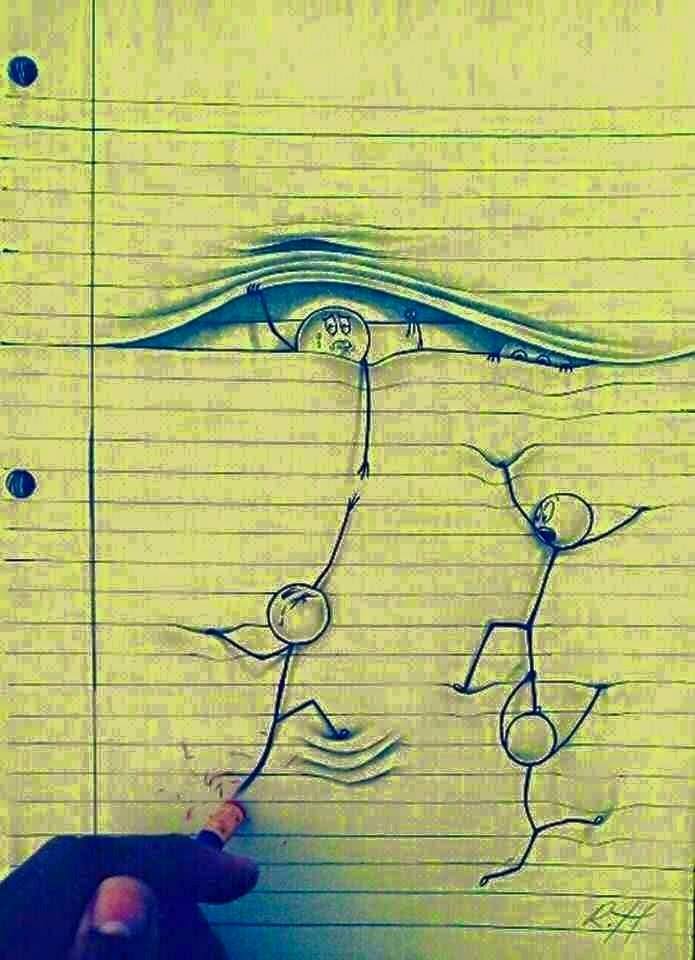
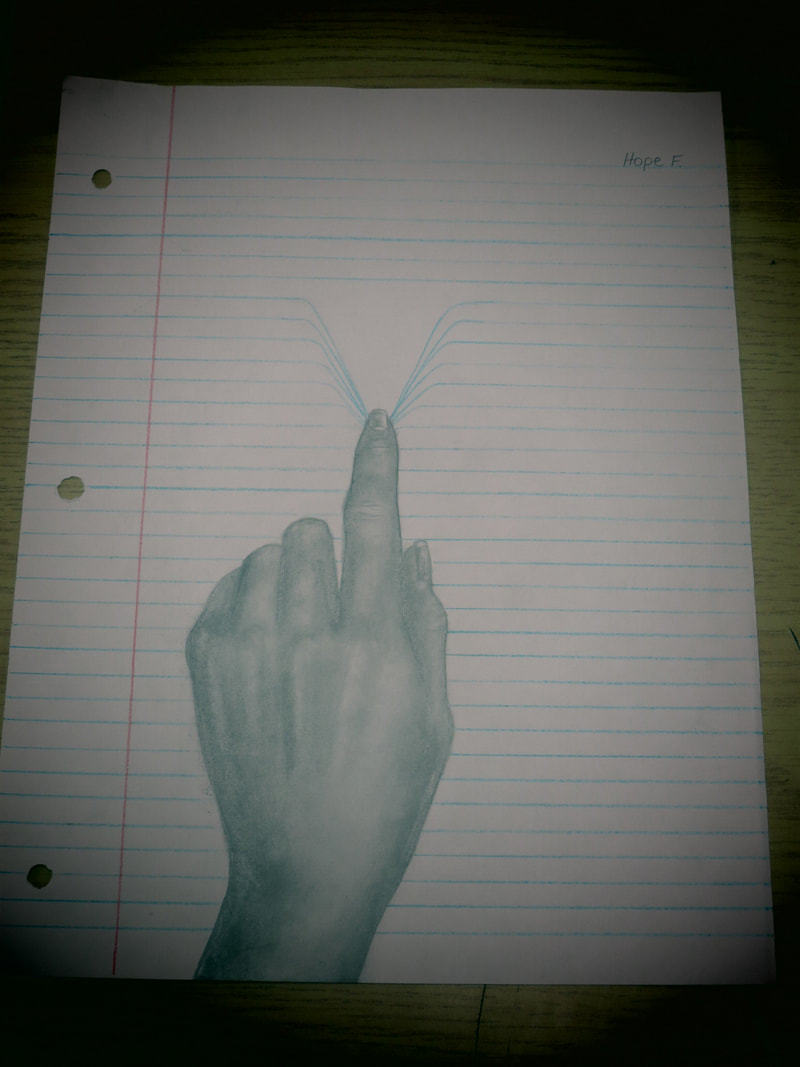
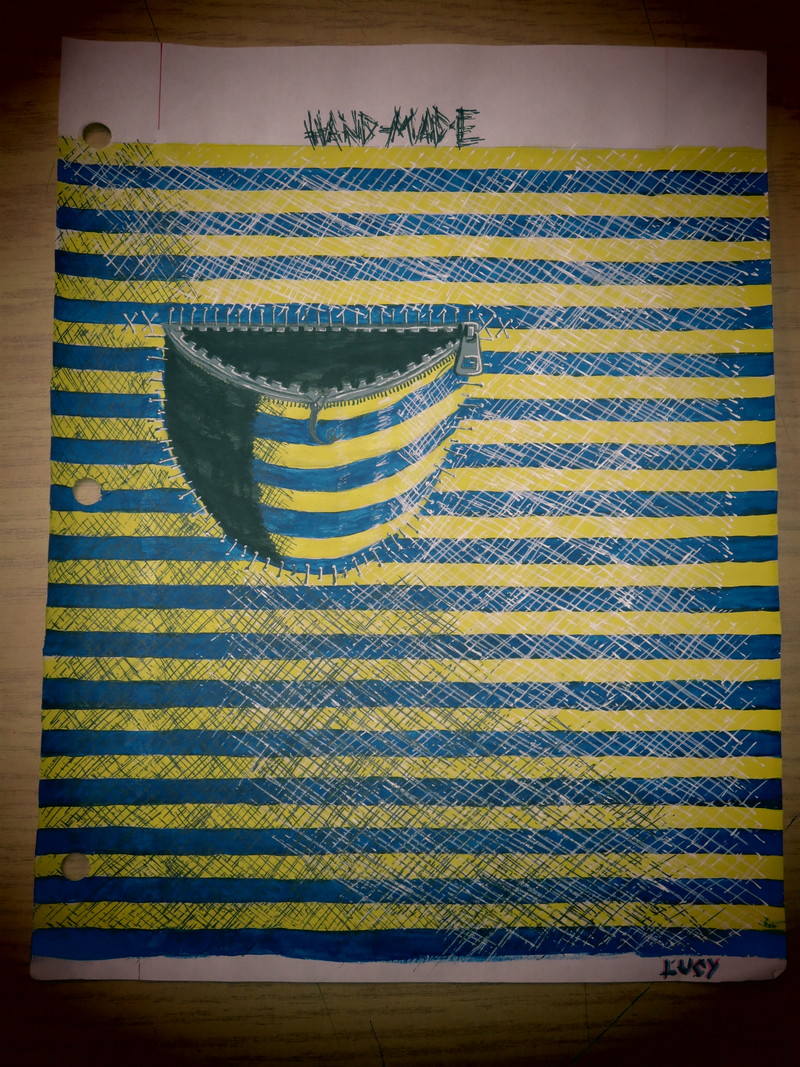
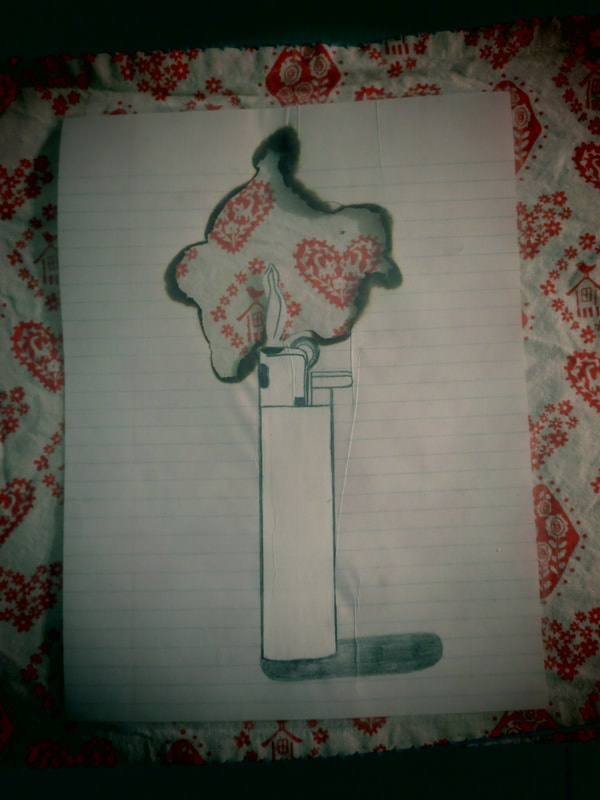
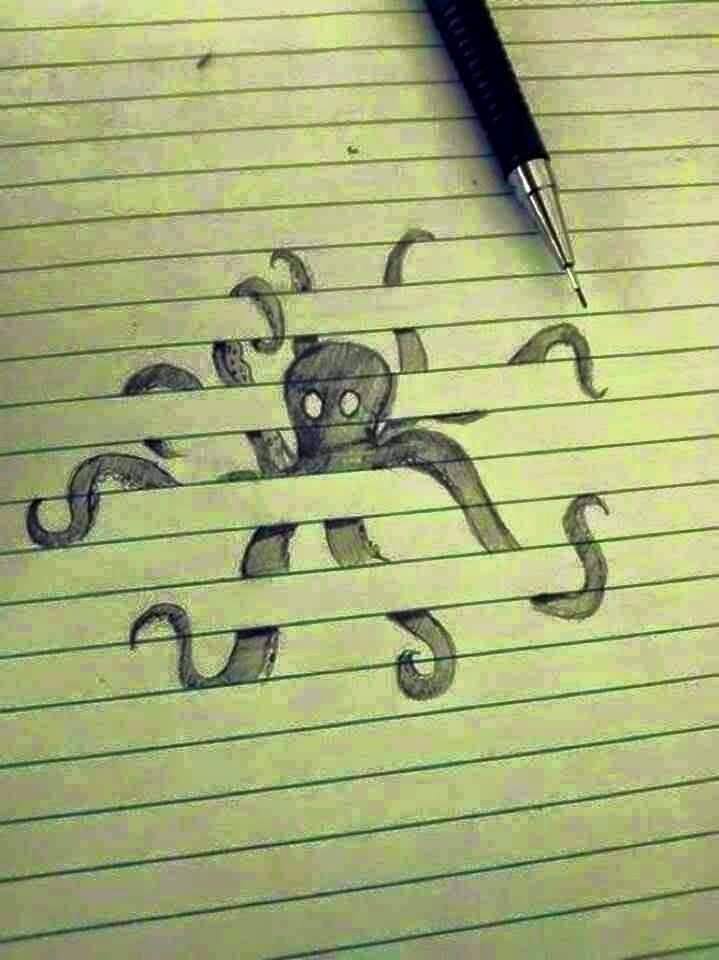
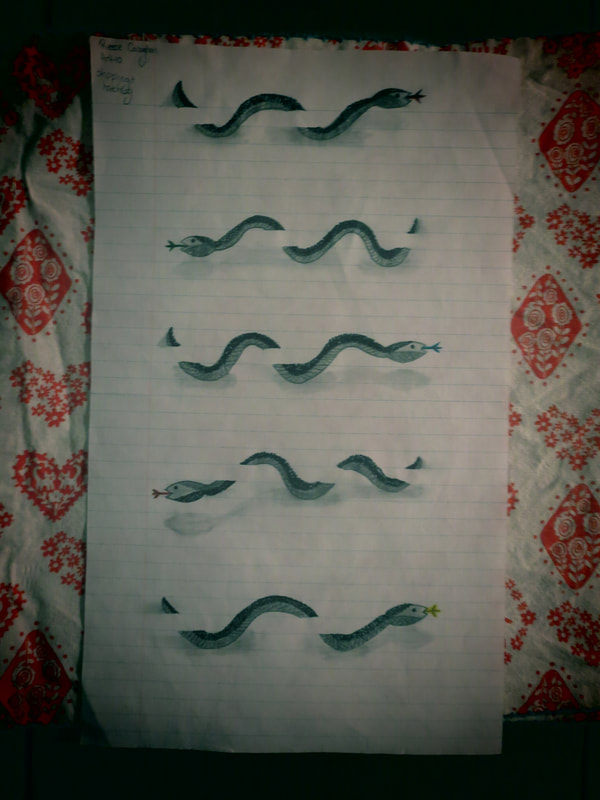
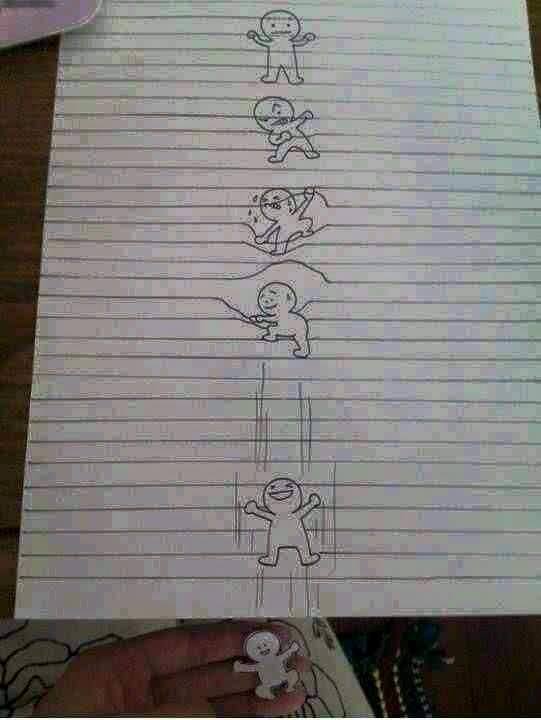
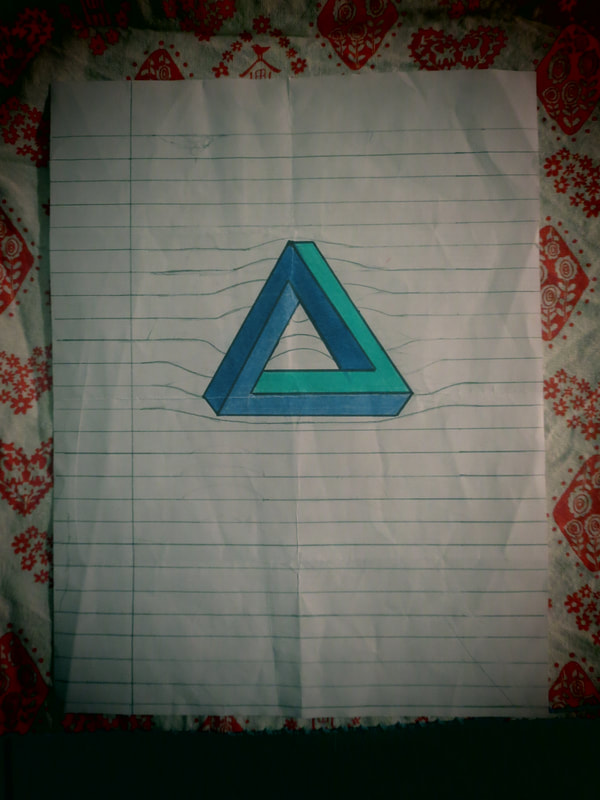
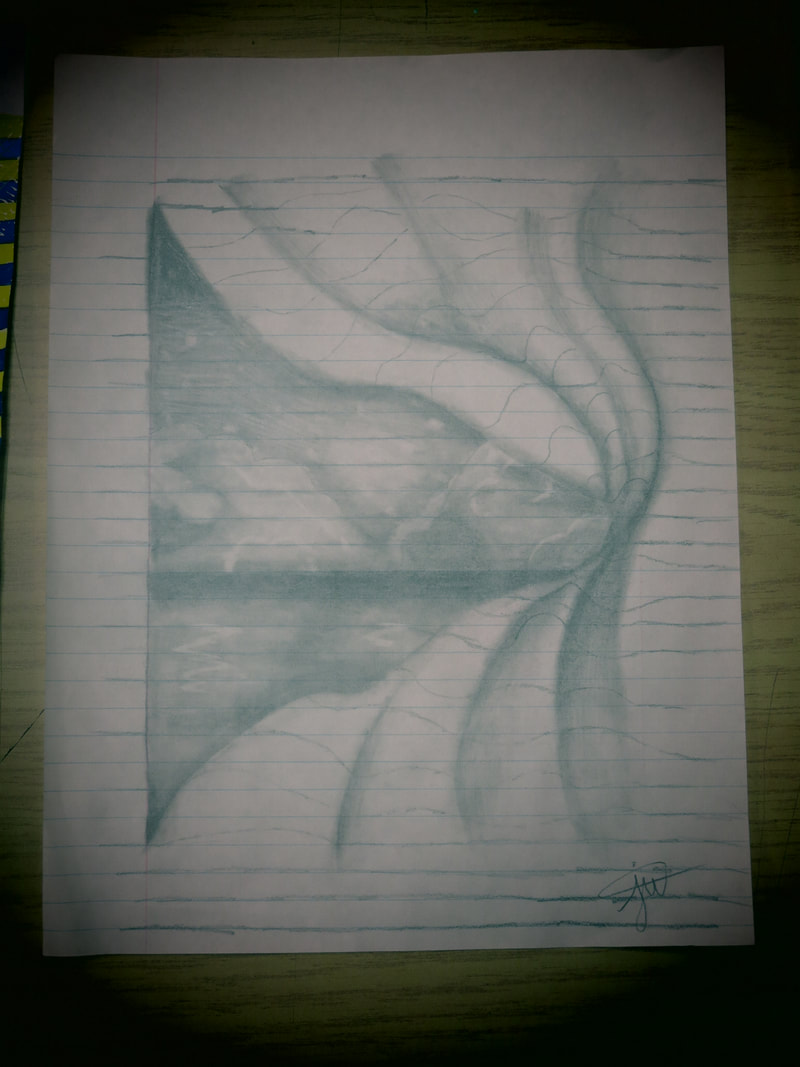
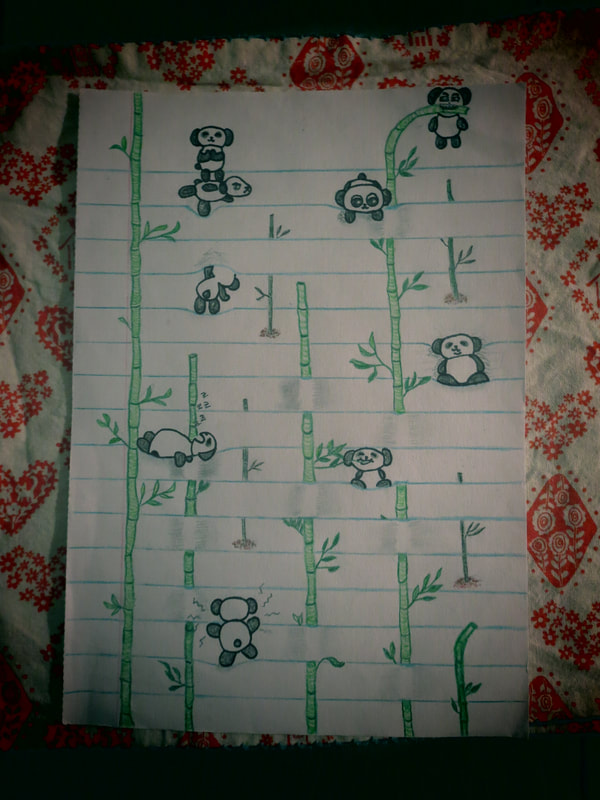
You will design an image on lined paper that interacts with the paper and lines it is drawn on.
Your first job is to sketch a few thumbnail images in your sketchbook to generate ideas.
How do you do that?
Make small rectangles or section off areas of your page to divide it so you can plan accordingly.
Then take your preferred idea and develop it further on the lined paper I will provide.
Take note of the shape and size of the paper you choose, the colour of the paper and the lines, and
the general quality of the paper.
Try:
applying different drawing techniques - hatching, blending, stippling, scumbling
to think about what you use lined paper for and what kind of image might come from that knowledge
play and have fun, this is a creative exercise to stretch your imagination
This will be a one week in-class project. Finished images should be in pencil or ink.
1 Drawing
You will design an image on lined paper that interacts with the paper and lines it is drawn on.
Your first job is to sketch a few thumbnail images in your sketchbook to generate ideas.
How do you do that?
Make small rectangles or section off areas of your page to divide it so you can plan accordingly.
Then take your preferred idea and develop it further on the lined paper I will provide.
Take note of the shape and size of the paper you choose, the colour of the paper and the lines, and
the general quality of the paper.
Try:
applying different drawing techniques - hatching, blending, stippling, scumbling
to think about what you use lined paper for and what kind of image might come from that knowledge
play and have fun, this is a creative exercise to stretch your imagination
This will be a one week in-class project. Finished images should be in pencil or ink.
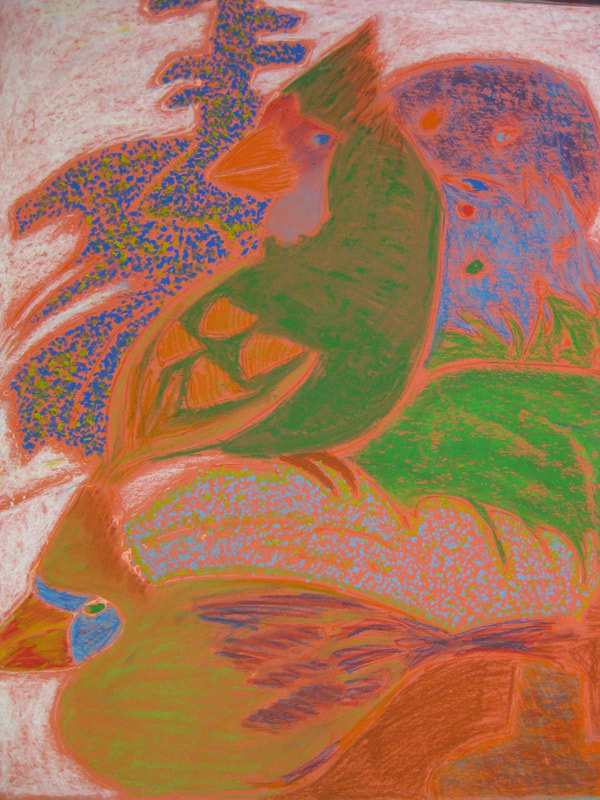
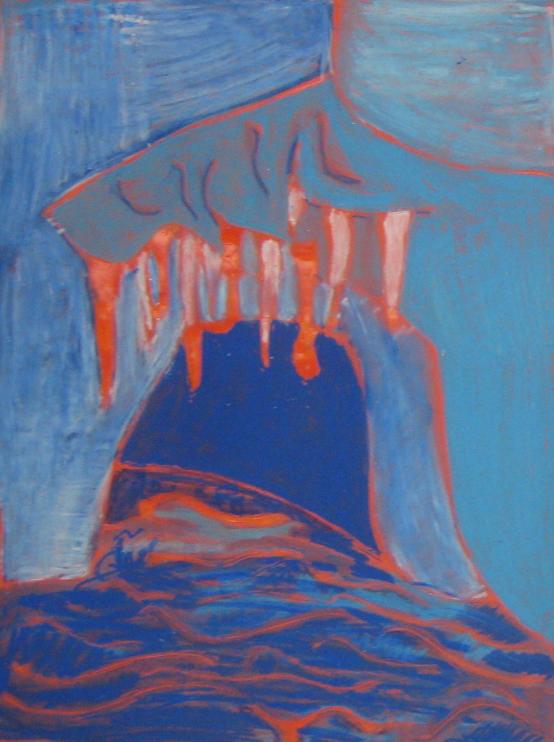
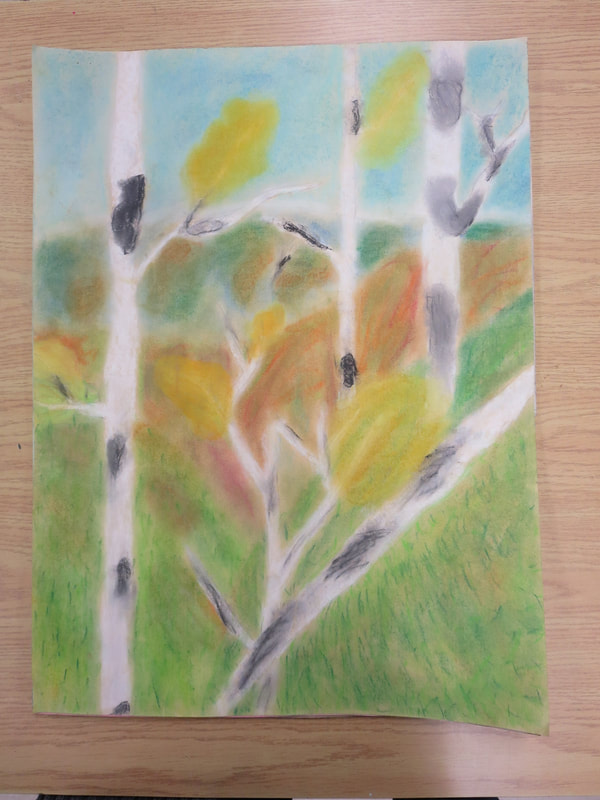
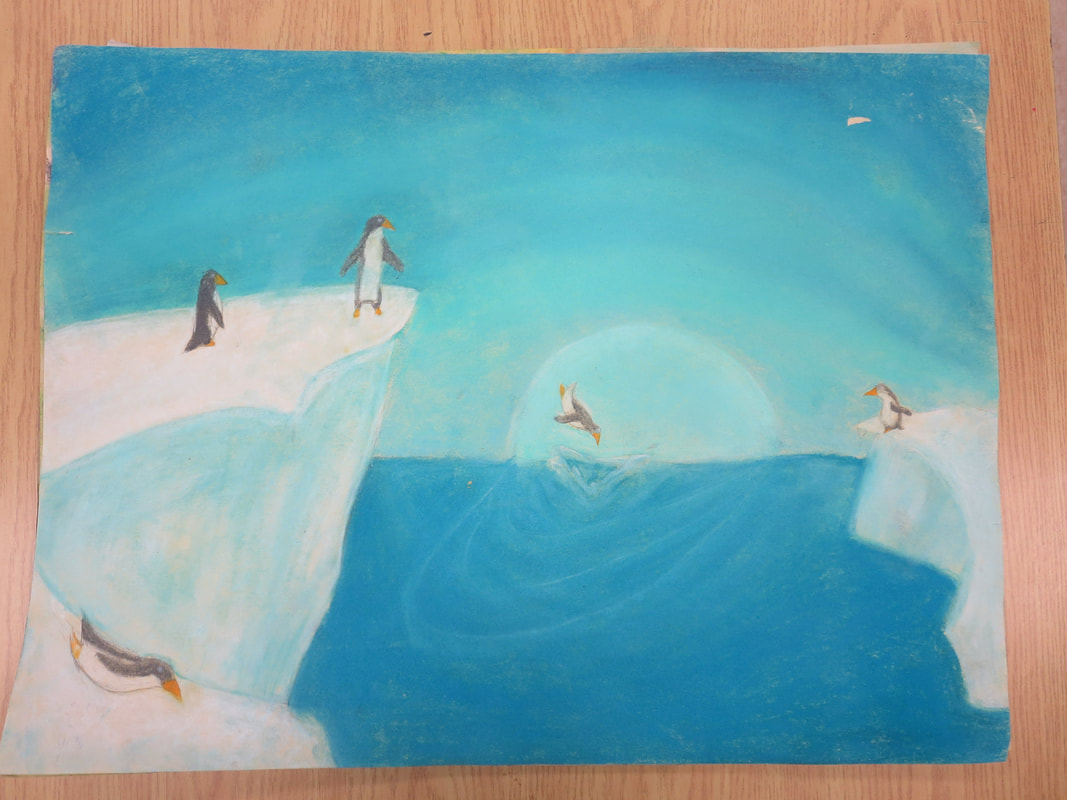
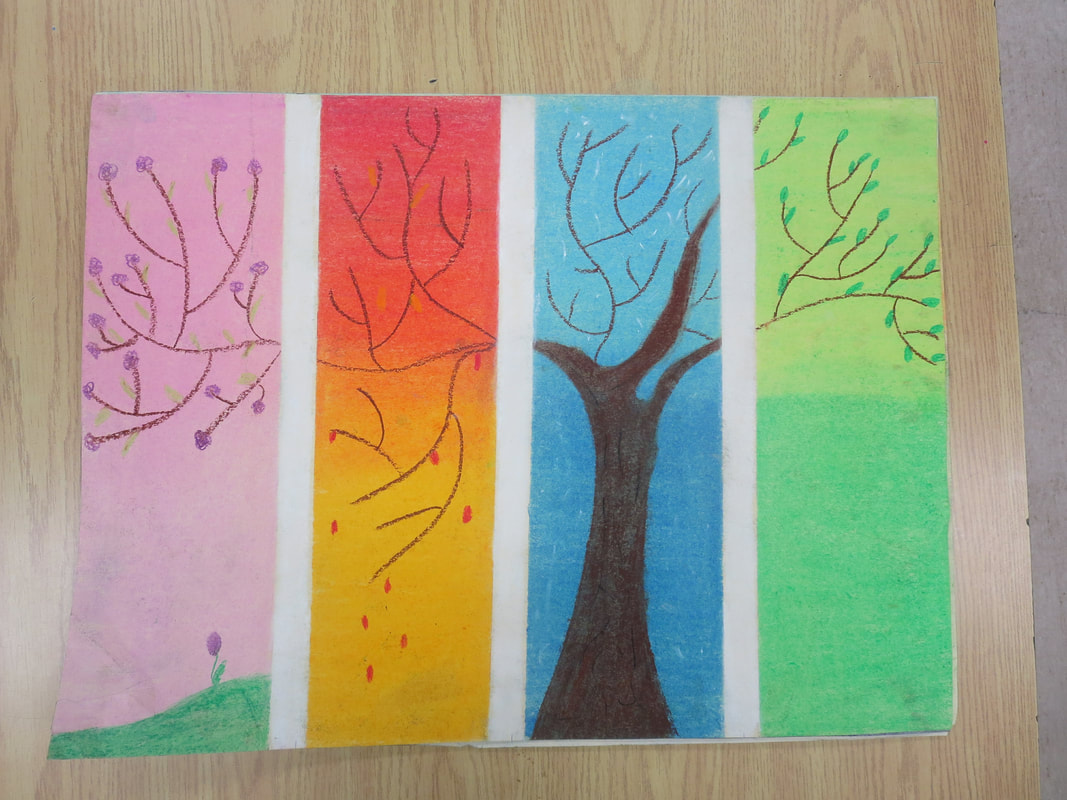
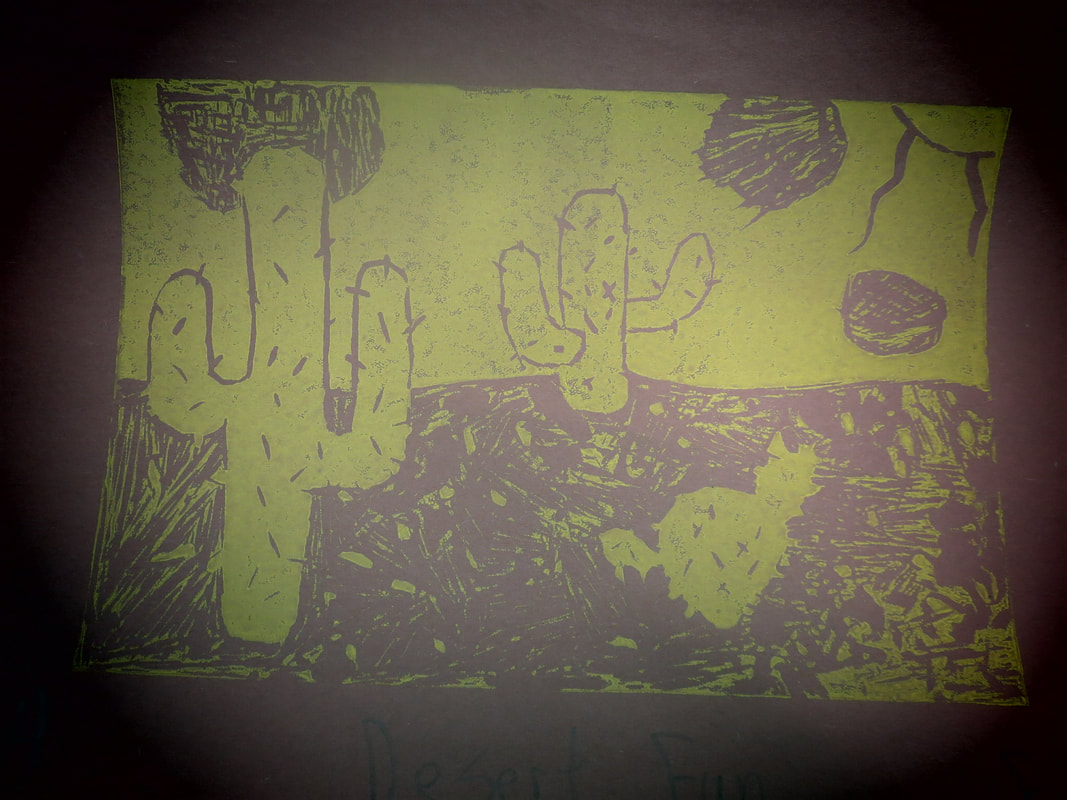
MAJOR ASSIGNMENT 2 - pastel seasonal image
1 Drawing
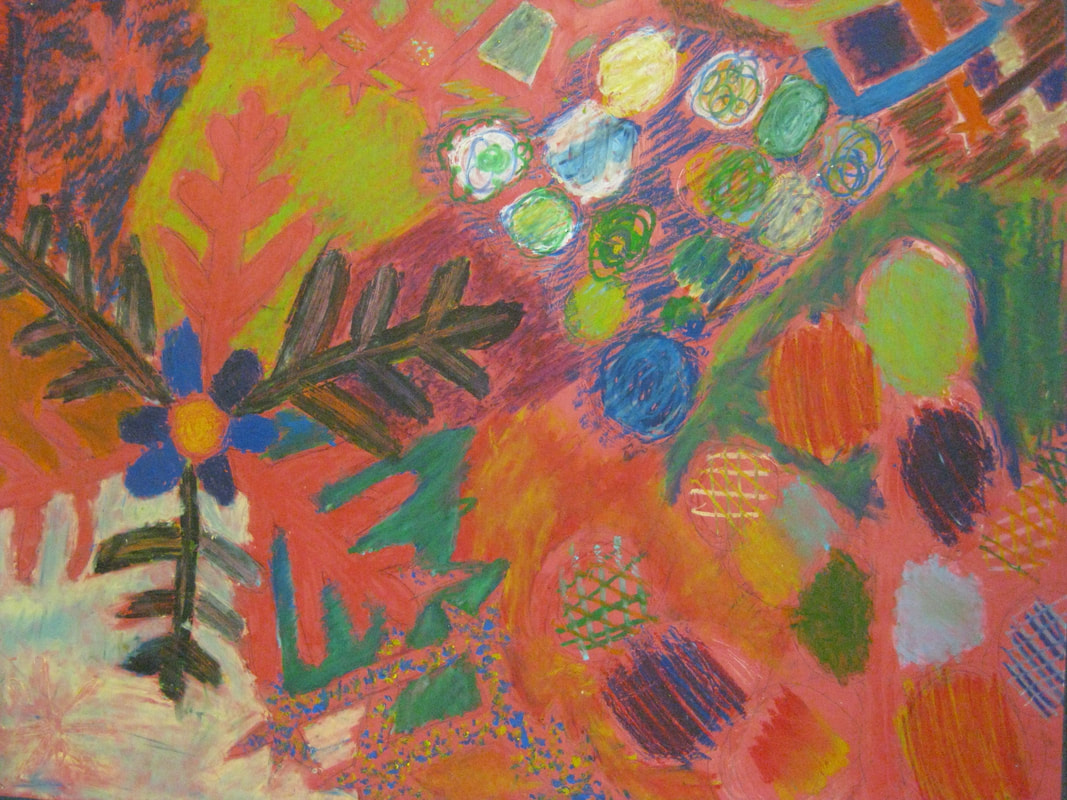
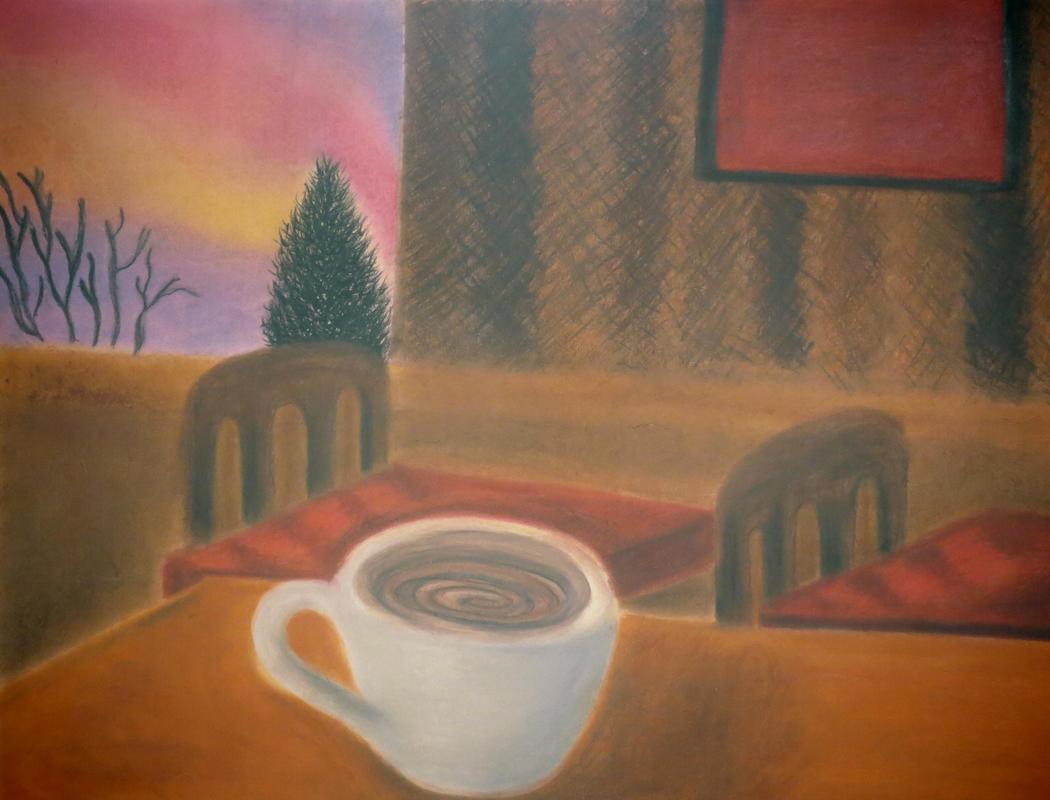
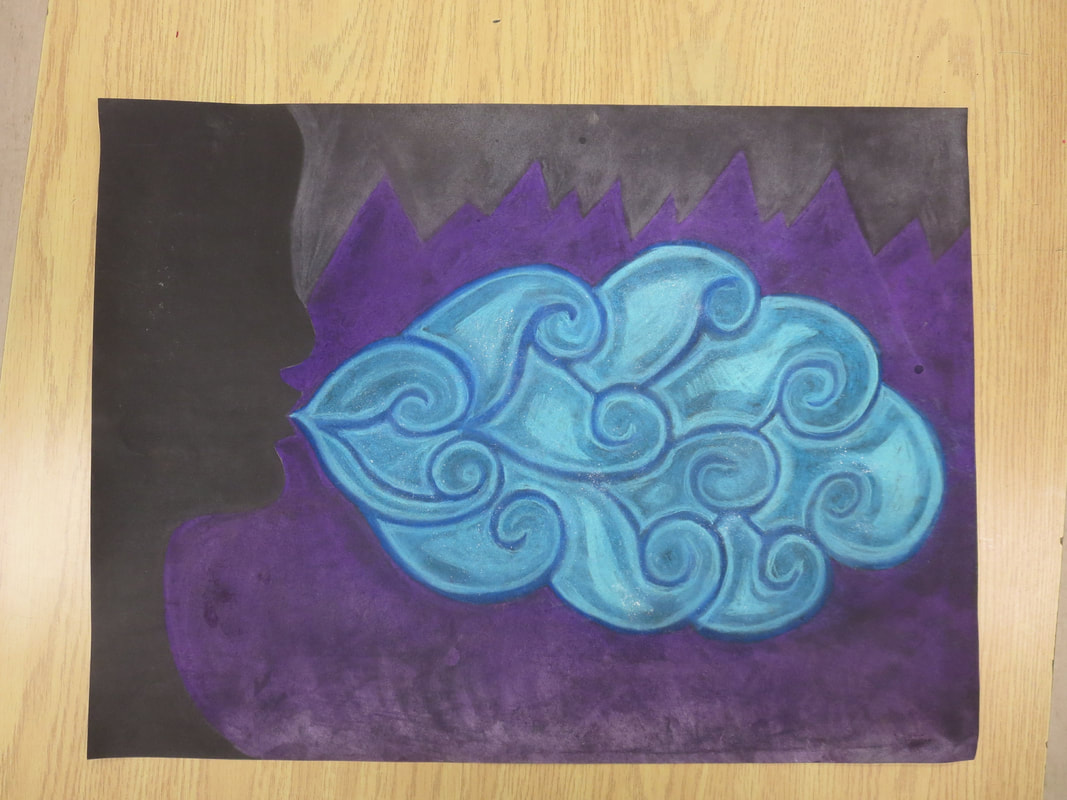
You will produce a large scale image using chalk or oil pastels on coloured paper.
Your first job is to sketch a few thumbnail images in your sketchbook to generate ideas.
How do you do that?
Make small rectangles or section off areas of your page to divide it so you can plan accordingly.
Then take your preferred idea and develop it further on another page in your textbook.
Test and plan colours that might work well.
Using what you have learned about line quality and pastel techniques, create a full-sized image.
This image can have objects clearly visible in it, or can become abstracted depending on what area you select.
Try:
applying different drawing techniques - flat colour, layering, hatching, blending, stippling, scumbling, sgraffito
to find an image to use as a reference, and use a viewfinder select an area of it to zoom in on.
to think about how the image will read as 'winter', 'spring', 'summer' or 'autumn'
to think carefully about how your selected area works in terms of composition
(How much space is there? How will you fill it? Is your image centred or off to the side? How are the lines working and leading your eye?)
This will be a three week in-class project.
1 Drawing
You will produce a large scale image using chalk or oil pastels on coloured paper.
Your first job is to sketch a few thumbnail images in your sketchbook to generate ideas.
How do you do that?
Make small rectangles or section off areas of your page to divide it so you can plan accordingly.
Then take your preferred idea and develop it further on another page in your textbook.
Test and plan colours that might work well.
Using what you have learned about line quality and pastel techniques, create a full-sized image.
This image can have objects clearly visible in it, or can become abstracted depending on what area you select.
Try:
applying different drawing techniques - flat colour, layering, hatching, blending, stippling, scumbling, sgraffito
to find an image to use as a reference, and use a viewfinder select an area of it to zoom in on.
to think about how the image will read as 'winter', 'spring', 'summer' or 'autumn'
to think carefully about how your selected area works in terms of composition
(How much space is there? How will you fill it? Is your image centred or off to the side? How are the lines working and leading your eye?)
This will be a three week in-class project.
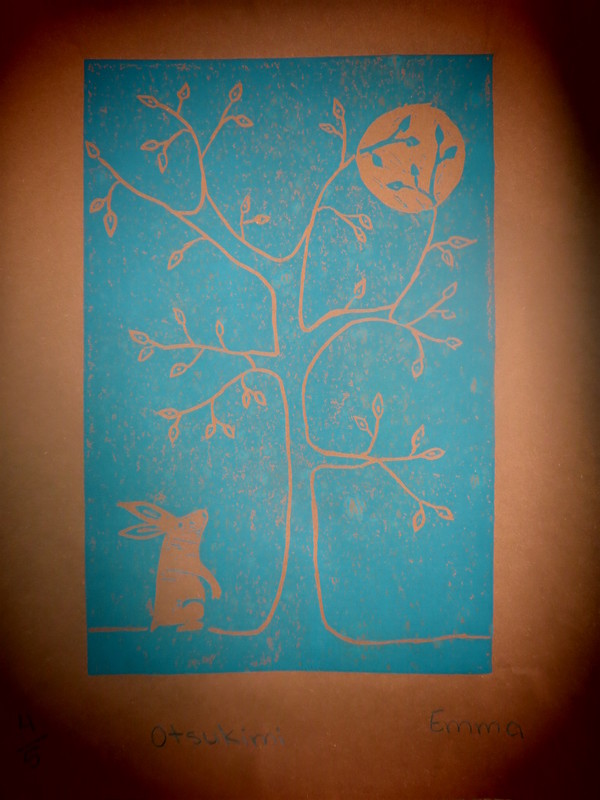
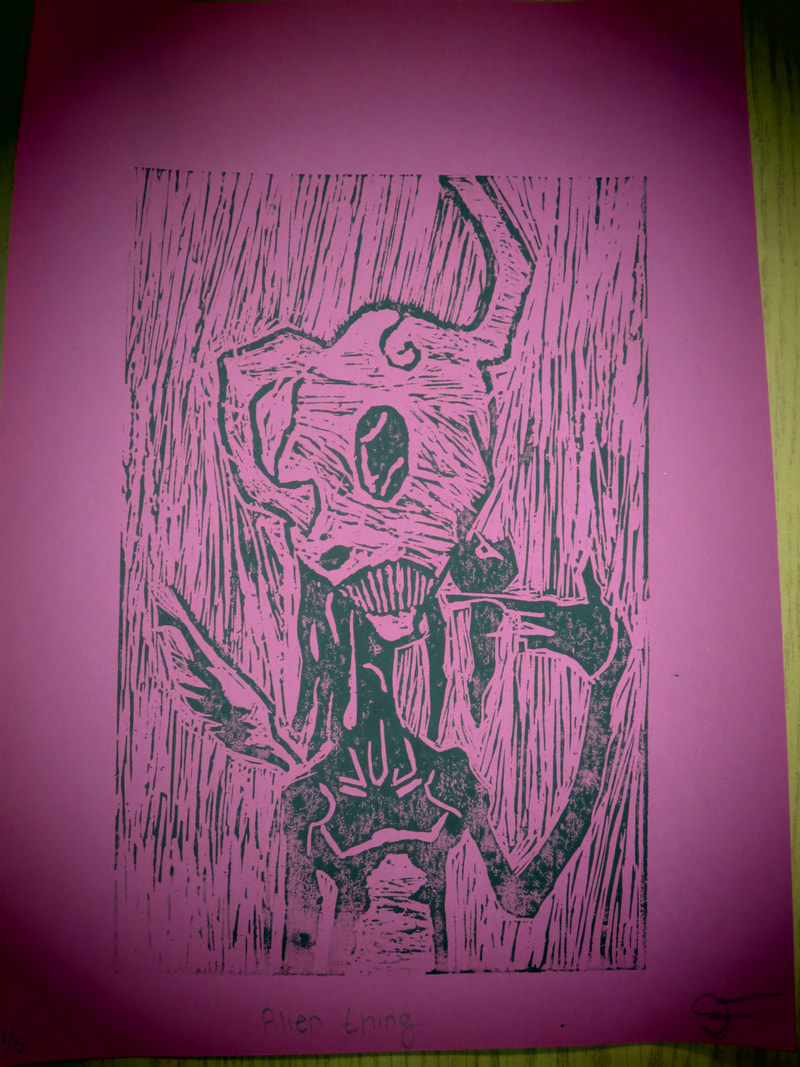
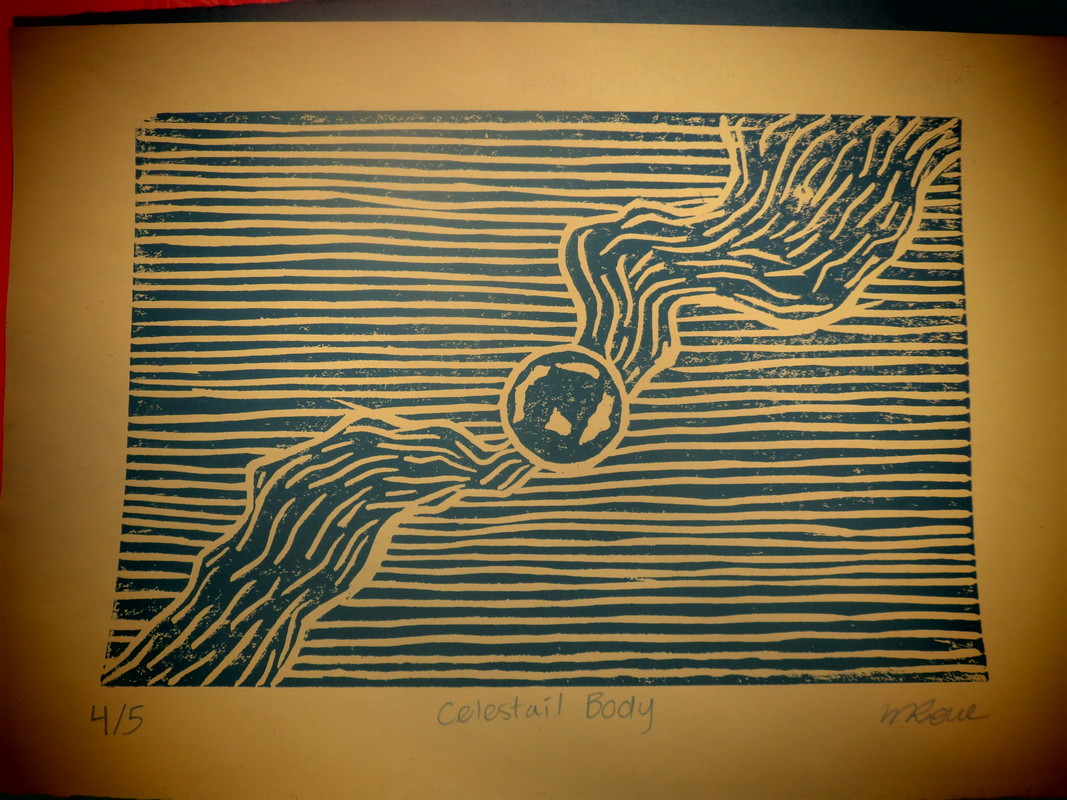
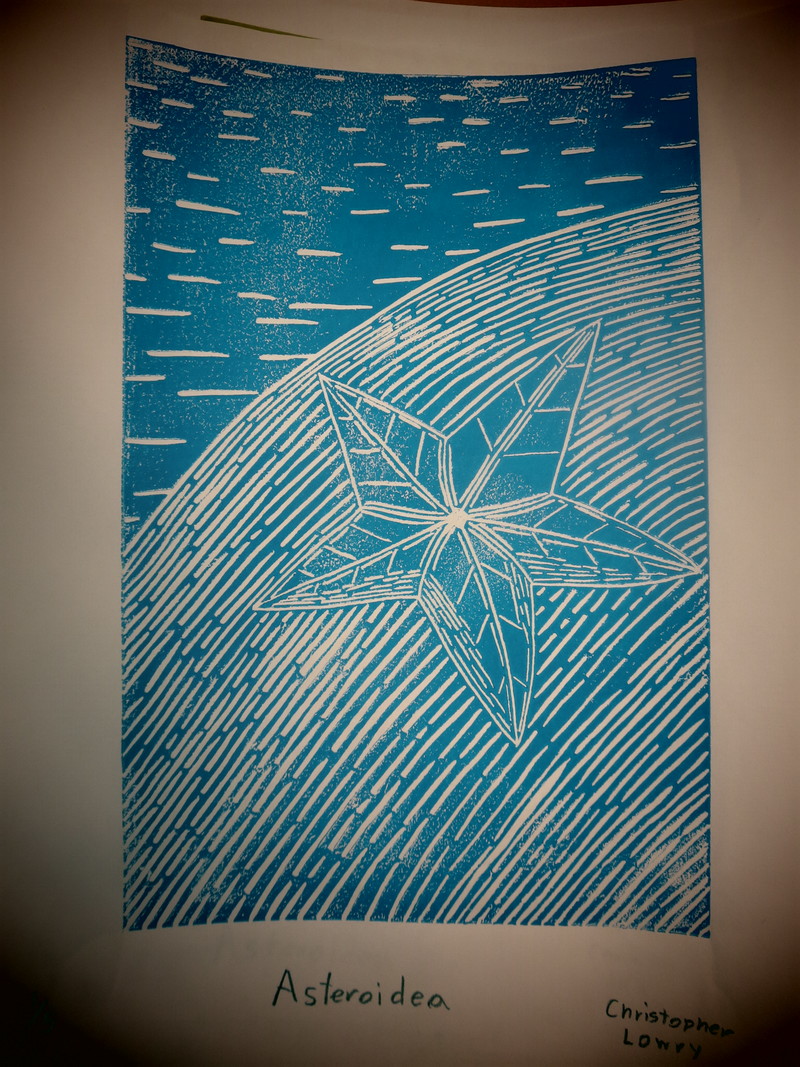
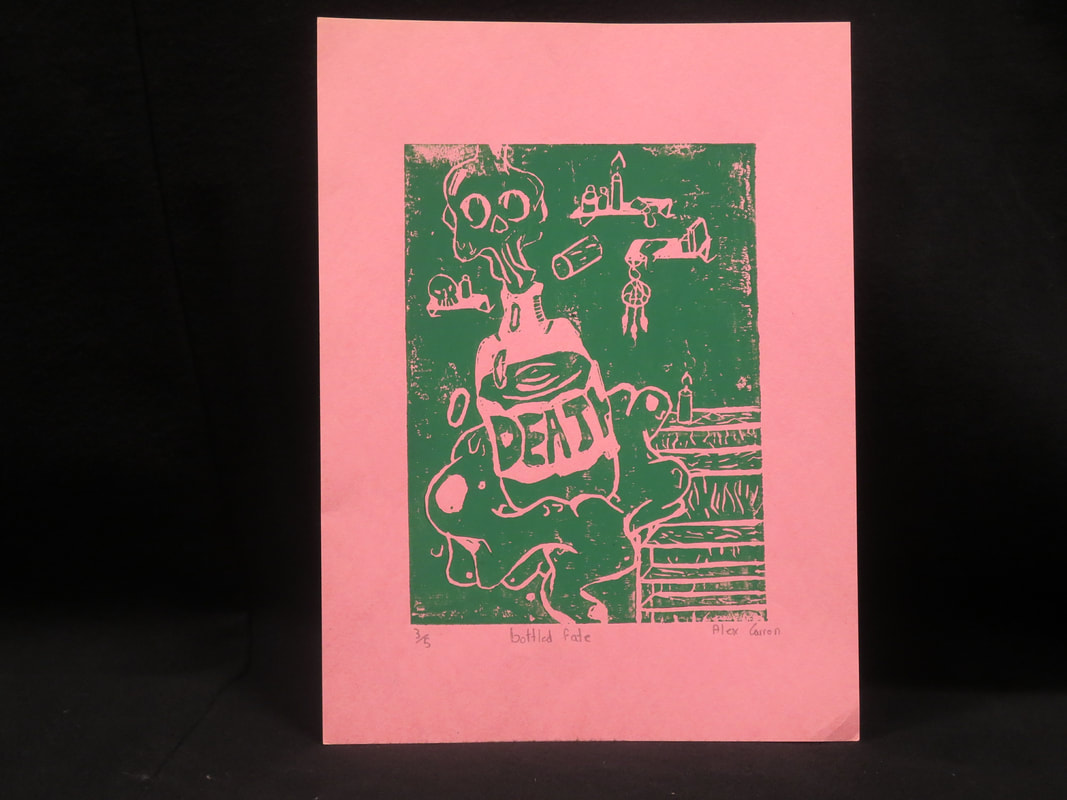
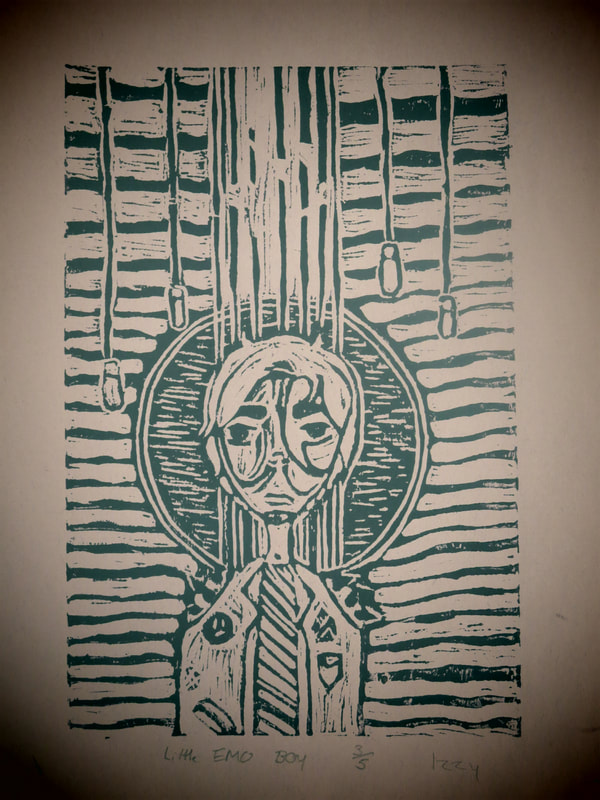
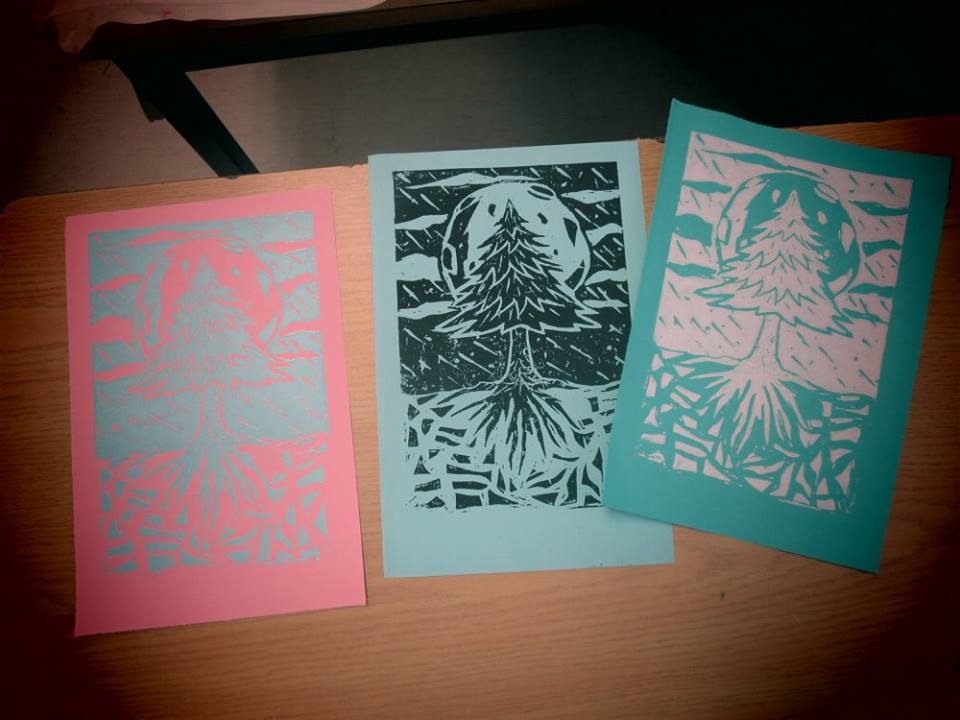
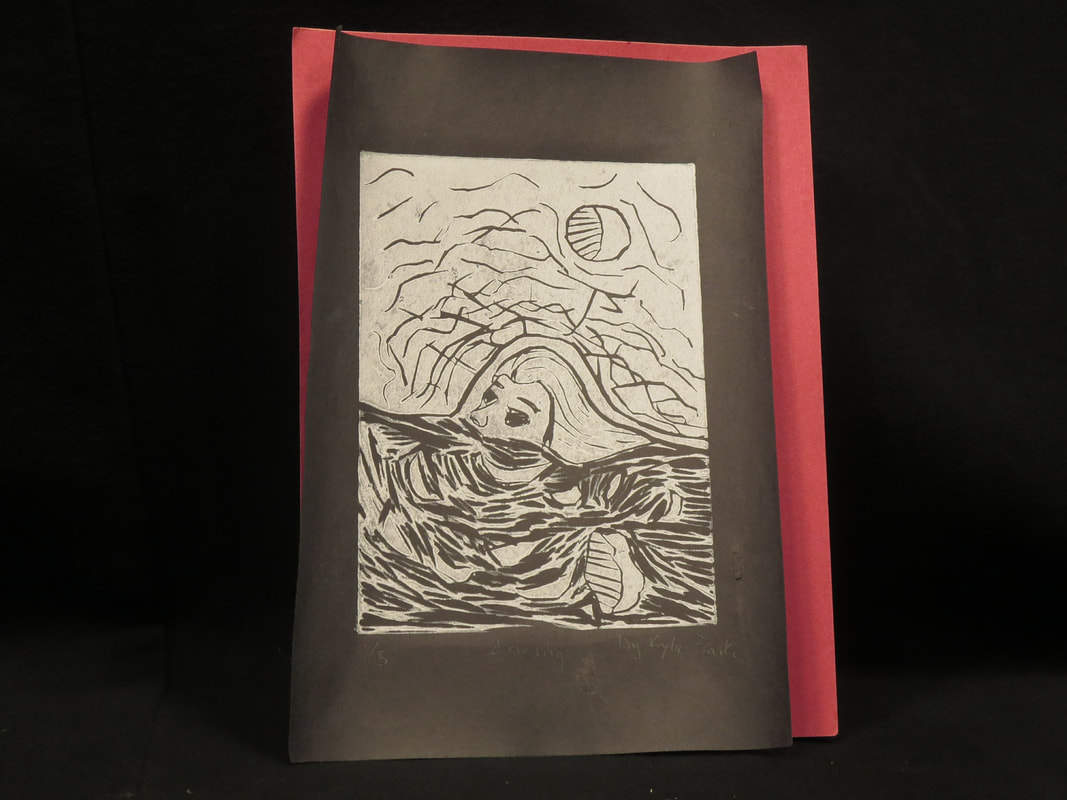
MAJOR ASSIGNMENT 3 - lino cut
Series of 5 prints
You will produce a series of relief prints using a lino plate.
Your first job is to design an image to transfer onto your plate. An image with a fore- and background is required.
If you are stuck for ideas, imagine you have been asked to illustrate your favorite book with new images,
or to totally redesign a new movie poster.
Make thumbnails in your sketchbook, and then make a plate-sized image in pencil to transfer.
How do you do that?
Trace the plate shape on paper.
Draw your image pressing hard.
Tape the image onto the plate, drawing side facing the plate.
Colour over the paper to transfer the pencil from the paper to the plate.
Mark which areas are to be cut and which to stay raised.
** remember, raised areas take ink, cut out areas will be the colour of the paper
Warm your plate and begin carving.
** 1 hand holds the plate BEHIND the carving tool, to protect yourself. Try the plate, not the tool.
Once carved, test with a rubbing to check the image.
Ink the plate and print following directions given in class.
Properly label and number your prints in printmaking convention.
Try:
to play with value contrast to make your image stand out.
different ink and paper colour combinations.
to work on a dry plate when applying ink, as the ink is water soluble.
to talk to your teacher and friends if your prints aren't working for advice and help.
to always wash your hands between inking and printing to keep the paper clean and free of finger prints.
This will be a three week in-class project.

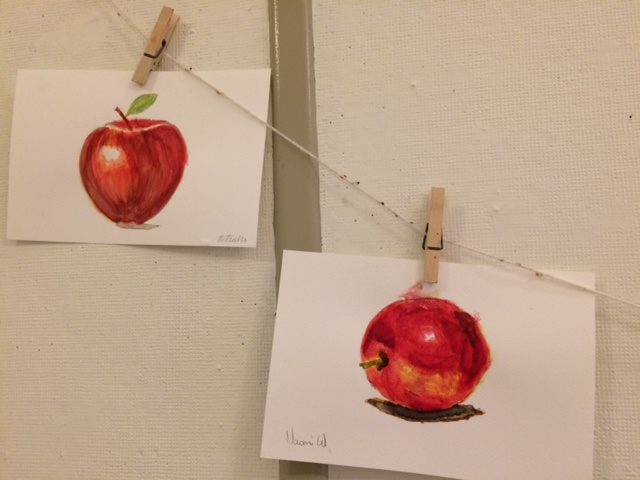
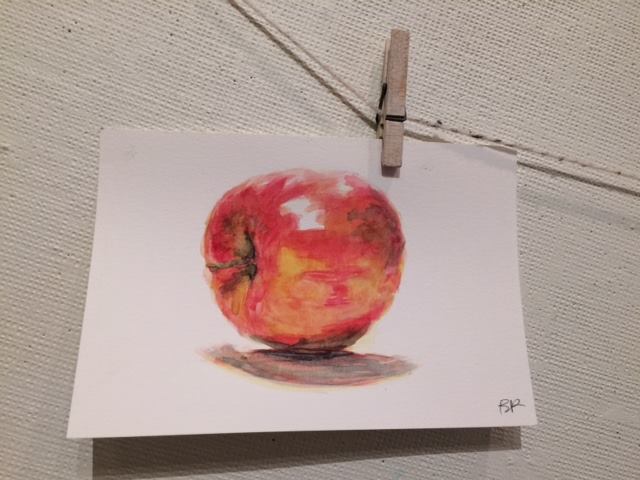
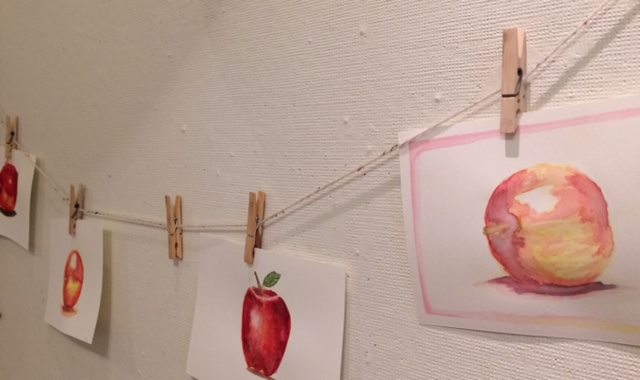
MINOR ASSIGNMENT 4 - apple study
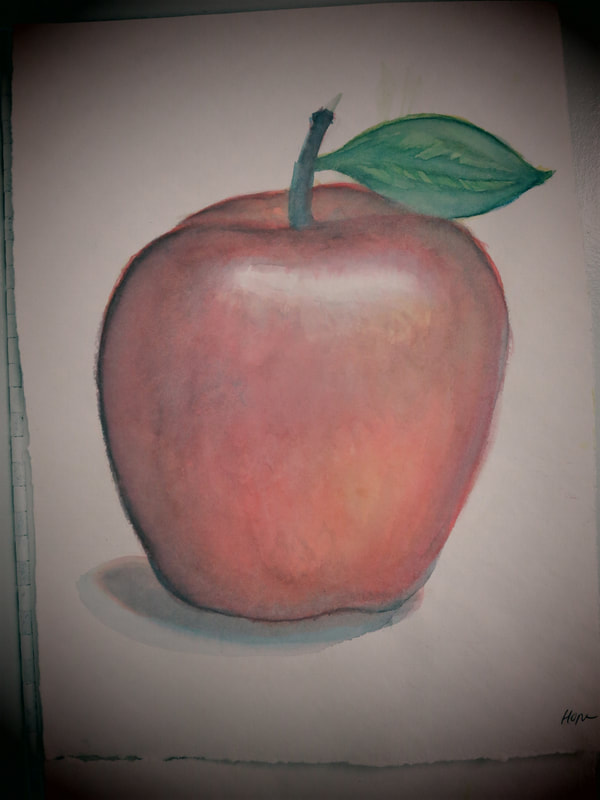
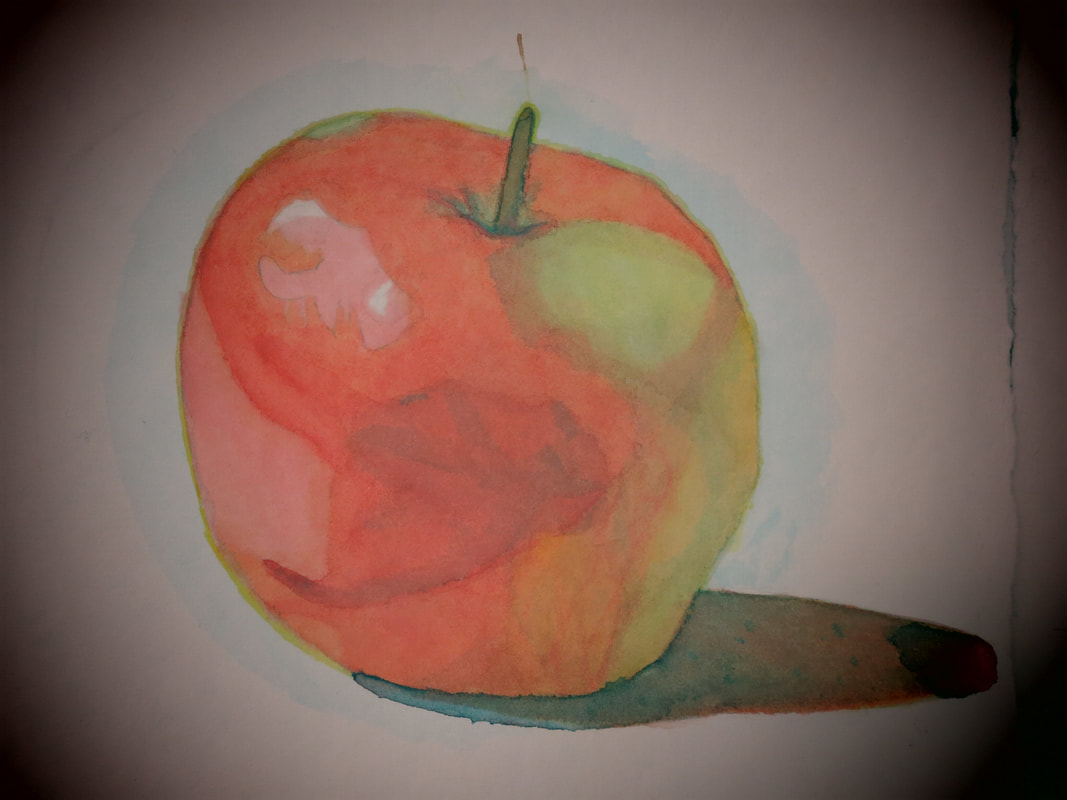
1 small study painting
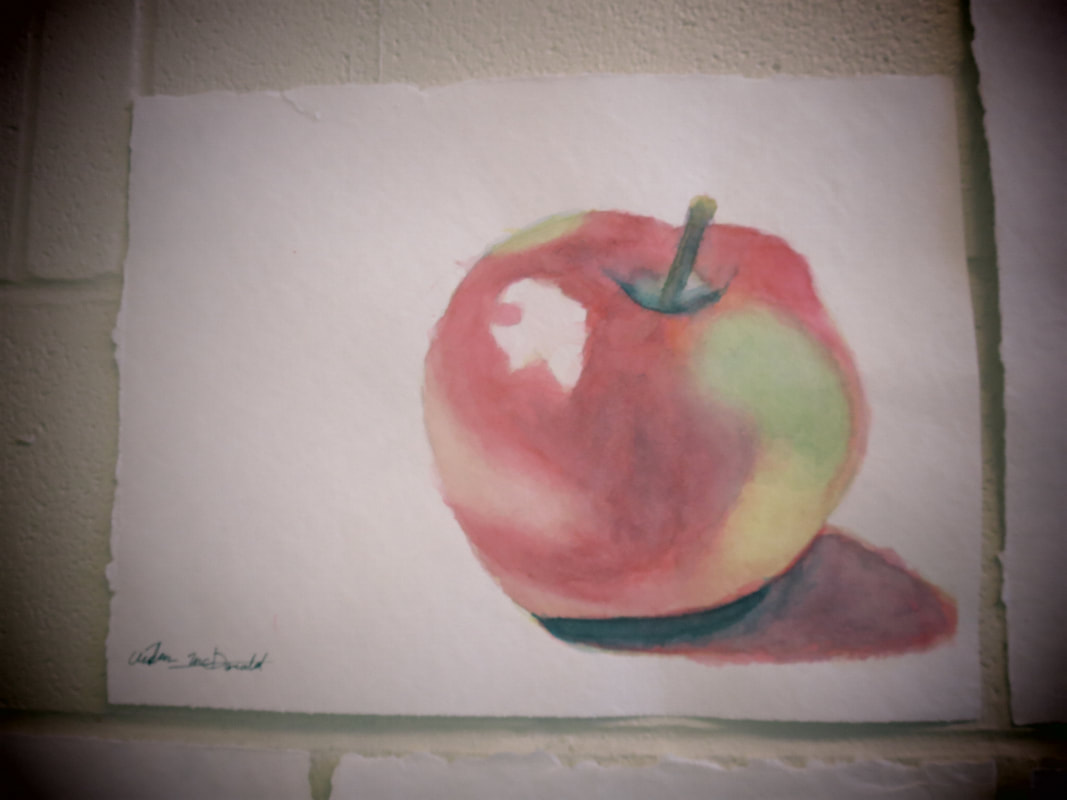
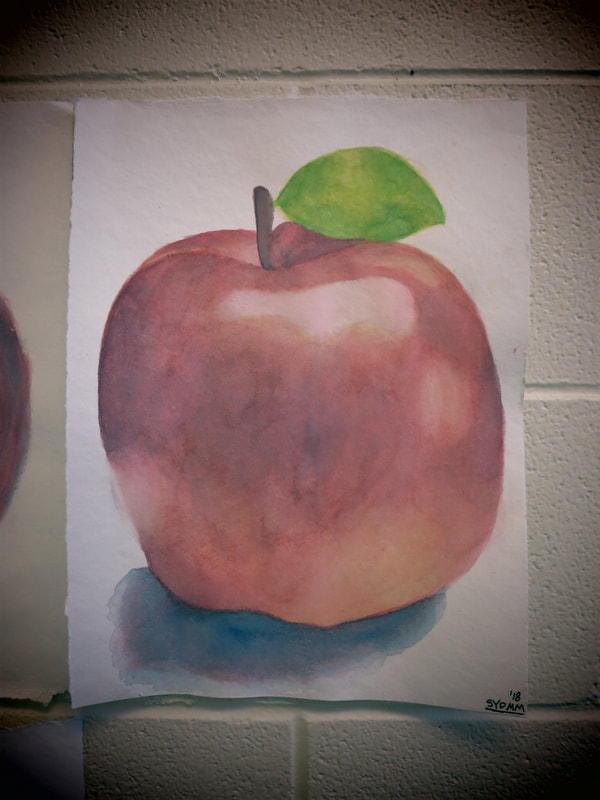
You will produce a large scale image of an apple using watercolour paints; medium yellow, phthalo blue, brilliant red.
Your first job is to practice using the paints on scrap paper. Practice glazing and drying, and possible colour combinations.
Then begin work on your painting.
How do you do that?
Lightly sketch out the apple and its shadow.
Using the base colour, start building up layers in light washes, drying to glaze and not mix between layers.
As you reach the colour saturation for each colour, move on to the next colour and repeat building up colours.
Remember to keep adding colour into the shadows you are building so that proper darkness can be reached by the time
you get to your last colour to glaze.
Try:
starting with water and mixing paint into it to control the colours you make.
to think about how colours will layer (refer to your glazing chart).
to remember to completely dry the image between layers.
to apply the rule of thirds in positioning the apple on your page
This will be a one week in-class project.
1 small study painting
You will produce a large scale image of an apple using watercolour paints; medium yellow, phthalo blue, brilliant red.
Your first job is to practice using the paints on scrap paper. Practice glazing and drying, and possible colour combinations.
Then begin work on your painting.
How do you do that?
Lightly sketch out the apple and its shadow.
Using the base colour, start building up layers in light washes, drying to glaze and not mix between layers.
As you reach the colour saturation for each colour, move on to the next colour and repeat building up colours.
Remember to keep adding colour into the shadows you are building so that proper darkness can be reached by the time
you get to your last colour to glaze.
Try:
starting with water and mixing paint into it to control the colours you make.
to think about how colours will layer (refer to your glazing chart).
to remember to completely dry the image between layers.
to apply the rule of thirds in positioning the apple on your page
This will be a one week in-class project.
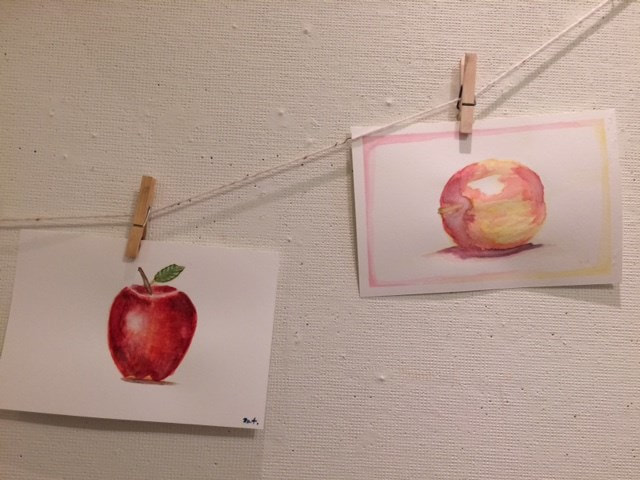

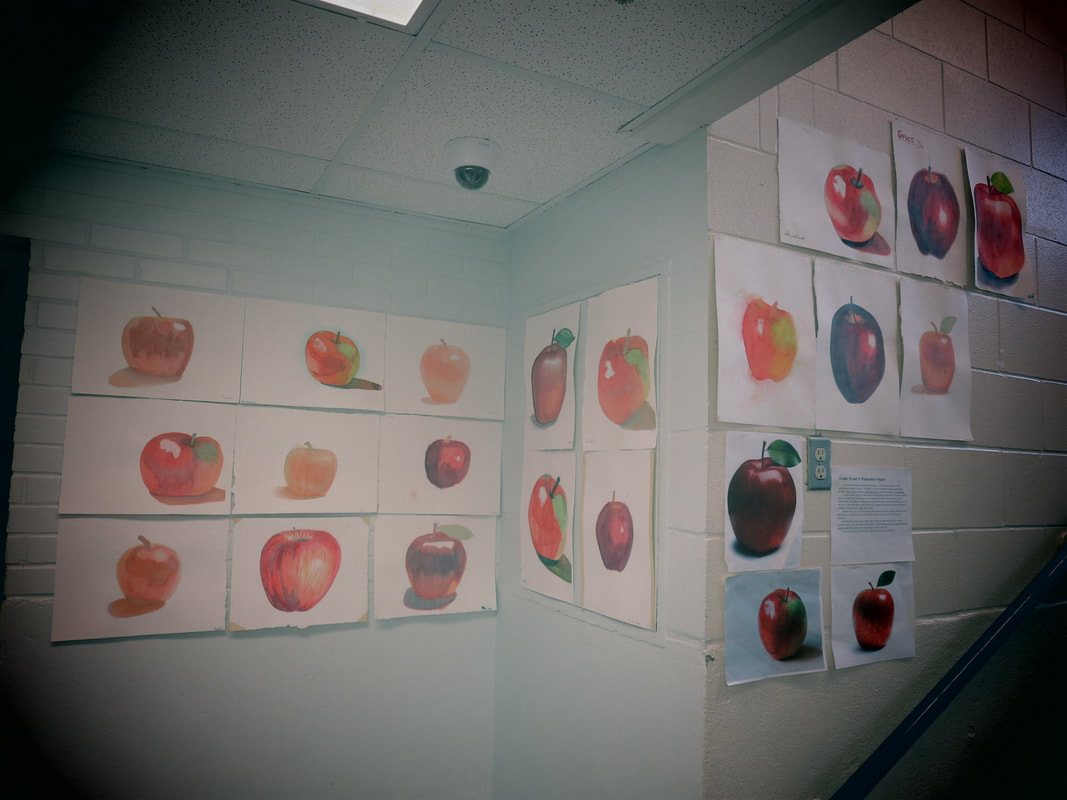
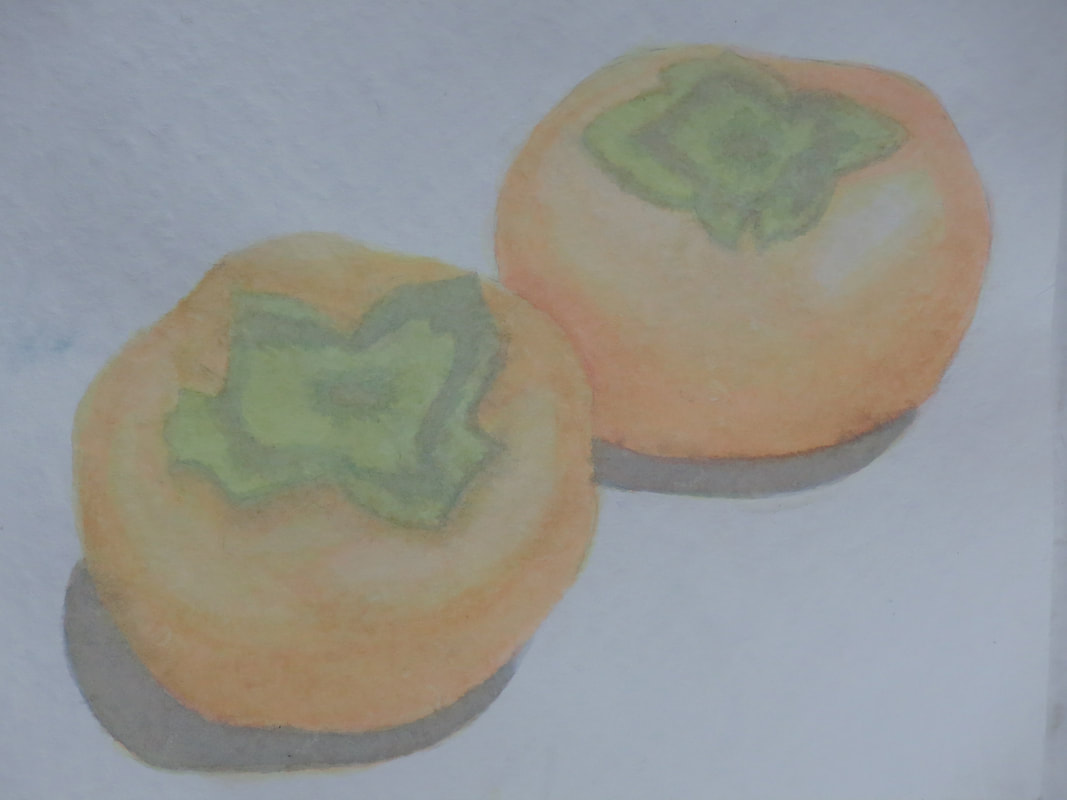
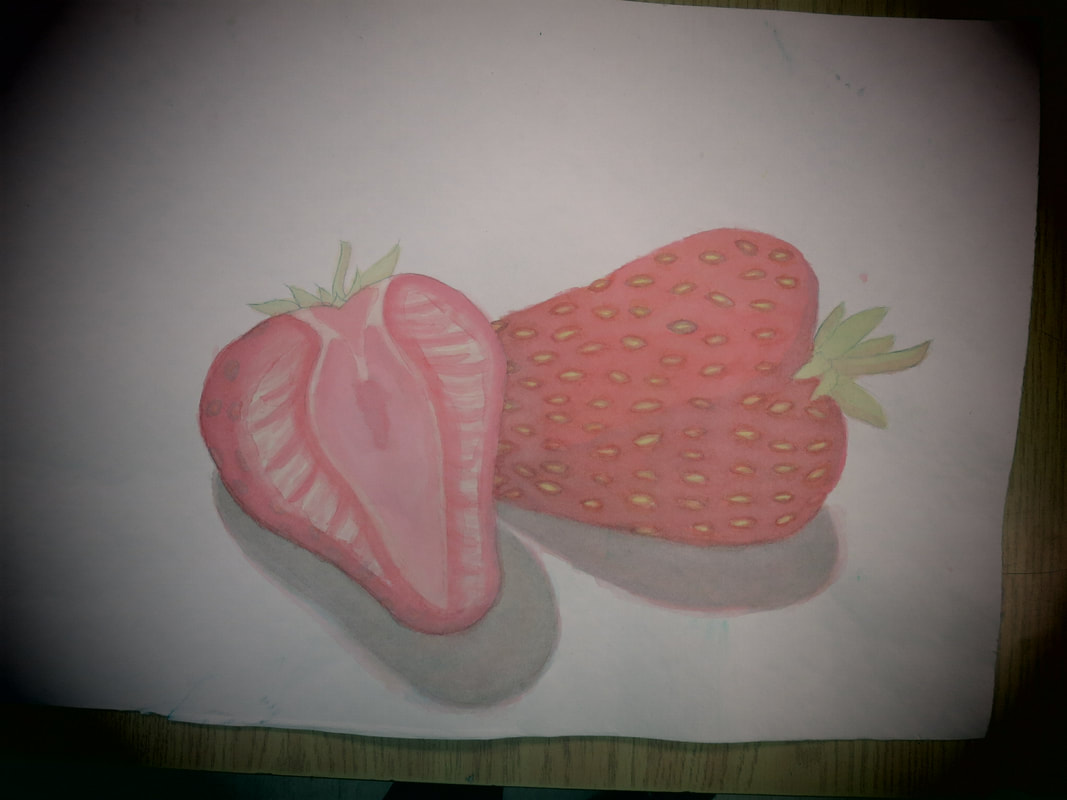
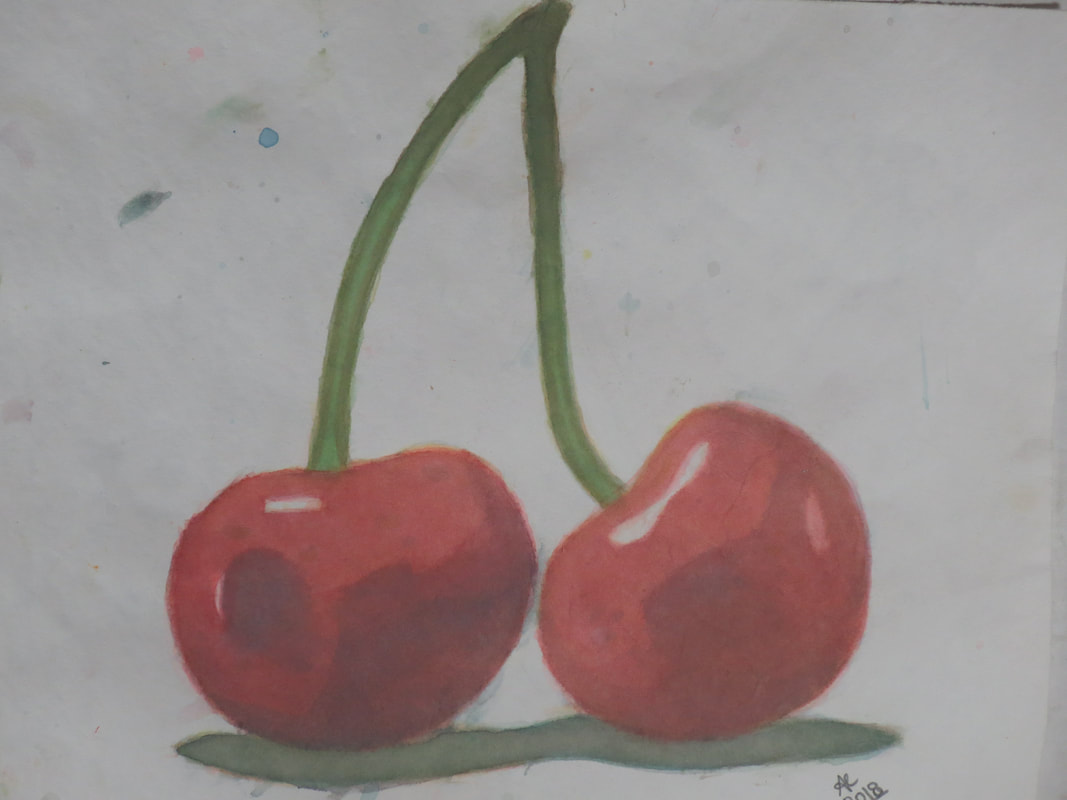
MAJOR ASSIGNMENT 4 - fruit or vegetable study
1 painting
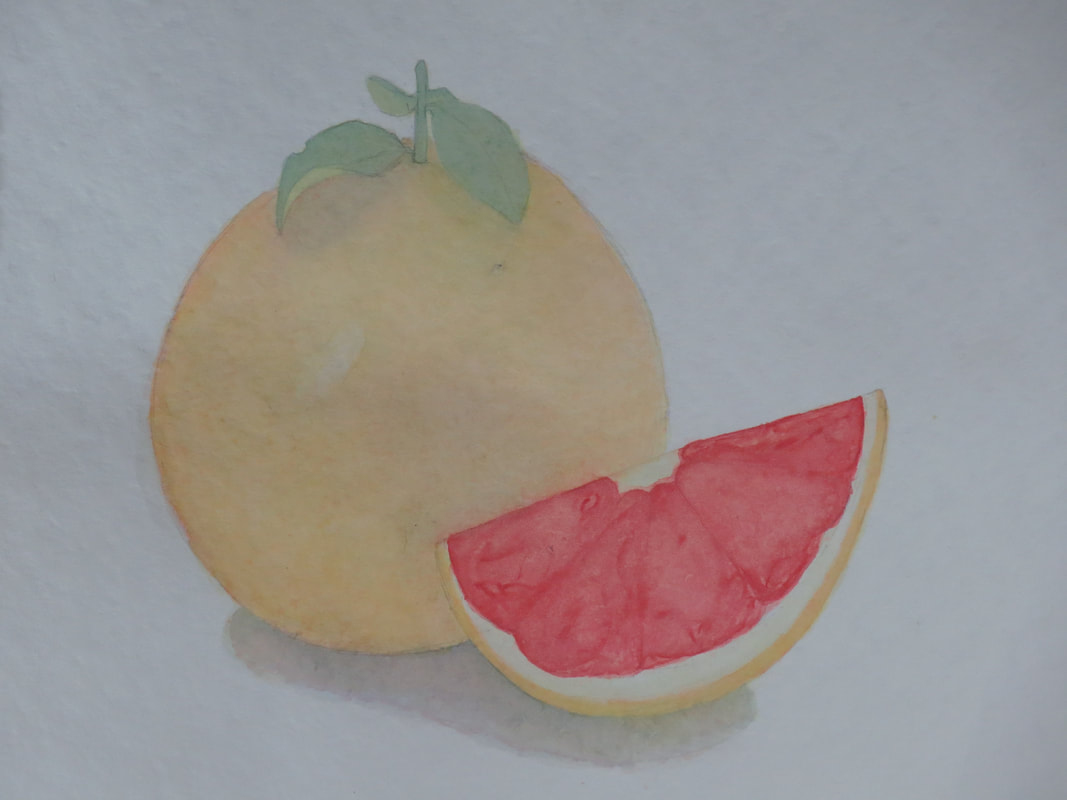
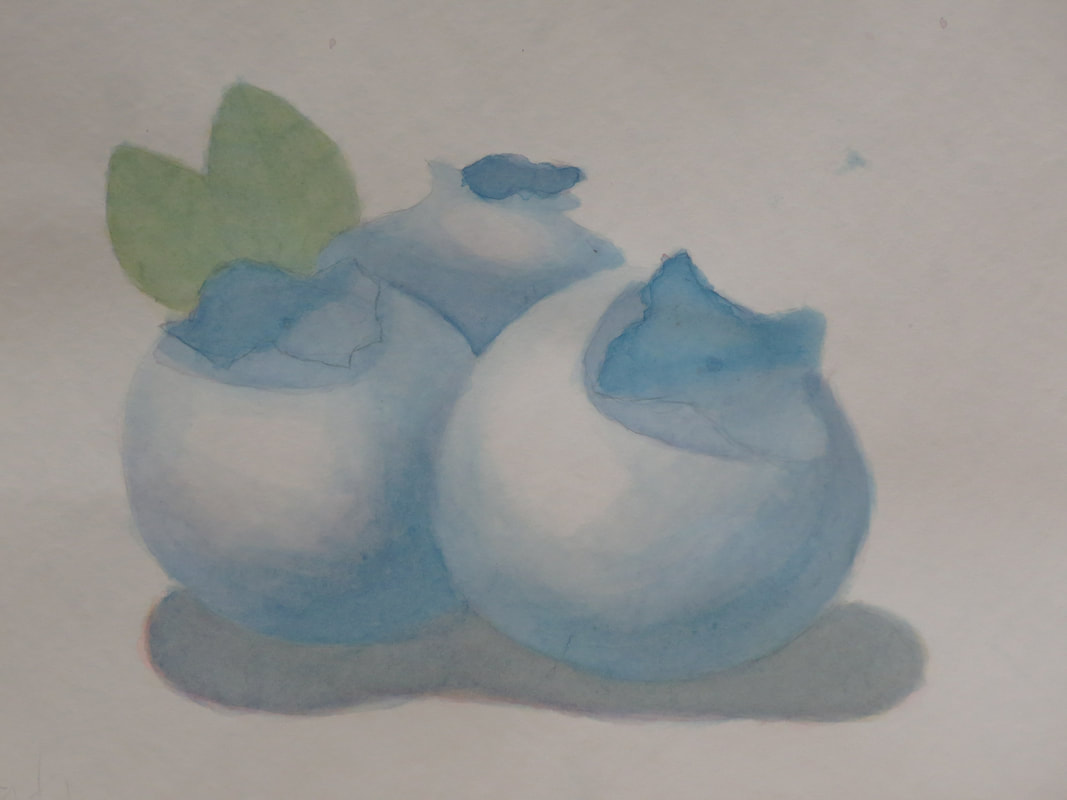
You will produce a large scale image of a fruit or veg of your choosing using watercolour paints; medium yellow, phthalo blue, brilliant red.
Your first job is to practice using the paints on scrap paper. Practice glazing and drying, and possible colour combinations.
Find an image to work from. It must have a white background and a cast shadow.
Then begin work on your painting.
How do you do that?
Lightly sketch out the apple and its shadow.
Using the base colour, start building up layers in light washes, drying to glaze and not mix between layers.
As you reach the colour saturation for each colour, move on to the next colour and repeat building up colours.
Remember to keep adding colour into the shadows you are building so that proper darkness can be reached by the time
you get to your last colour to glaze.
Try:
starting with water and mixing paint into it to control the colours you make.
to think about how colours will layer (refer to your glazing chart).
to remember to completely dry the image between layers.
to apply the rule of thirds in positioning the apple on your page
This will be a two week in-class project.
1 painting
You will produce a large scale image of a fruit or veg of your choosing using watercolour paints; medium yellow, phthalo blue, brilliant red.
Your first job is to practice using the paints on scrap paper. Practice glazing and drying, and possible colour combinations.
Find an image to work from. It must have a white background and a cast shadow.
Then begin work on your painting.
How do you do that?
Lightly sketch out the apple and its shadow.
Using the base colour, start building up layers in light washes, drying to glaze and not mix between layers.
As you reach the colour saturation for each colour, move on to the next colour and repeat building up colours.
Remember to keep adding colour into the shadows you are building so that proper darkness can be reached by the time
you get to your last colour to glaze.
Try:
starting with water and mixing paint into it to control the colours you make.
to think about how colours will layer (refer to your glazing chart).
to remember to completely dry the image between layers.
to apply the rule of thirds in positioning the apple on your page
This will be a two week in-class project.
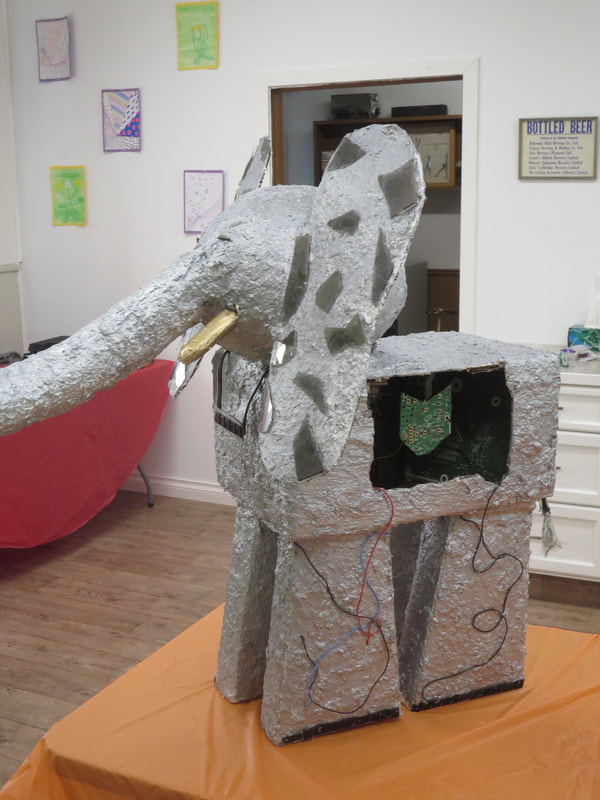
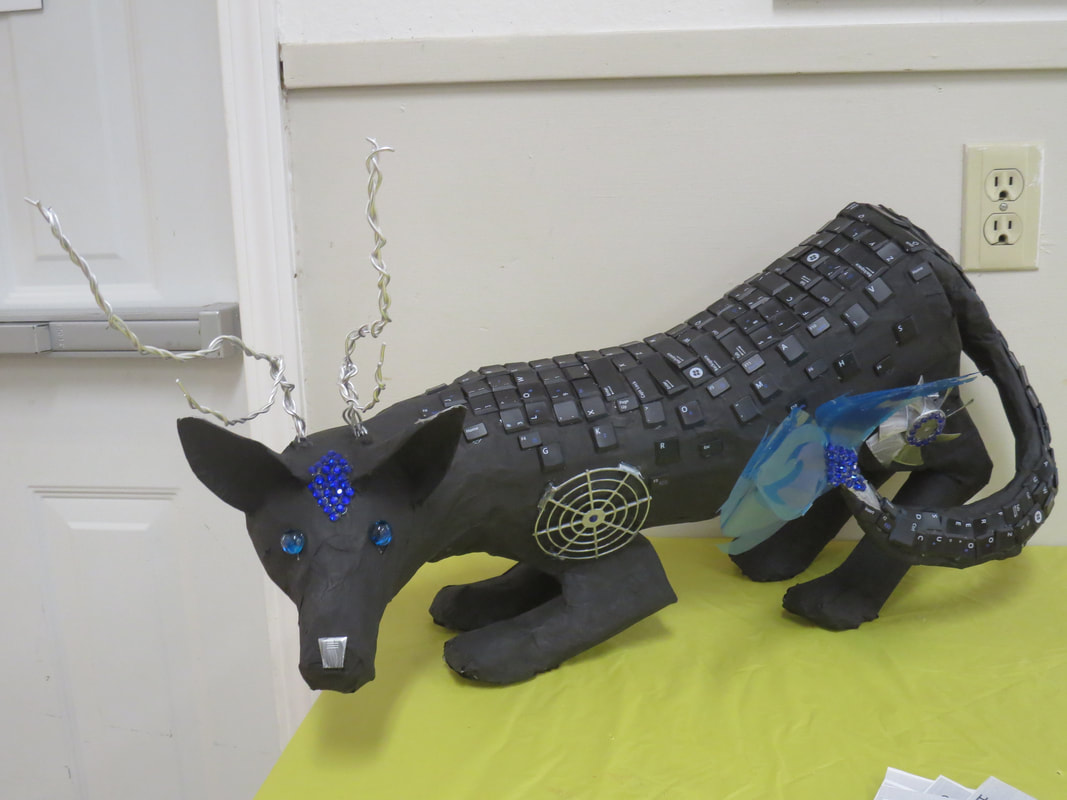
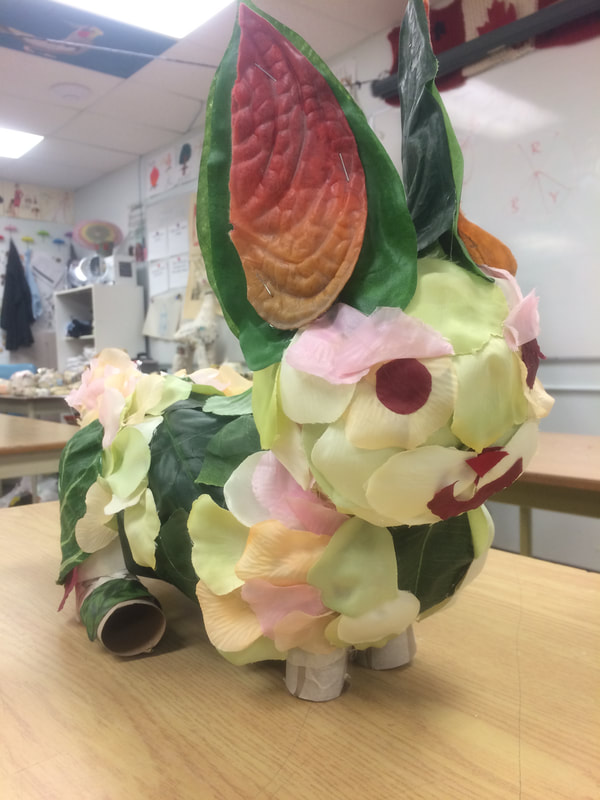
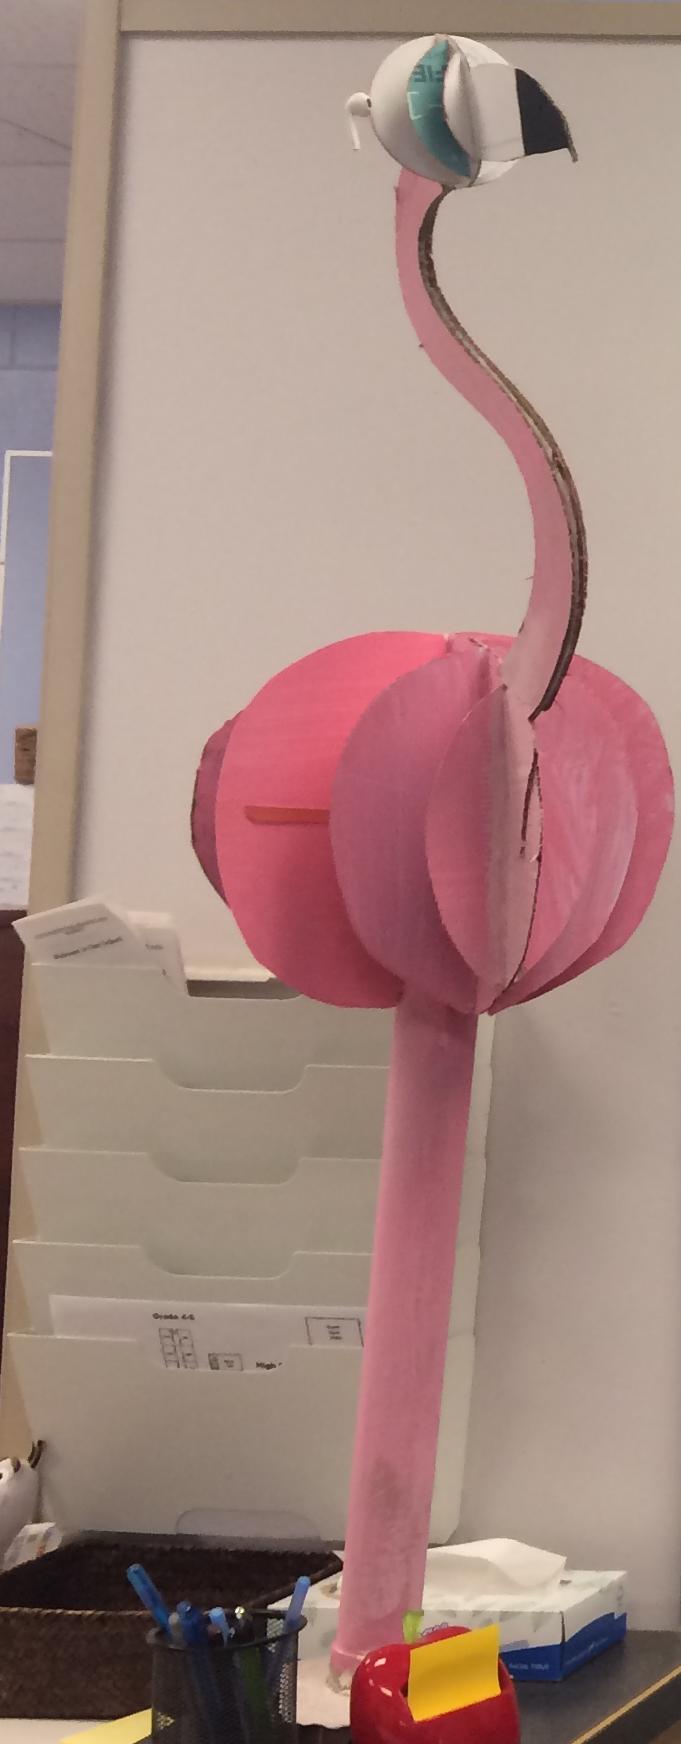
MAJOR ASSIGNMENT 5 - Mecha/Nature-Beast
1 sculpture
You will produce a large scale sculpture (min 2ftx2ft) of an animal in a small group, using sculpting and mechanical/natural materials.
Your first job is find a group and sketch out your ideas together, using resources of animals for inspiration.
Once you've agreed on a design, begin to practice mixing the sculpting material and getting used to it.
Find and collect mechanical or natural pieces to enhance and to mechanize/naturalize your piece.
Then begin work on the full scale sculpture..
How do you do that?
Create a base to build from.
Using the sculpting material to develop form and to adhere mechanical/natural elements.
Consider colour and texture, and sand rough areas when dry as needed.
Try:
To think of the piece in the round.
Have supports to help it stand.
Divide jobs and work together effectively as a team.
Be courteous and respectful of the environment and clean up sculpting material promptly.
This will be a three week in-class project.
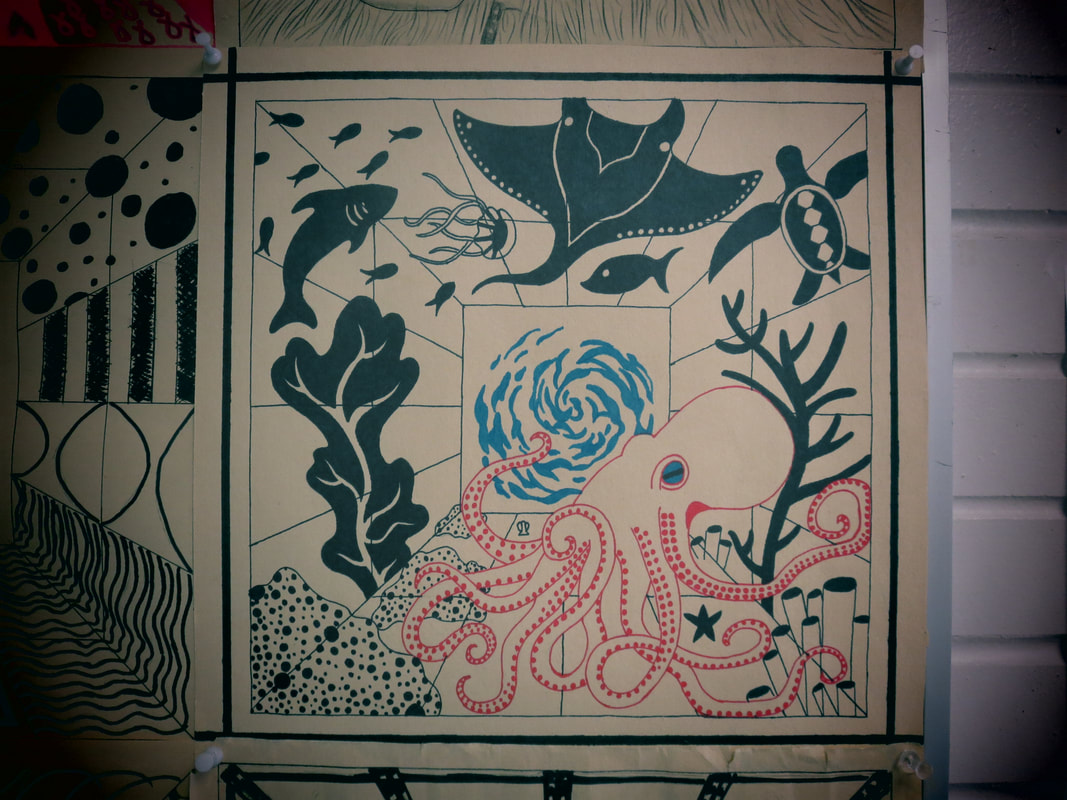
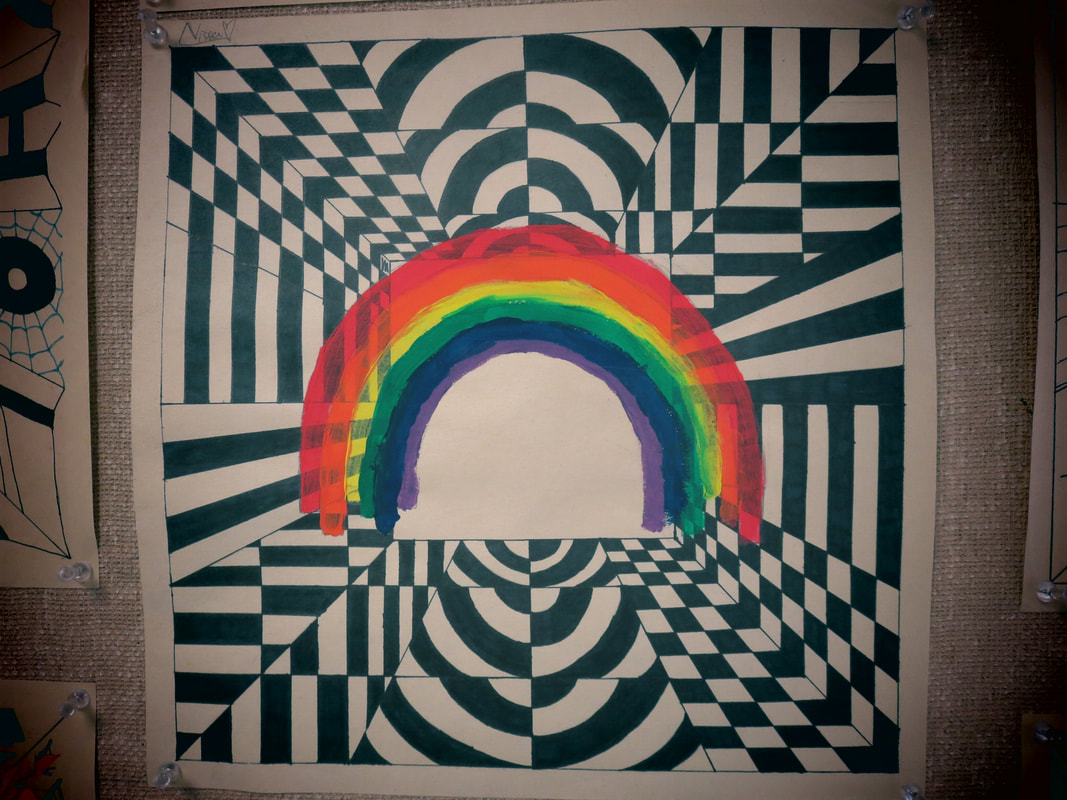
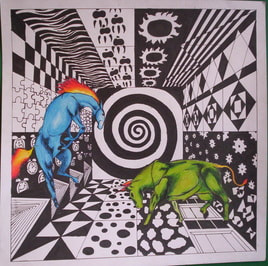
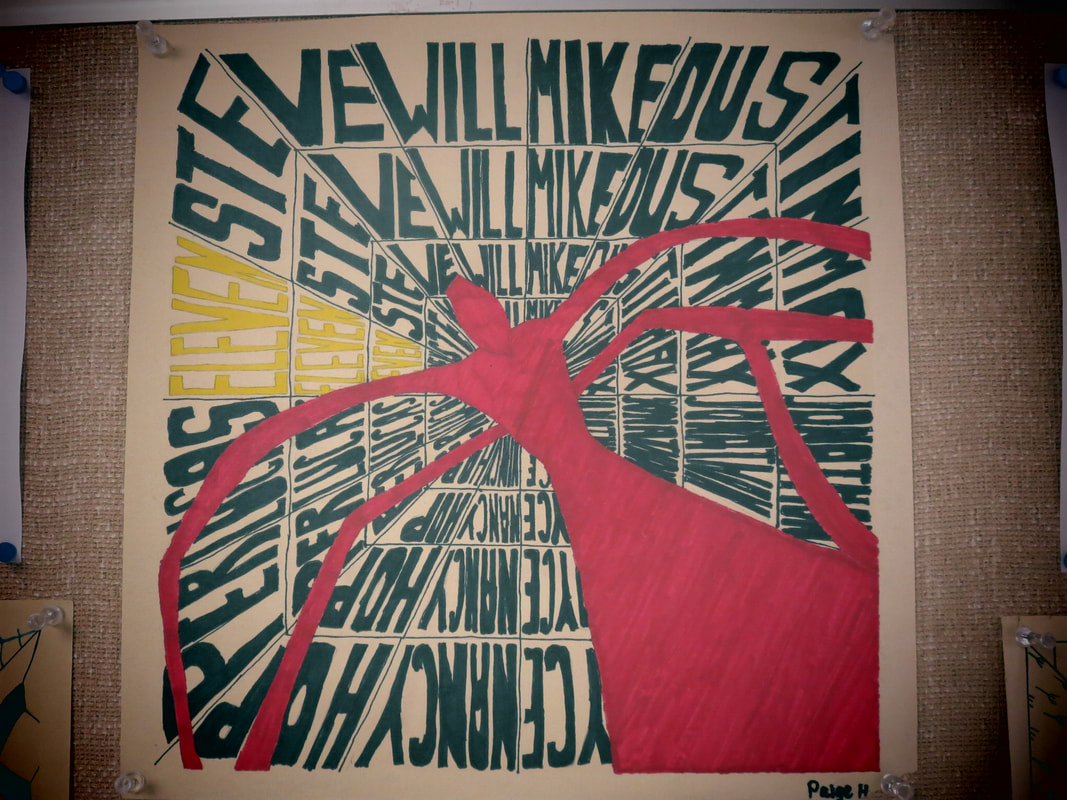
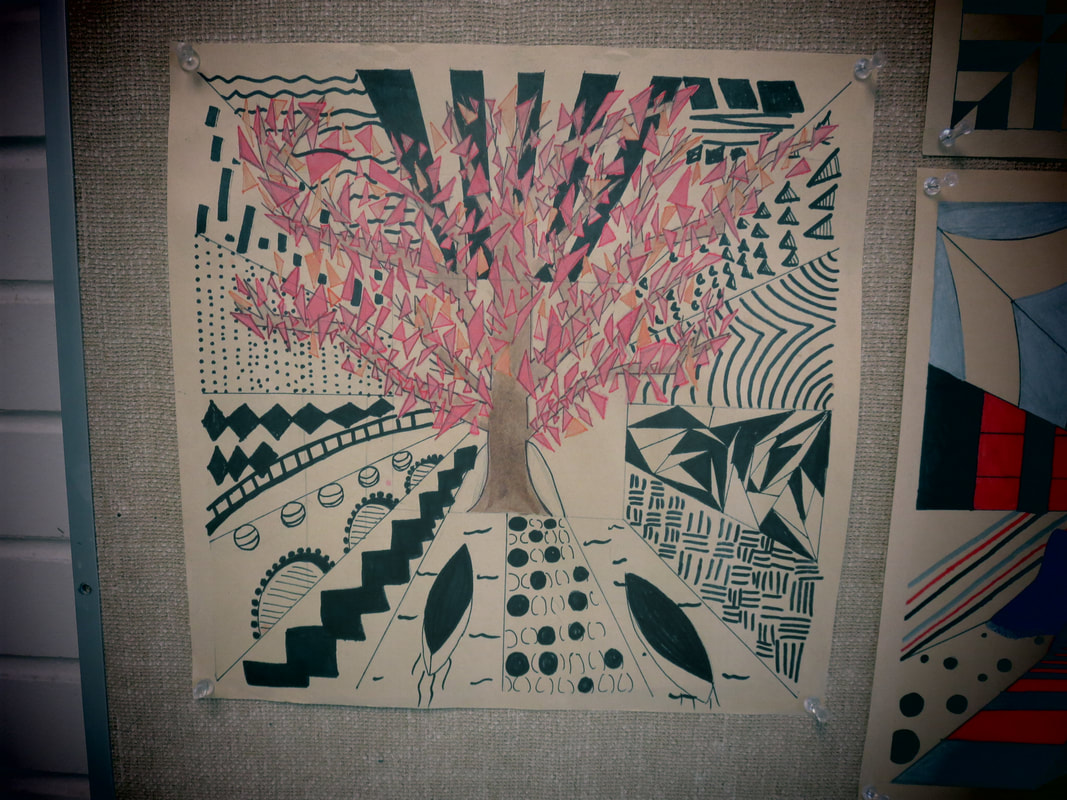
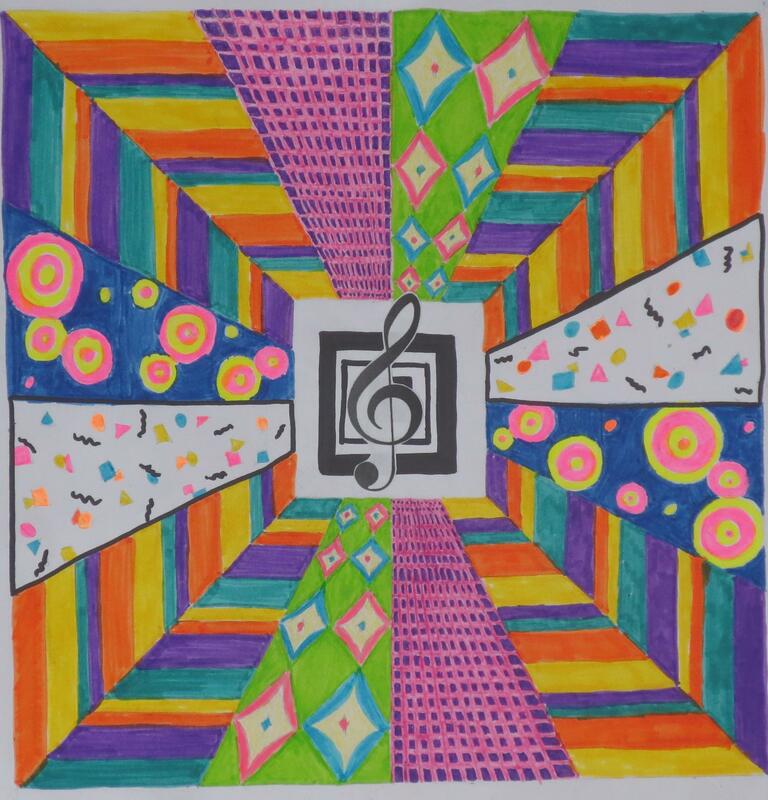
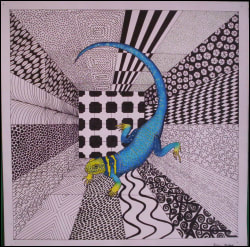
MAJOR ASSIGNMENT 6 - Perspective Study
1 drawing
You choose the subject, either real or imaginary, together with it's environment or part of its environment, using the rules of perspective to determine the basic walls/ceilings/floor measurement.
Begin by mapping out some thumbnail ideas in your sketchbook.
Use a square 13x13 inch piece of high-quality paper with a carefully measured I/2 inch border all around.You will need a pencil, a black pen and a ruler.
Your back wall can range in size from 2 1/2 inches to 4 1/2 inches square. Around your 12 X 12 inch square, divide each side into 3 inch segments in order to create a guideline for your patterning (4 divisions on each side).
How do you do that?
For your horizon line, think about creatively dividing the space (from your perspective, do you see more floor or more ceiling?)
For your vanishing point, think about where you are standing in the space (to the right, left or in the middle of the room)
Now that you have established your point of view, begin lightly drawing in your converging lines measuring 3 inches apart. Once completed, draw in the creature and other elements see necessary to enhance the space.
Try:
You can work from your imagination or from photographs to determine the appearance of your creatures.
Utilize a variety of textural and line qualities to give animation to your creature.
Create your creature in colored pencil.
To establish successful patterning, measurement and precision is the key in reinforcing the perspective of the space.
Other measuring tools, a compass, protractor, etc. would be a asset when working on your composition and design.
Pay attention to:
Correct One Point Perspective
Animation of the Creature (posing)
Composition
Creative Patterning
Finished Quality
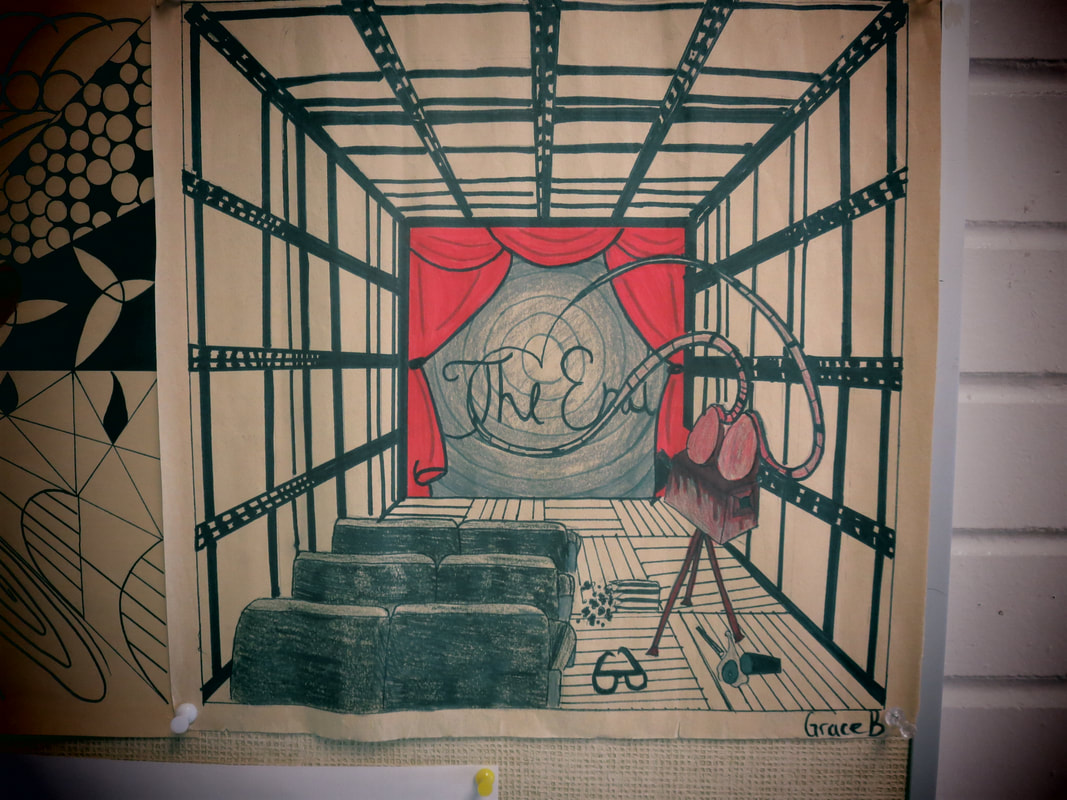
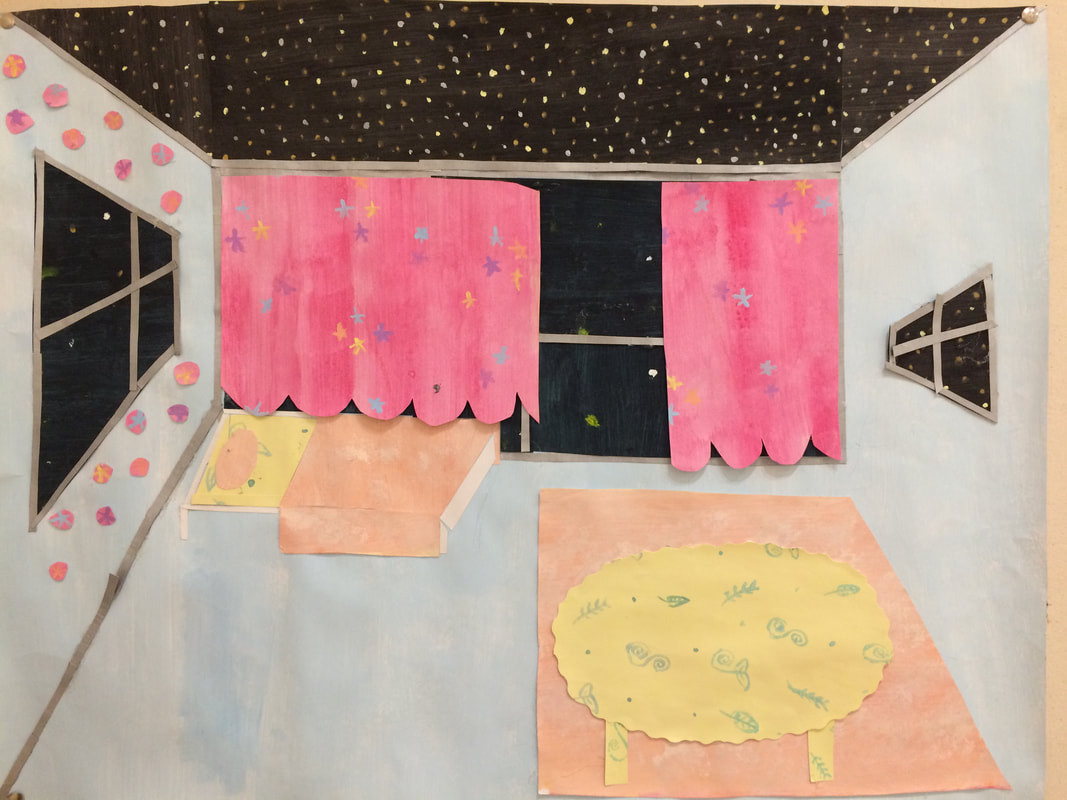
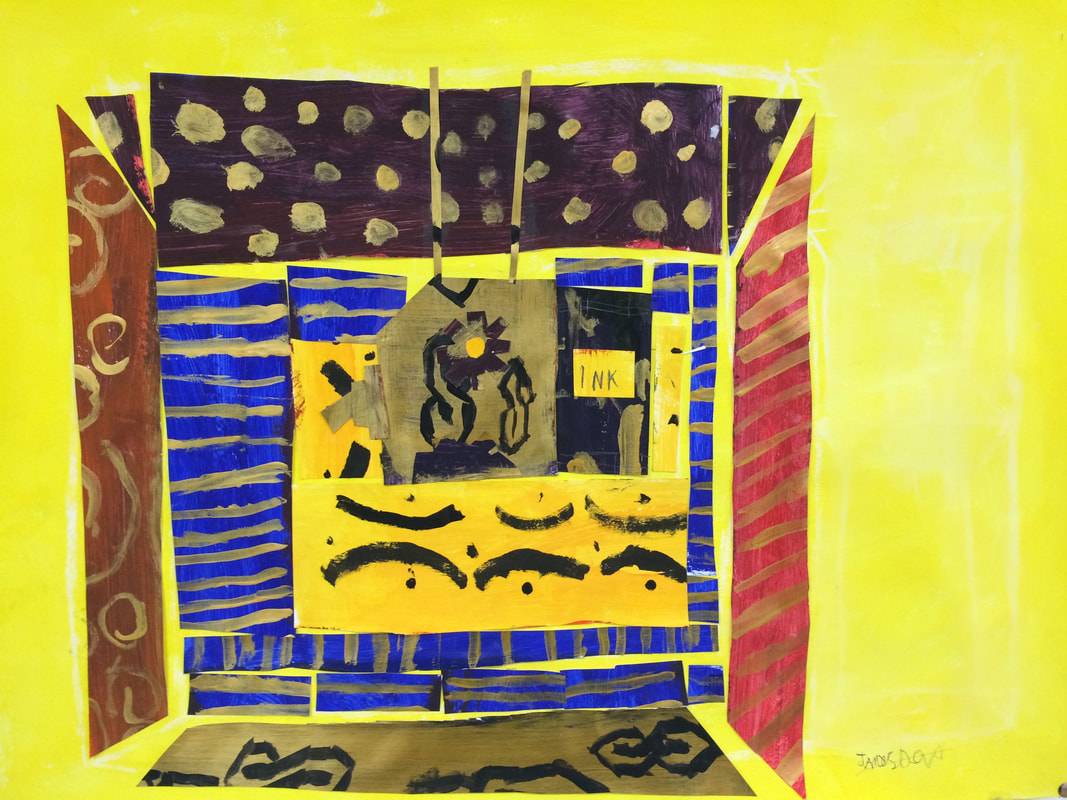
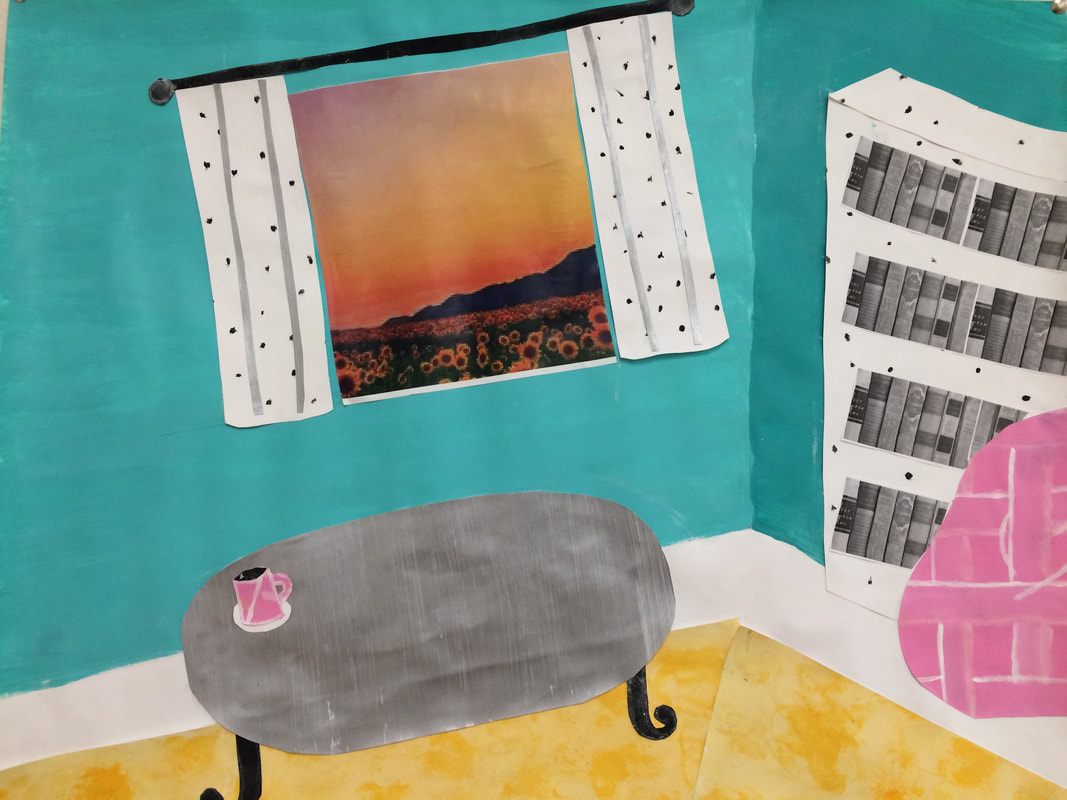
MAJOR ASSIGNMENT 7 - Room Collage
1 collage
You choose the space, either real or imaginary, and create the materials to collage with.
Begin by researching interior design colour schemes and testing out the acrylics to find a solid colour scheme and mark making potential.
When you have your colour scheme, create a chart labelling the colours you will use and the paint brand.
Sketch out the room from reference or memory and check in with your teacher.
After your design is approved, begin work on your large piece.
How do you do that?
Get card stock paper and being colouring large areas with acrylics. Let it dry.
Go over those areas with acrylics creating patterns and textures. Let dry.
Map out your image on large paper.
Cut your patterned pieces into areas to fit and cover over your drawing. Layer, overlap, and glue down pieces to complete the design.
Try:
You can work from your imagination or from photographs of places your know or do not.
Utilize a variety of textures and patterns in your design.
Choose colours carefully to create balance and harmony, but also don't be afraid to have accent colours.
Pay attention to:
Correct Dimensions and Perspective
Use and arrangement of colour
Composition
Creative Patterning
Finished Quality