MAJOR ASSIGNMENT 1 - large scale drawing
1 drawing and process work
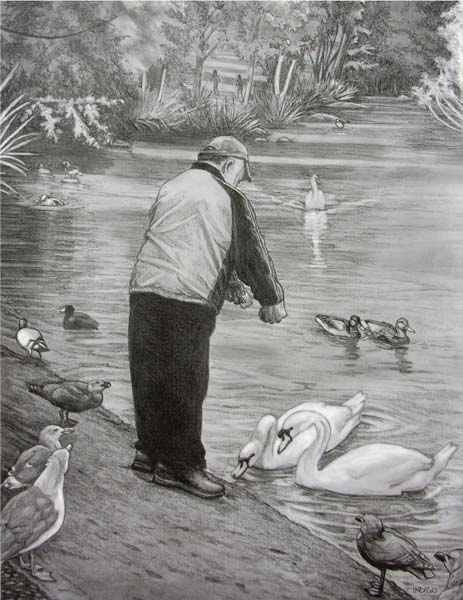
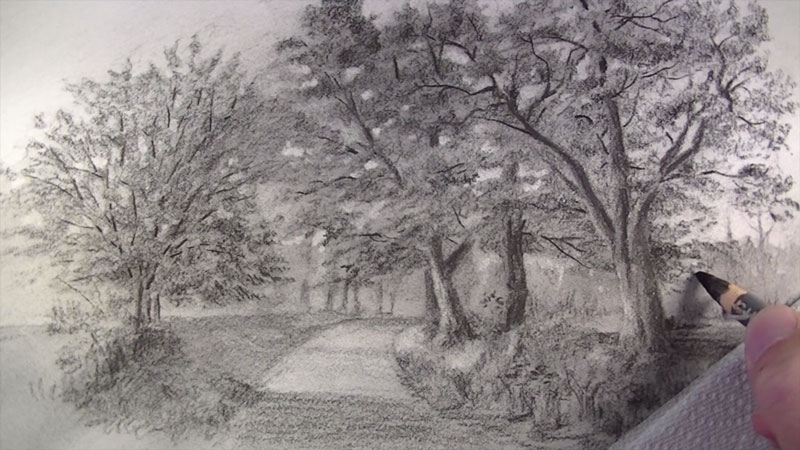
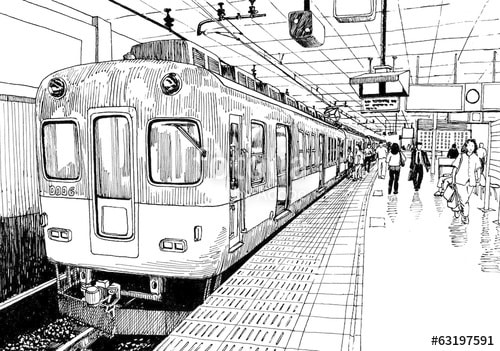
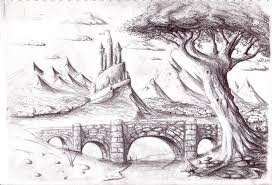
You will produce a large scale pencil drawing, demonstrating your use of rendering techniques and shape.
Your first job is to sketch a few thumbnail images in your sketchbook to generate ideas.
How do you do that?
Make small rectangles or section off areas of your page to divide it so you can plan accordingly.
Then decide on some ideas you'd like to spend your time drawing.
Find some references and begin sketching thumbnails to help plan your work.
Map out the image lightly on large paper.
Begin by using simple shapes to check the placement of objects.
Use rendering techniques to bring value and depth to your image.
Sign it and hand in with an artist statement.
Try:
choosing a topic that interests you
to think carefully about how your image terms of composition
(How much space is there? How will you use the space? Do you have a clear fore, middle and background?)
to use the rendering techniques learned in class to demonstrate your learning
This will be a two week in-class project.
1 drawing and process work
You will produce a large scale pencil drawing, demonstrating your use of rendering techniques and shape.
Your first job is to sketch a few thumbnail images in your sketchbook to generate ideas.
How do you do that?
Make small rectangles or section off areas of your page to divide it so you can plan accordingly.
Then decide on some ideas you'd like to spend your time drawing.
Find some references and begin sketching thumbnails to help plan your work.
Map out the image lightly on large paper.
Begin by using simple shapes to check the placement of objects.
Use rendering techniques to bring value and depth to your image.
Sign it and hand in with an artist statement.
Try:
choosing a topic that interests you
to think carefully about how your image terms of composition
(How much space is there? How will you use the space? Do you have a clear fore, middle and background?)
to use the rendering techniques learned in class to demonstrate your learning
This will be a two week in-class project.

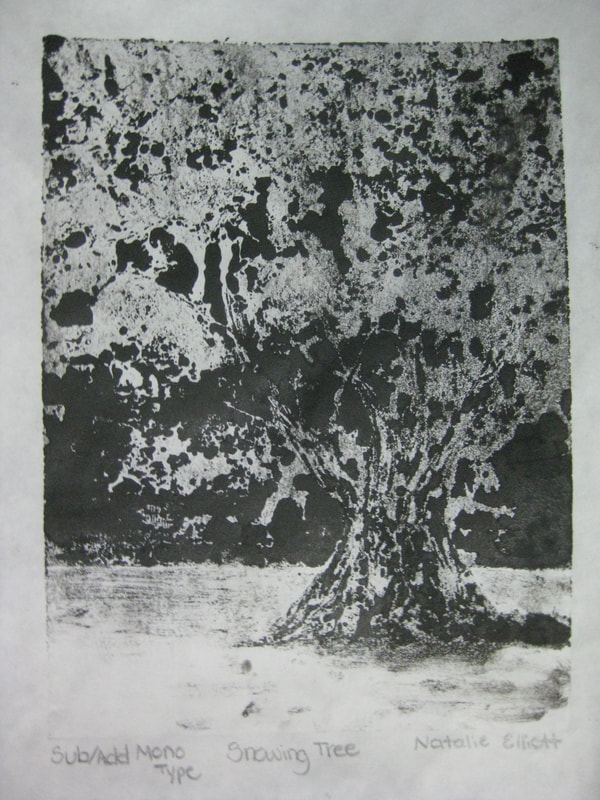
MAJOR ASSIGNMENT 2 - monoprint series
5 prints
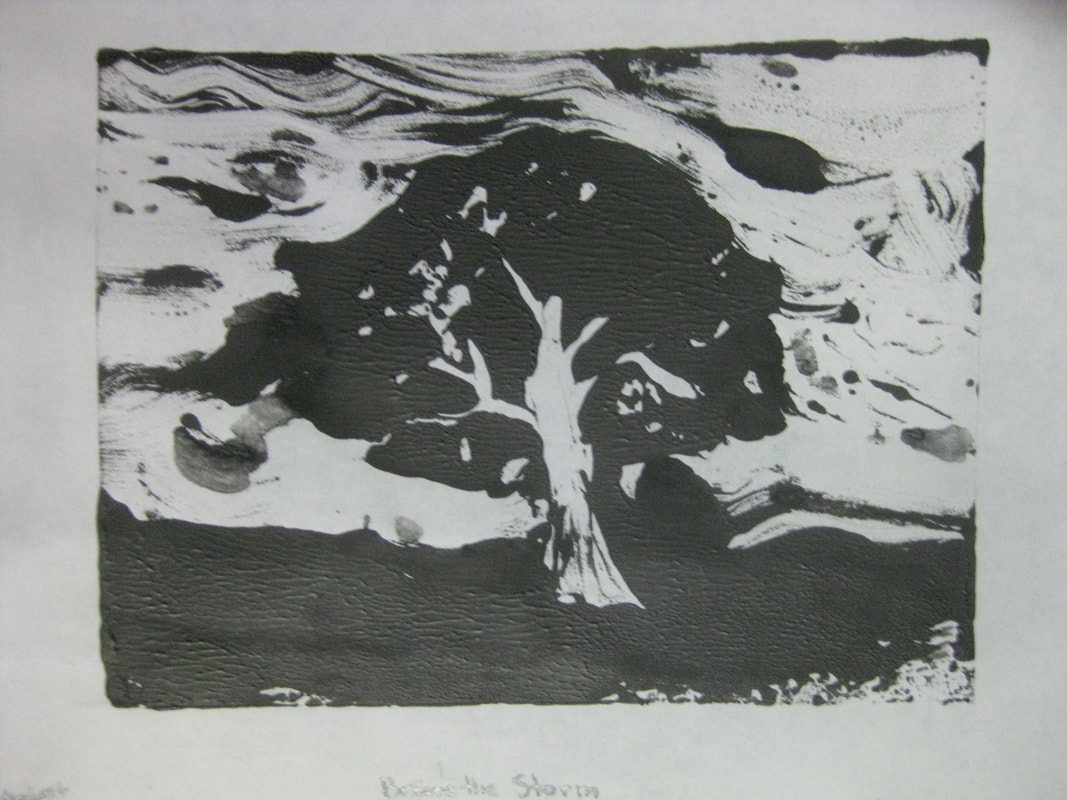
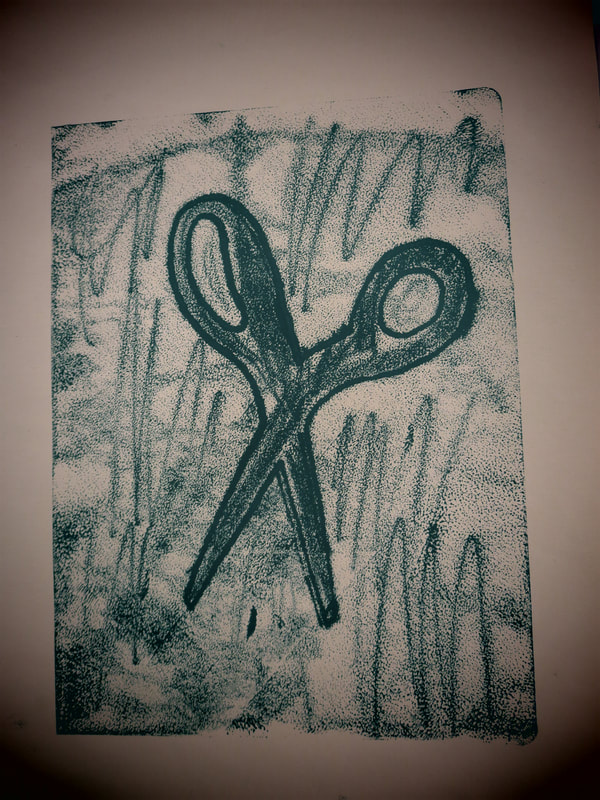
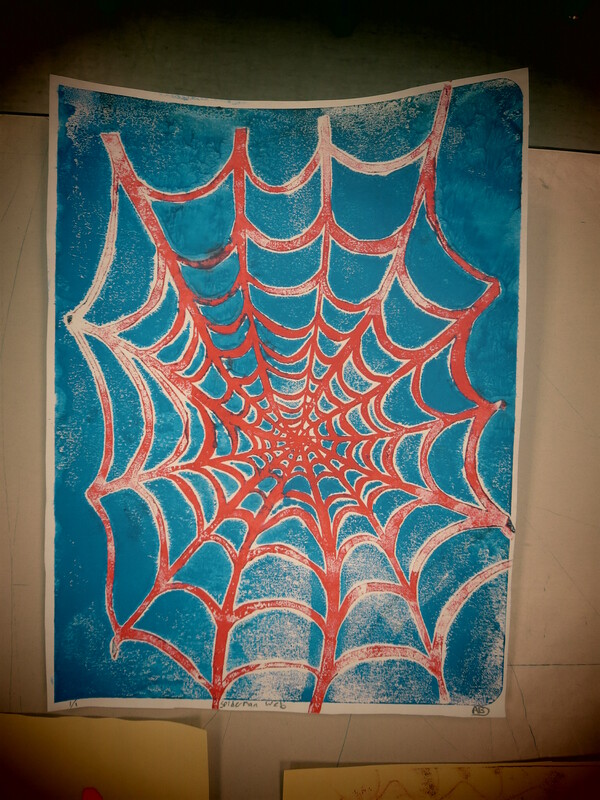
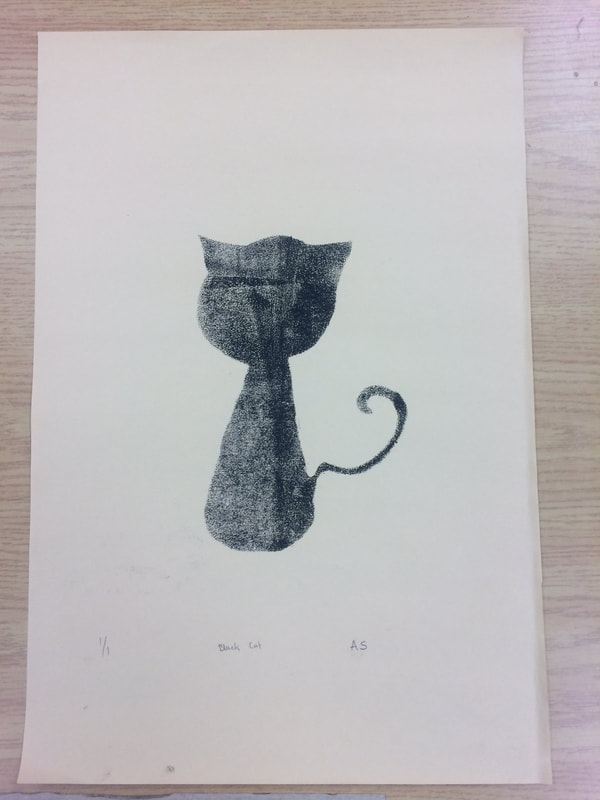
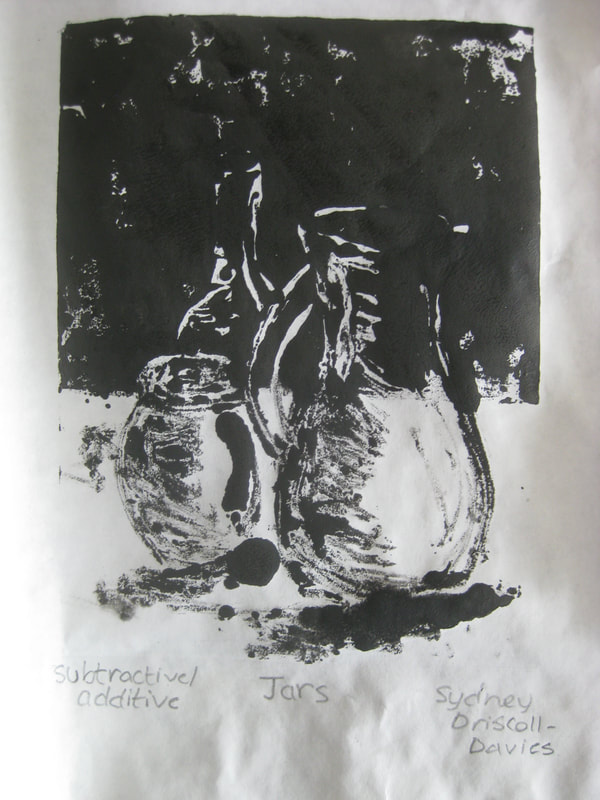
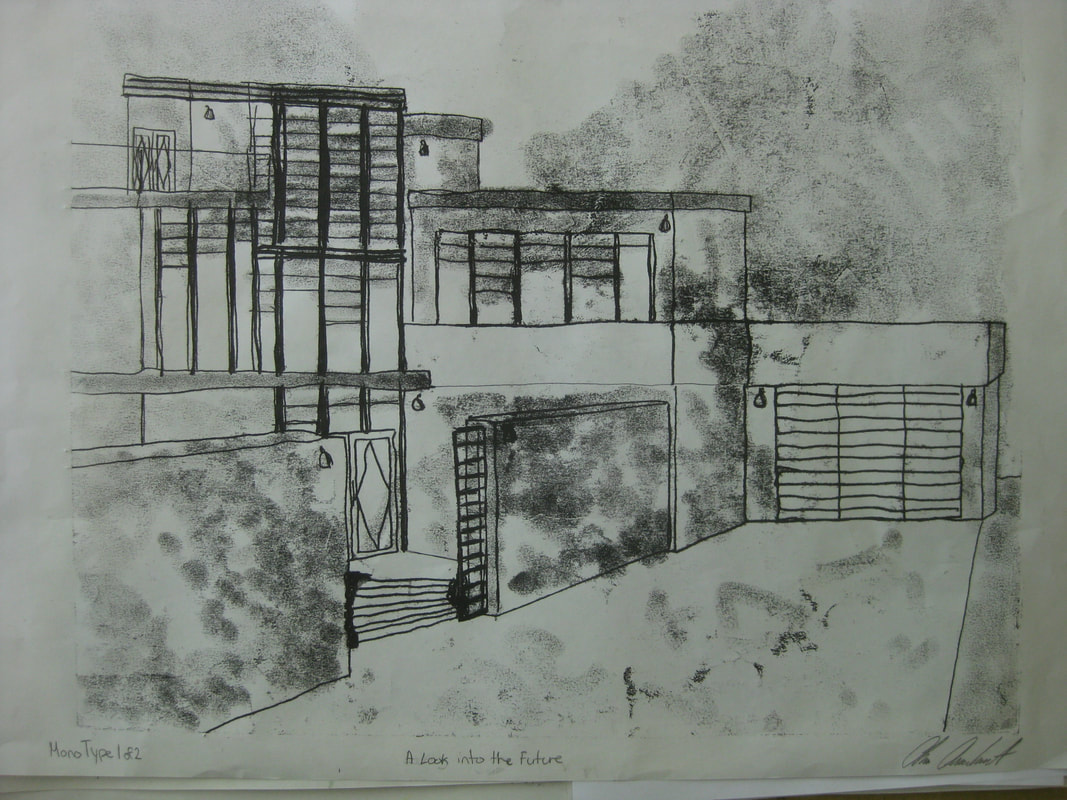
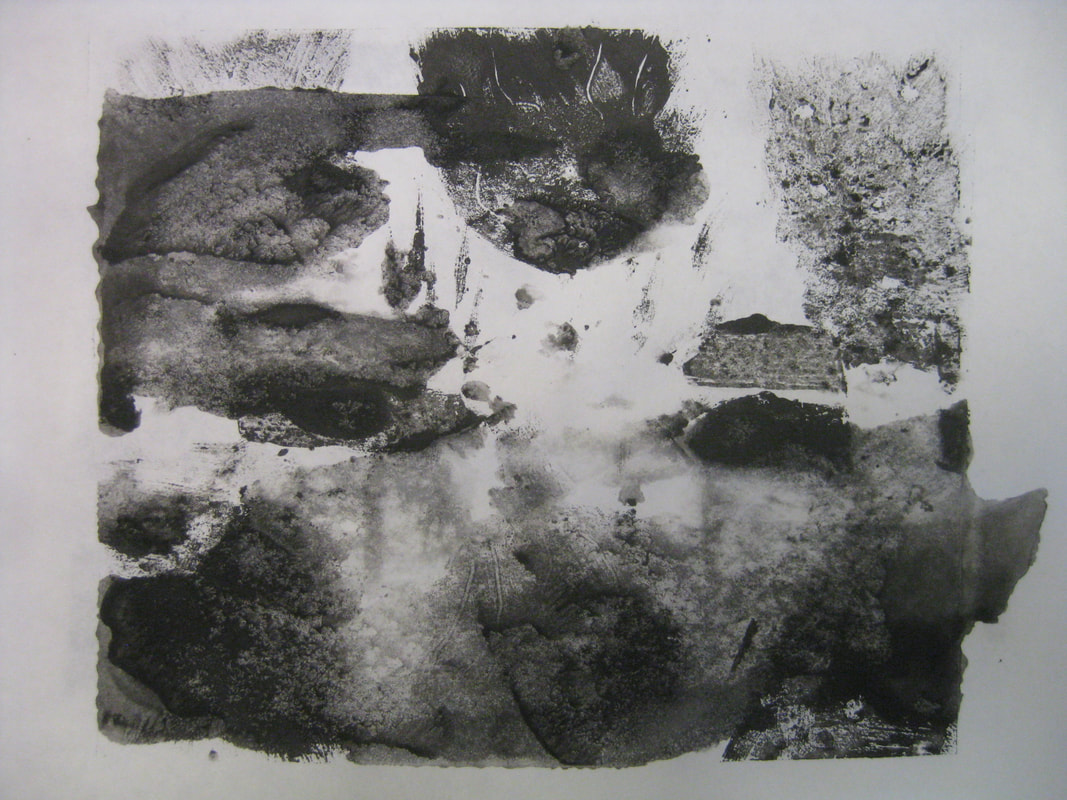
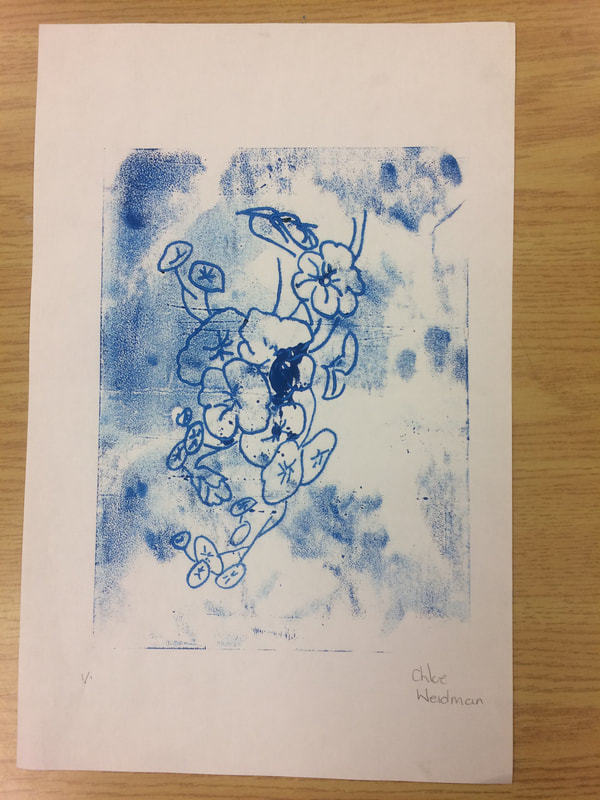
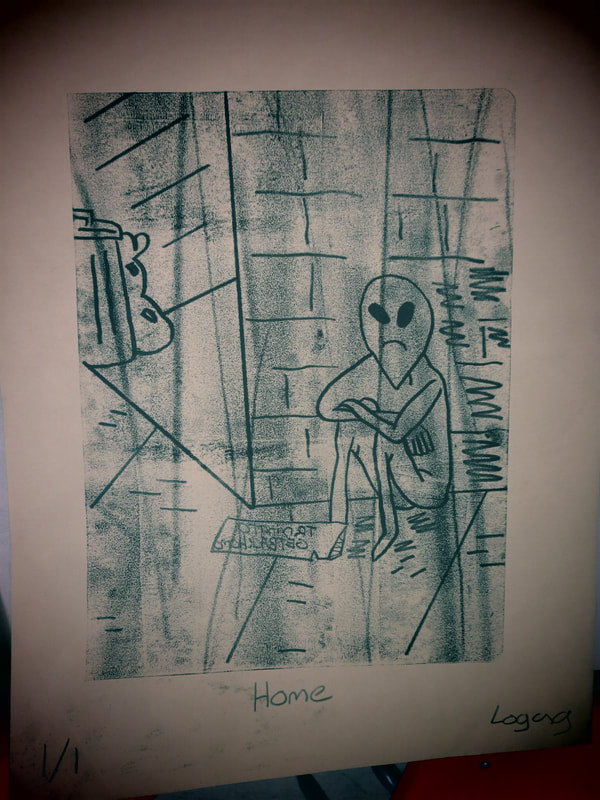
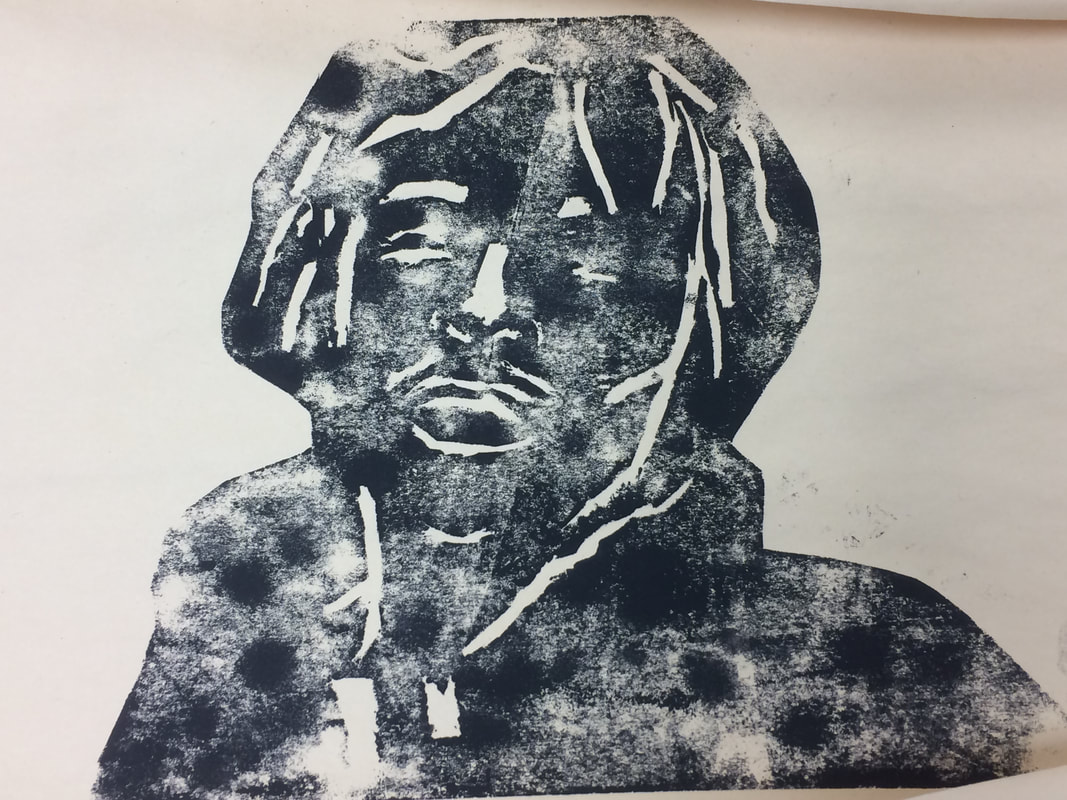
You will produce a series of monoprints on a shared theme.
Your first job is to sketch a few thumbnail images in your sketchbook to generate ideas.
How do you do that?
Make small rectangles or section off areas of your page to divide it so you can plan accordingly.
Then decide which images would be best suited for which monoprinting technique/s.
Make prints, paying attention to the details of what makes a 'good' print.
Hand in your 5 best prints, but be sure to include at least one example of each technique covered
(additive, subtractive, masking, and trace).
Label and note your prints appropriately.
Try:
printing the same image in different ways
to extend the ink, and work tacky
to think carefully about how your selected area works in terms of composition
(How much space is there? How will you fill the image plane? Is your image centred or off to the side?)
This will be a three week in-class project.
5 prints
You will produce a series of monoprints on a shared theme.
Your first job is to sketch a few thumbnail images in your sketchbook to generate ideas.
How do you do that?
Make small rectangles or section off areas of your page to divide it so you can plan accordingly.
Then decide which images would be best suited for which monoprinting technique/s.
Make prints, paying attention to the details of what makes a 'good' print.
Hand in your 5 best prints, but be sure to include at least one example of each technique covered
(additive, subtractive, masking, and trace).
Label and note your prints appropriately.
Try:
printing the same image in different ways
to extend the ink, and work tacky
to think carefully about how your selected area works in terms of composition
(How much space is there? How will you fill the image plane? Is your image centred or off to the side?)
This will be a three week in-class project.

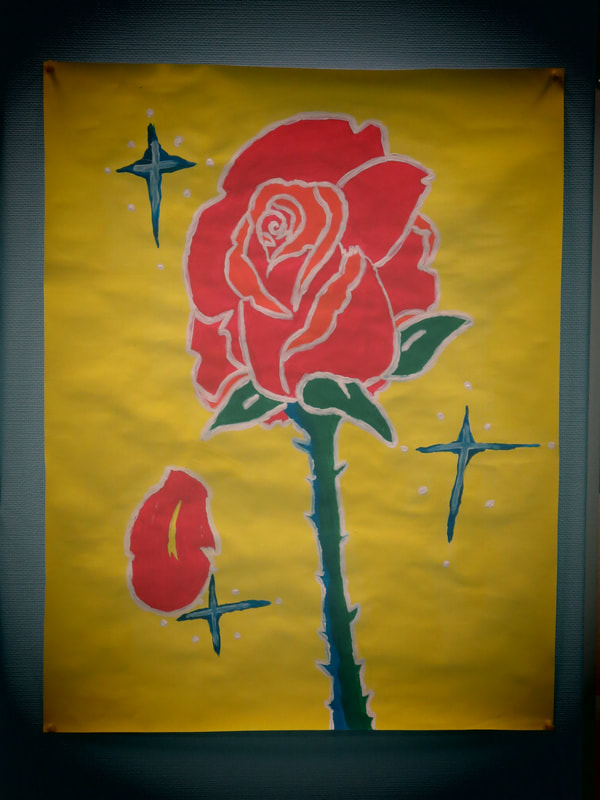
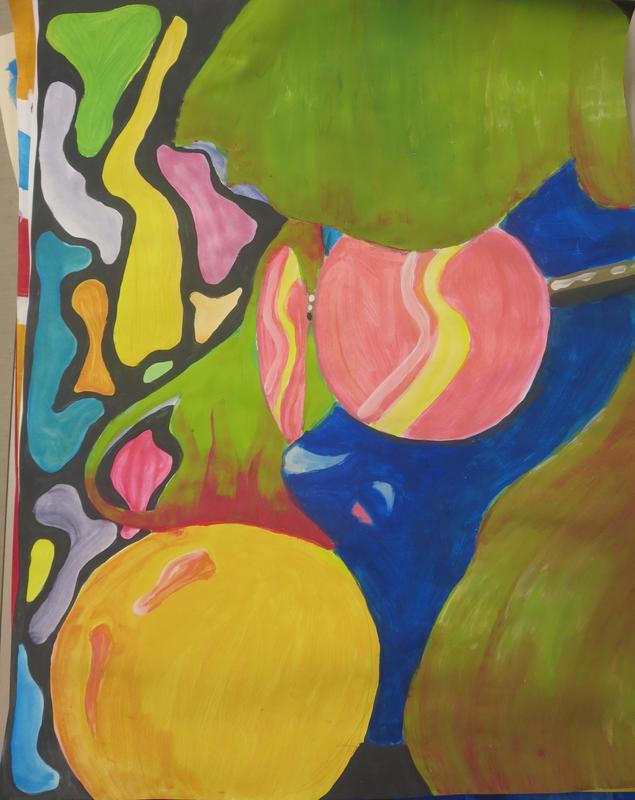
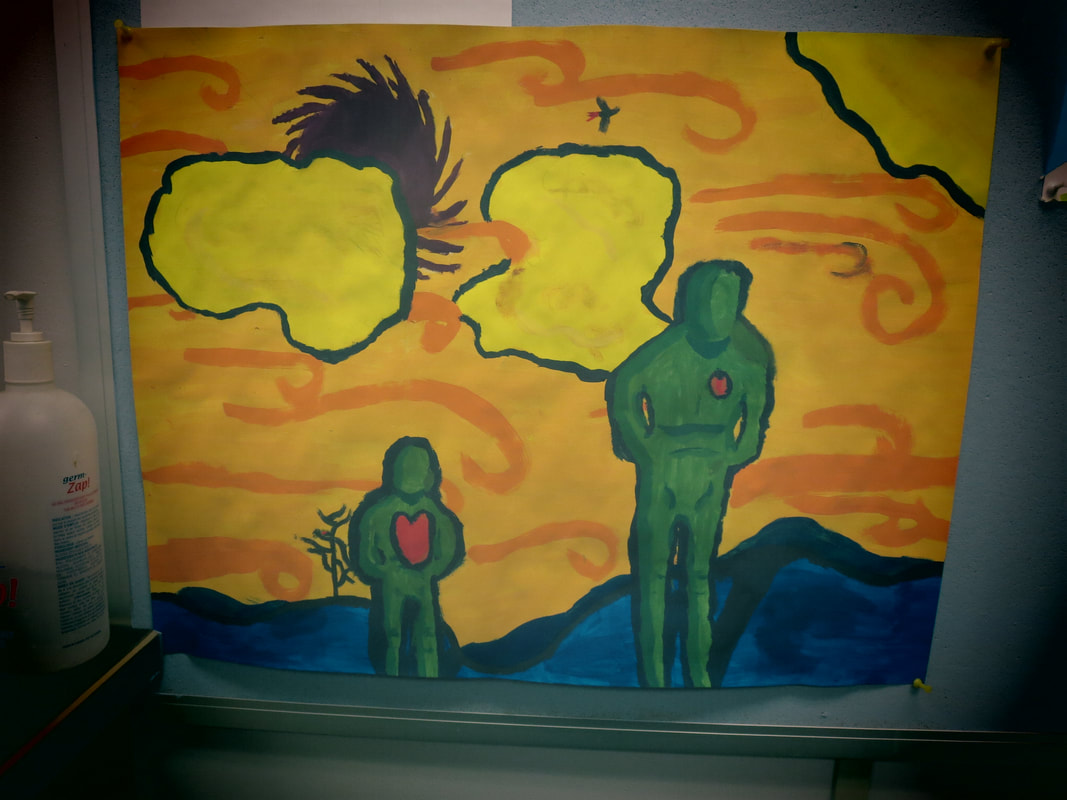
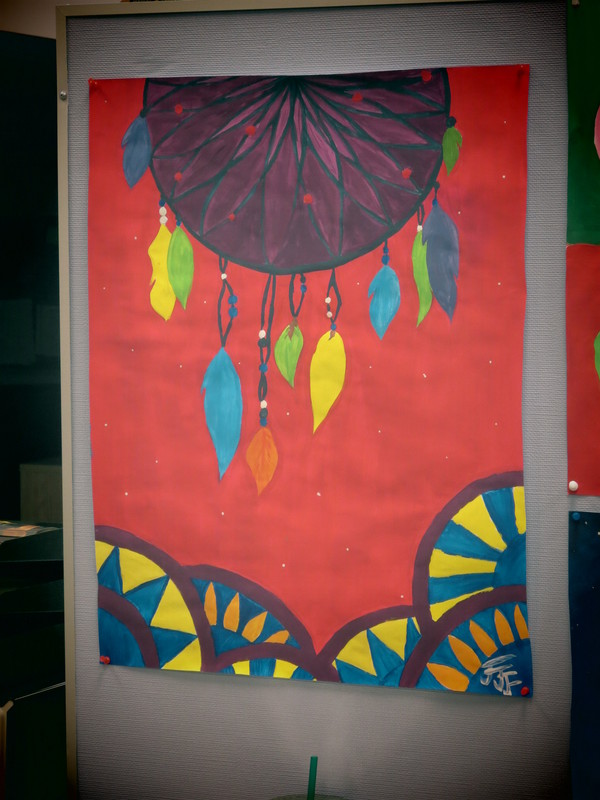
MAJOR ASSIGNMENT 3 - applied colour theory painting
1 large painting
You will produce a painting to show your understanding of colour theory.
Your first job is to practice setting up your palette with primary colours.
Then practice mixing secondary and tertiary colours.
REMEMBER: Always start with a lighter colour and mix the darker into it slowly.
Start thinking of an image that could represent multiple ideas/relationships in colour.
(primary, secondary, tertiary, complements, contrast, warm/cool, neutrals)
How do you do that?
Sketch out three possible ideas in your sketchbook.
Practice the colour scheme with coloured pencils.
When you've settled on an idea and cleared it with the teacher,
sketch it out lightly on the large paper.
To start painting, begin with the background colour. Painting vertically. Let the paint dry.
Working light to dark can be helpful, so starting with your yellow and oranges
will allow you to not worry about painting over light edges later.
Try:
to think carefully about how your selected area works in terms of composition
(How much space is there? How will you fill the image plane? Is your image centred or off to the side?)
to choose content that you enjoy and feel suits you
to work slowly, allowing proper drying times and controlling your brush
to change water frequently while painting
to explore ways to use brushes
(different sizes and shapes of brushes, methods for applying paint)
This will be a two week in-class project.

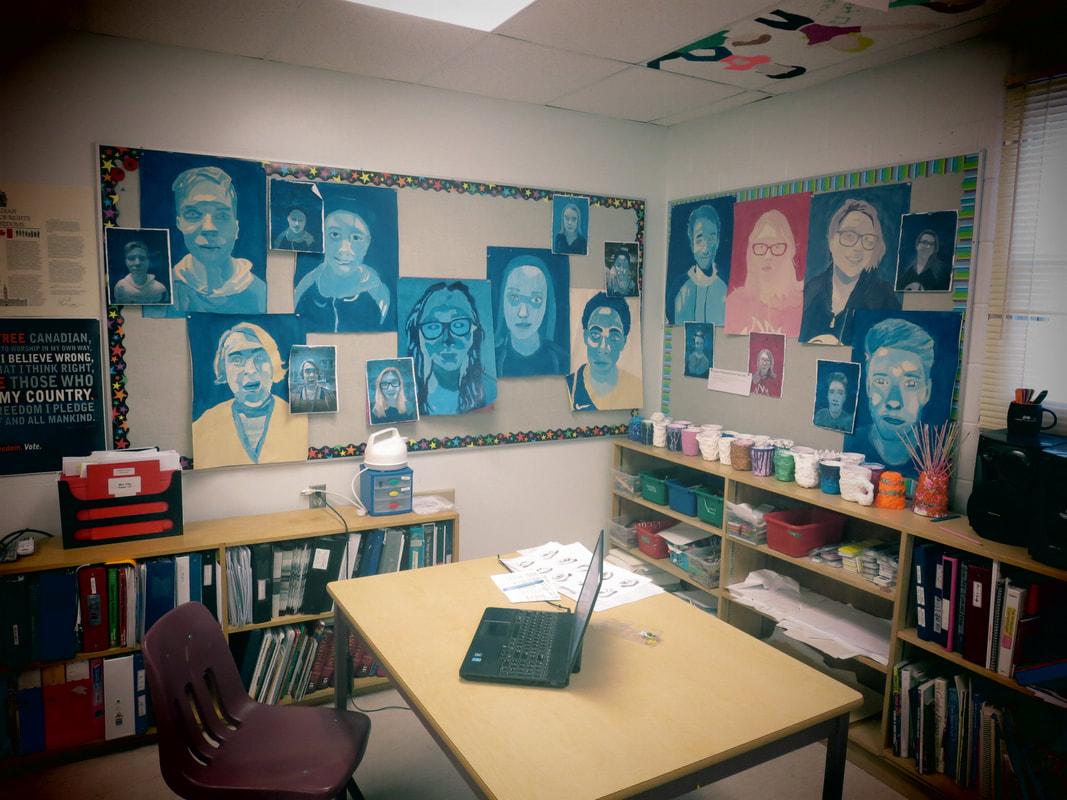
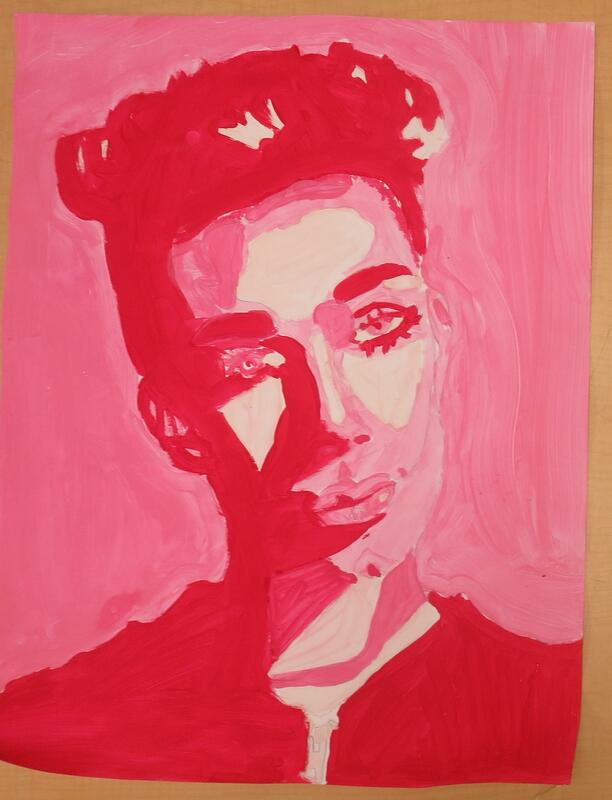
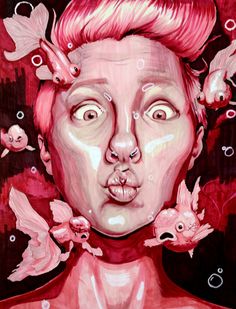
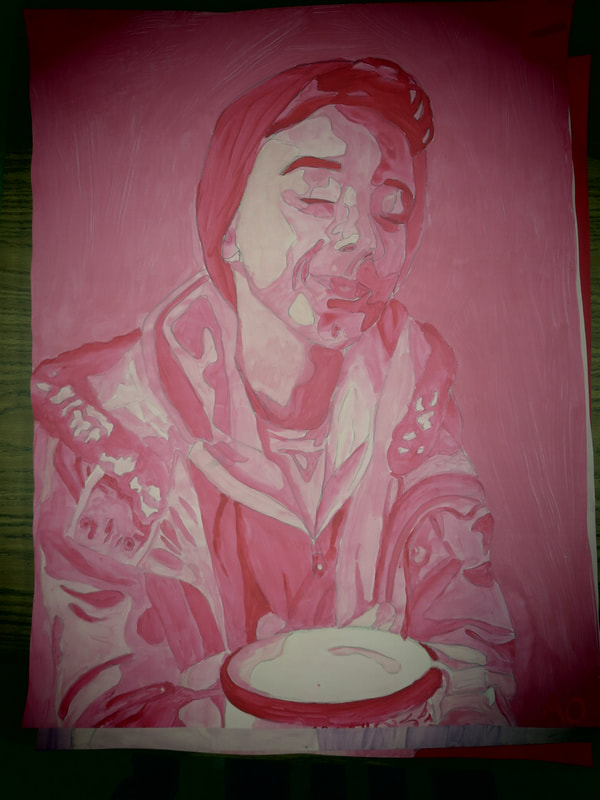
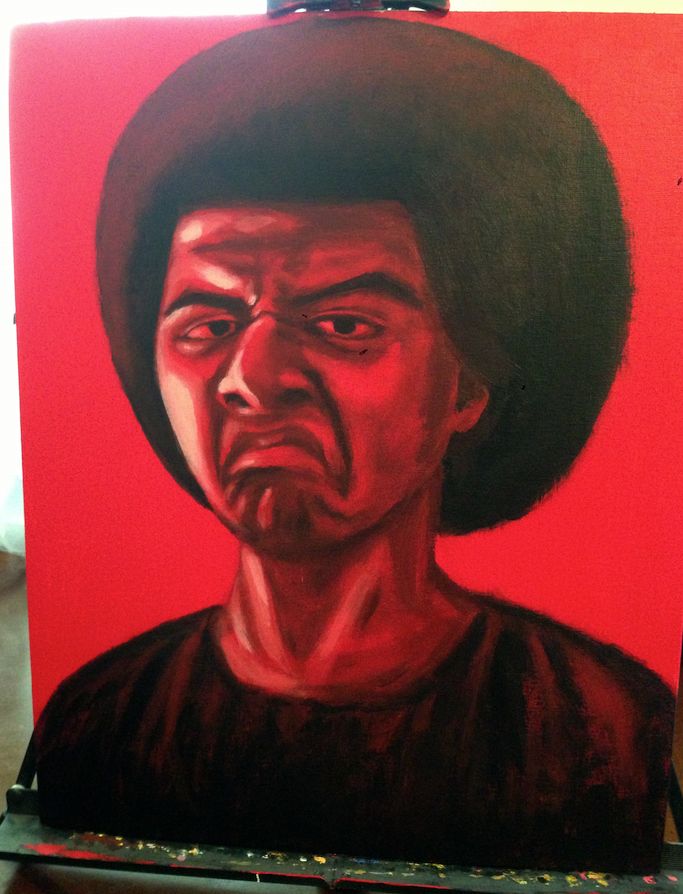
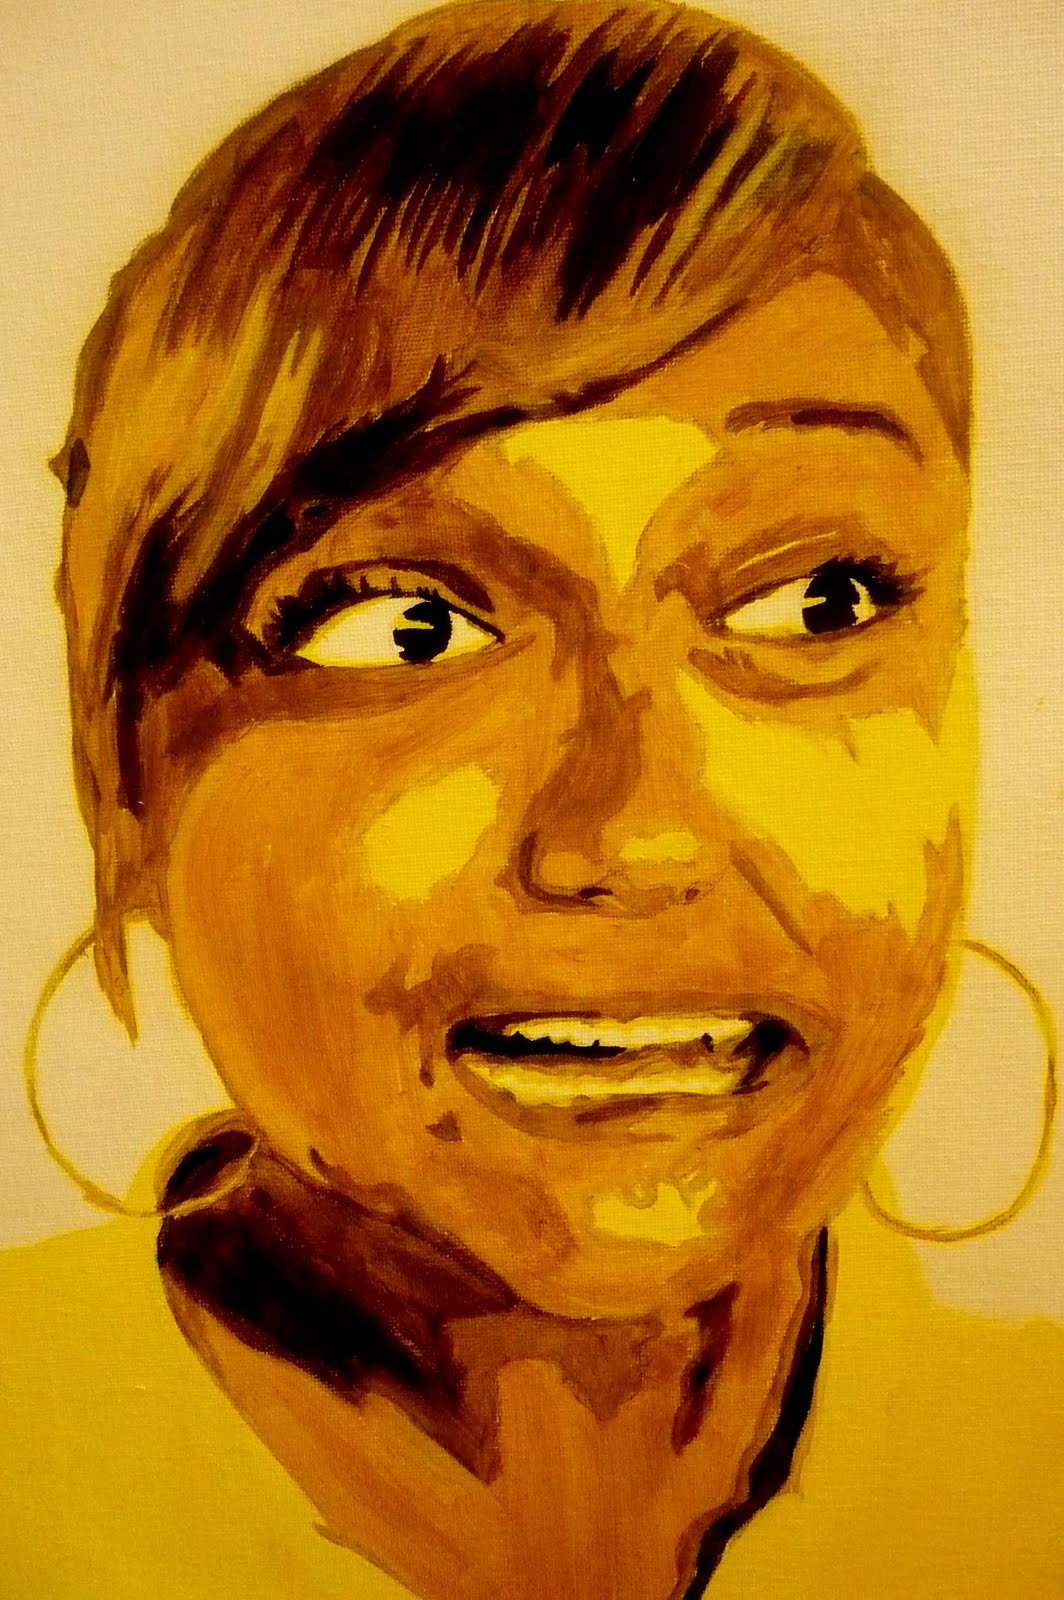
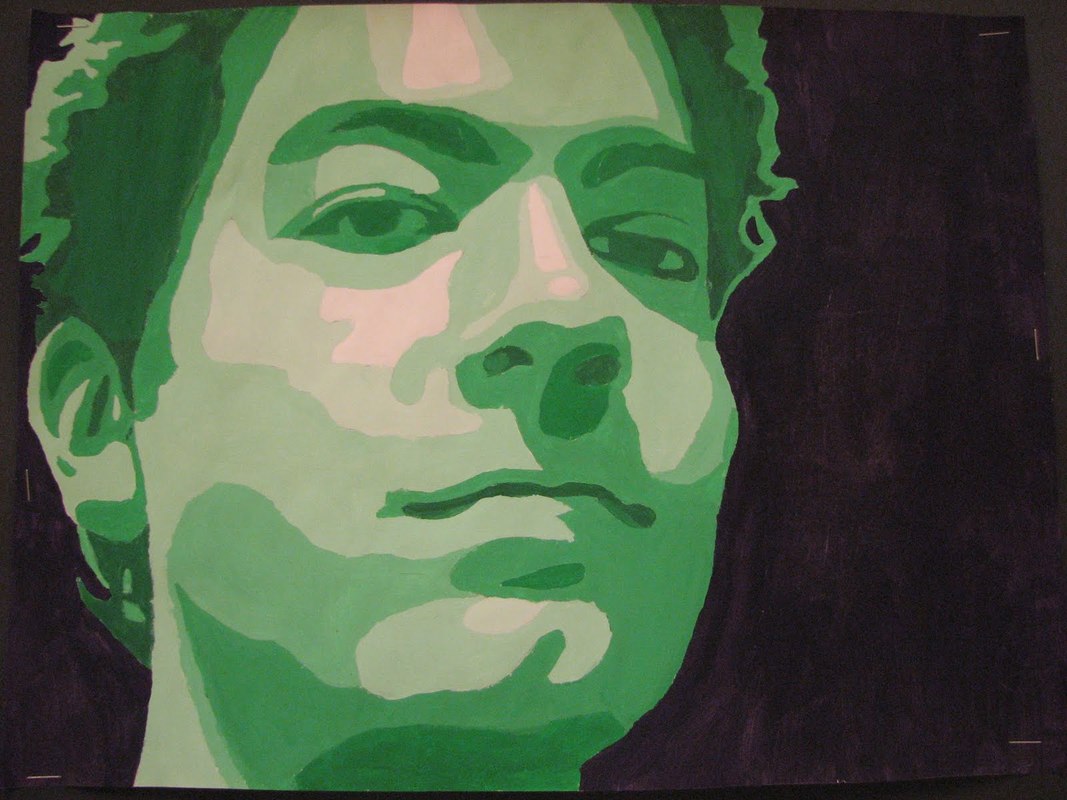
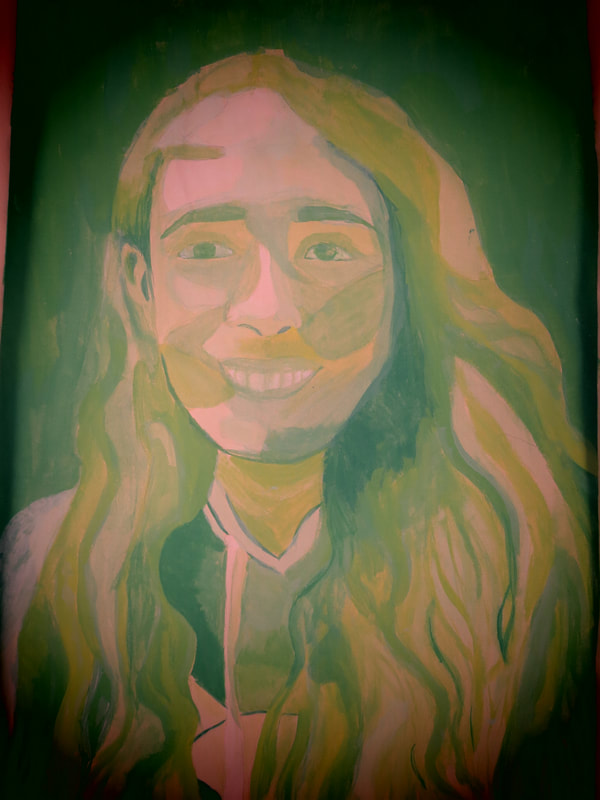
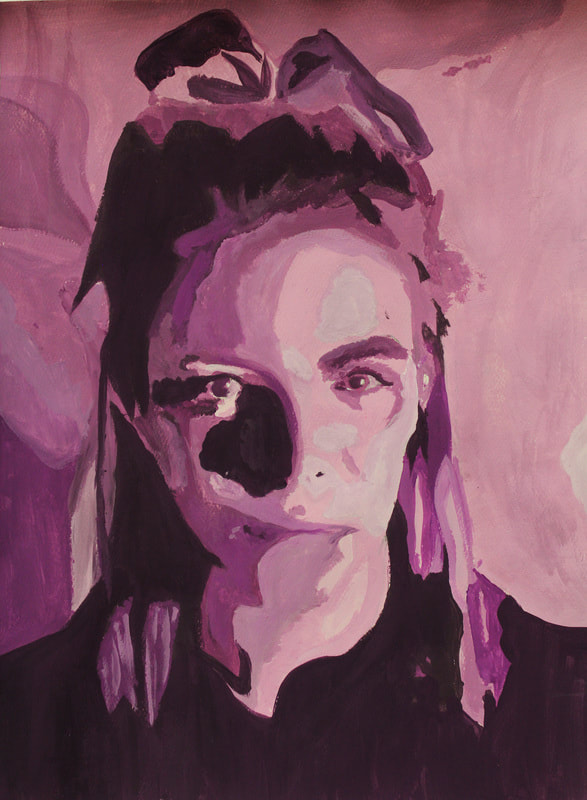
MAJOR ASSIGNMENT 4 - monochromatic value portrait
1 large painting
You will produce a monochromatic portrait, preferably a self portrait.
Your first job is to practice setting up your palette with primary colours and black and white.
Then practice mixing secondary and tertiary colours, and tints, shades and tones.
While this is happening, you will have your picture taken. Make a face you'd like to document.
Practice making a tint value scale going from your of choice (primary or secondary) colour to white in 5 steps.
Practice applying colour on the printed picture of you.
How do you do that?
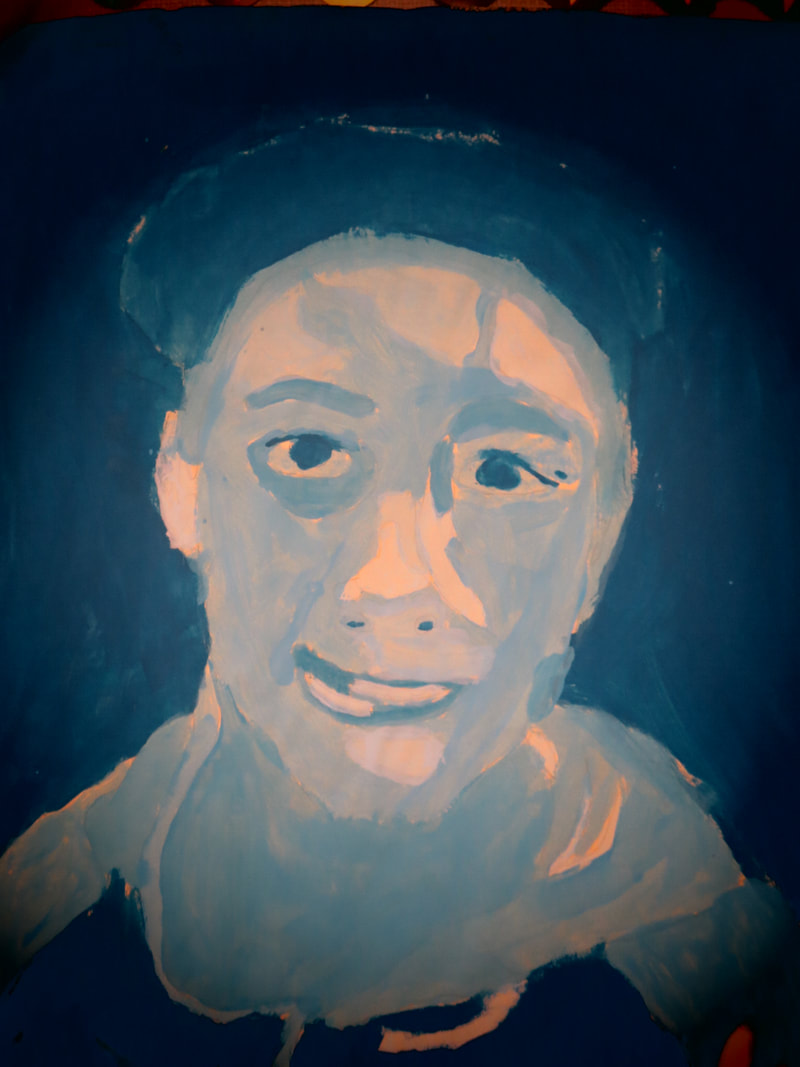
Start with the background colour. Painting vertically. Let the paint dry.
Then start painting in your face with white on the pure whites in the image. Dry.
Paint the next lightest area with your brightest tint. Dry.
And the next lightest area, dry. Continuing as the image fills getting darker and darker until you are
using your base, un-tinted colour.
Use this small image as a reference to paint the large one.
Again,
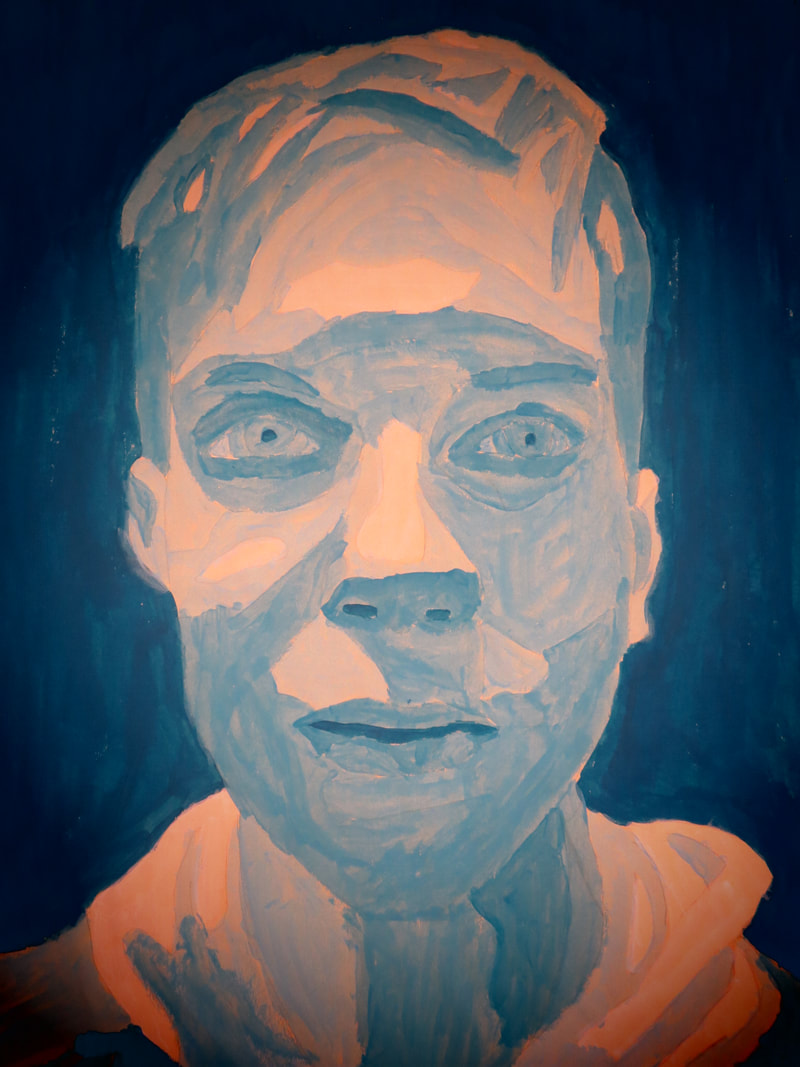
start with the background colour. Painting vertically. Let the paint dry.
Then start painting in your face with white on the pure whites in the image. Dry.
Paint the next lightest area with your brightest tint. Dry.
And the next lightest area, dry. Continuing as the image fills getting darker and darker until you are
using your original, un-mixed colour.
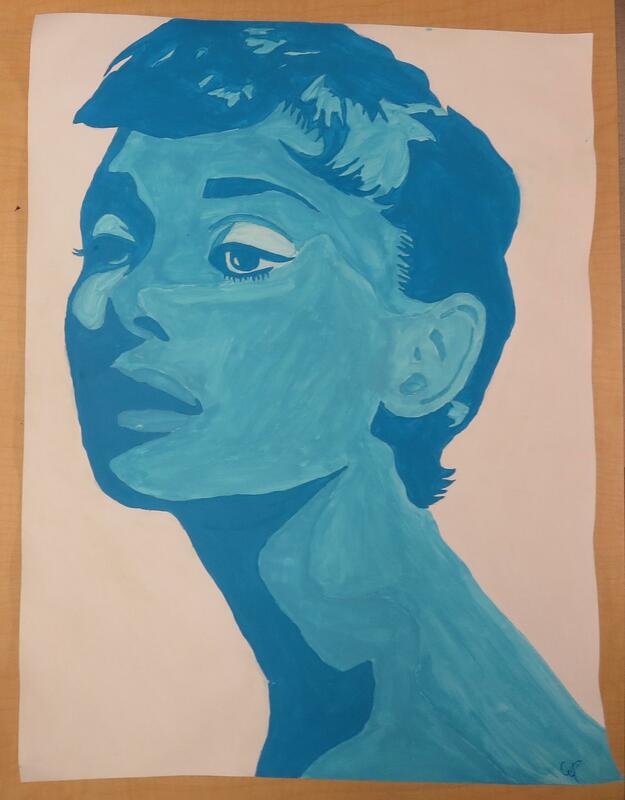
Try:
to think carefully about how your selected area works in terms of composition
(How much space is there? How will you fill the image plane? Is your image centred or off to the side?)
to choose a colour that you enjoy and feel suits you
to work slowly, allowing proper drying times and controlling your brush
to change water frequently while painting
to explore ways to use brushes
(different sizes and shapes of brushes, methods for applying paint)
This will be a two week in-class project.
1 large painting
You will produce a monochromatic portrait, preferably a self portrait.
Your first job is to practice setting up your palette with primary colours and black and white.
Then practice mixing secondary and tertiary colours, and tints, shades and tones.
While this is happening, you will have your picture taken. Make a face you'd like to document.
Practice making a tint value scale going from your of choice (primary or secondary) colour to white in 5 steps.
Practice applying colour on the printed picture of you.
How do you do that?
Start with the background colour. Painting vertically. Let the paint dry.
Then start painting in your face with white on the pure whites in the image. Dry.
Paint the next lightest area with your brightest tint. Dry.
And the next lightest area, dry. Continuing as the image fills getting darker and darker until you are
using your base, un-tinted colour.
Use this small image as a reference to paint the large one.
Again,
start with the background colour. Painting vertically. Let the paint dry.
Then start painting in your face with white on the pure whites in the image. Dry.
Paint the next lightest area with your brightest tint. Dry.
And the next lightest area, dry. Continuing as the image fills getting darker and darker until you are
using your original, un-mixed colour.
Try:
to think carefully about how your selected area works in terms of composition
(How much space is there? How will you fill the image plane? Is your image centred or off to the side?)
to choose a colour that you enjoy and feel suits you
to work slowly, allowing proper drying times and controlling your brush
to change water frequently while painting
to explore ways to use brushes
(different sizes and shapes of brushes, methods for applying paint)
This will be a two week in-class project.
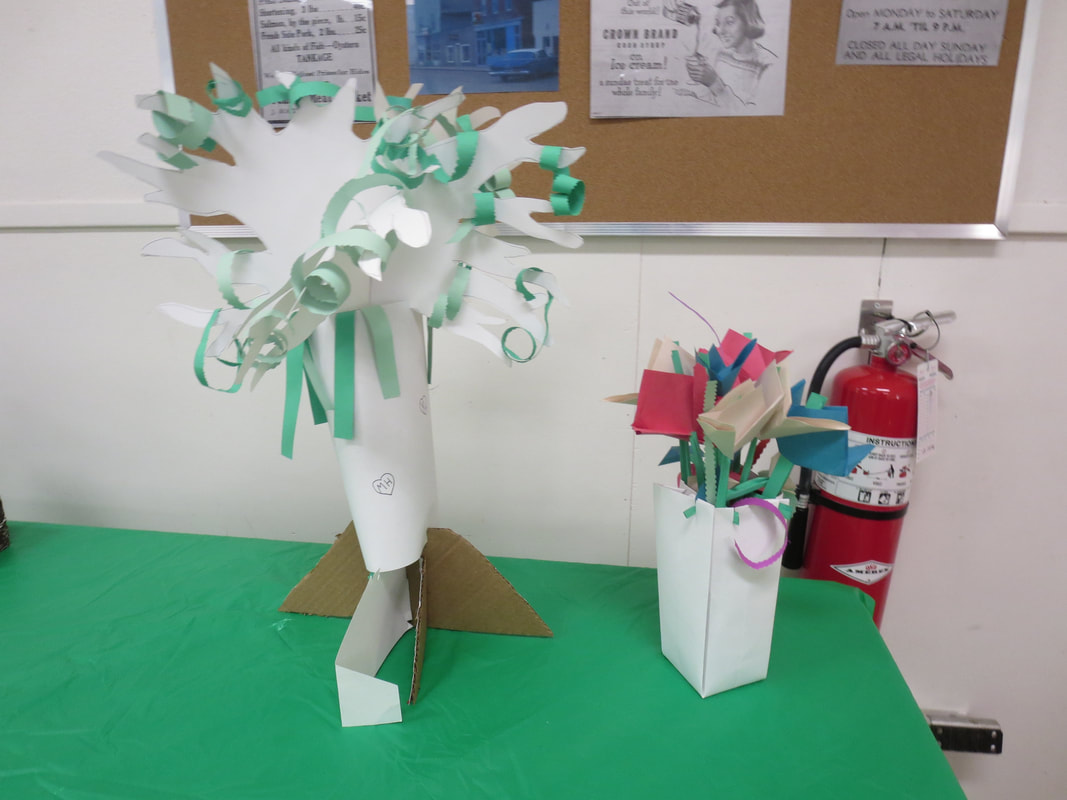
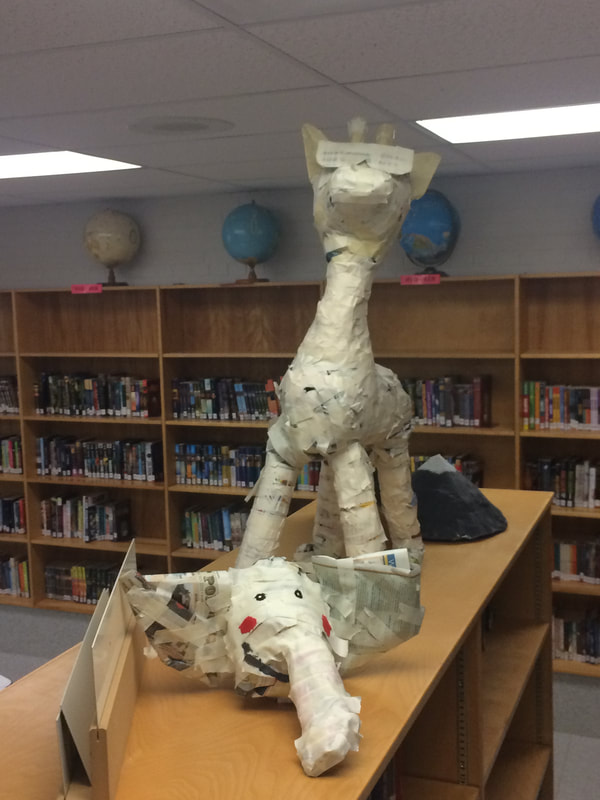
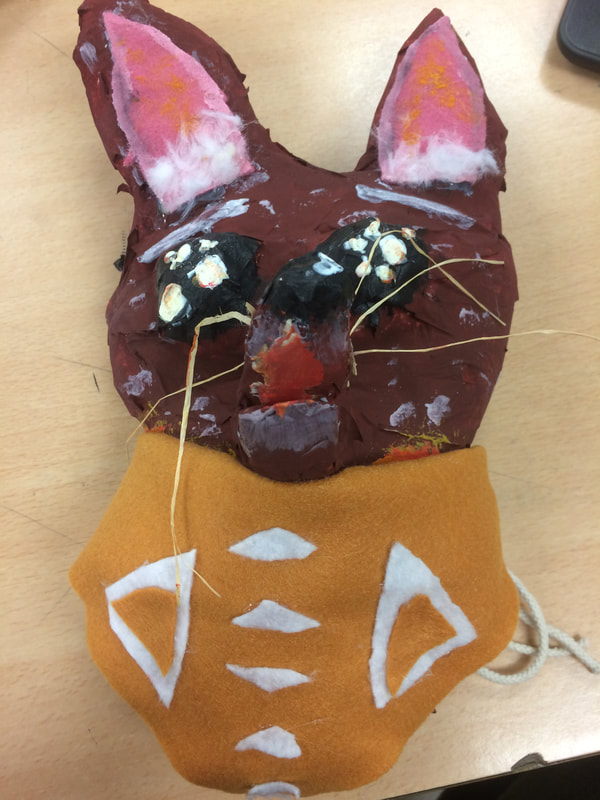
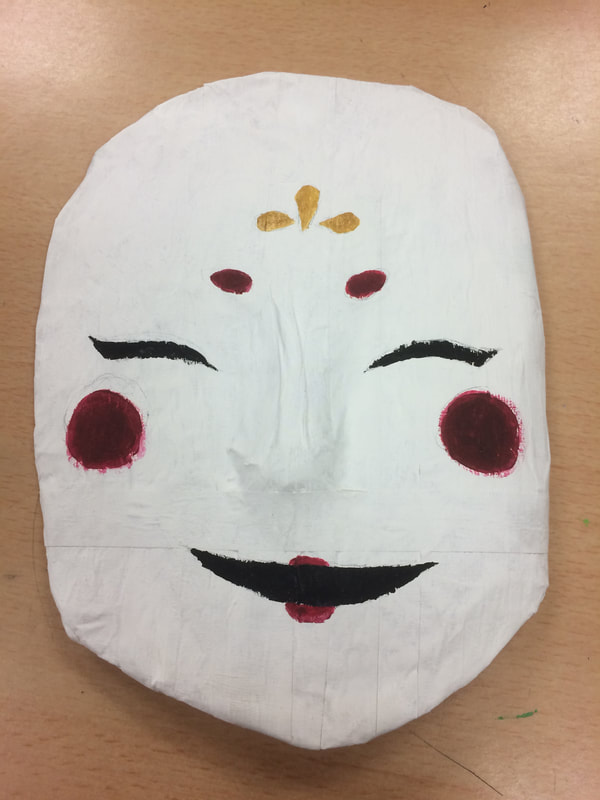
MAJOR ASSIGNMENT 5 - paper sculpture
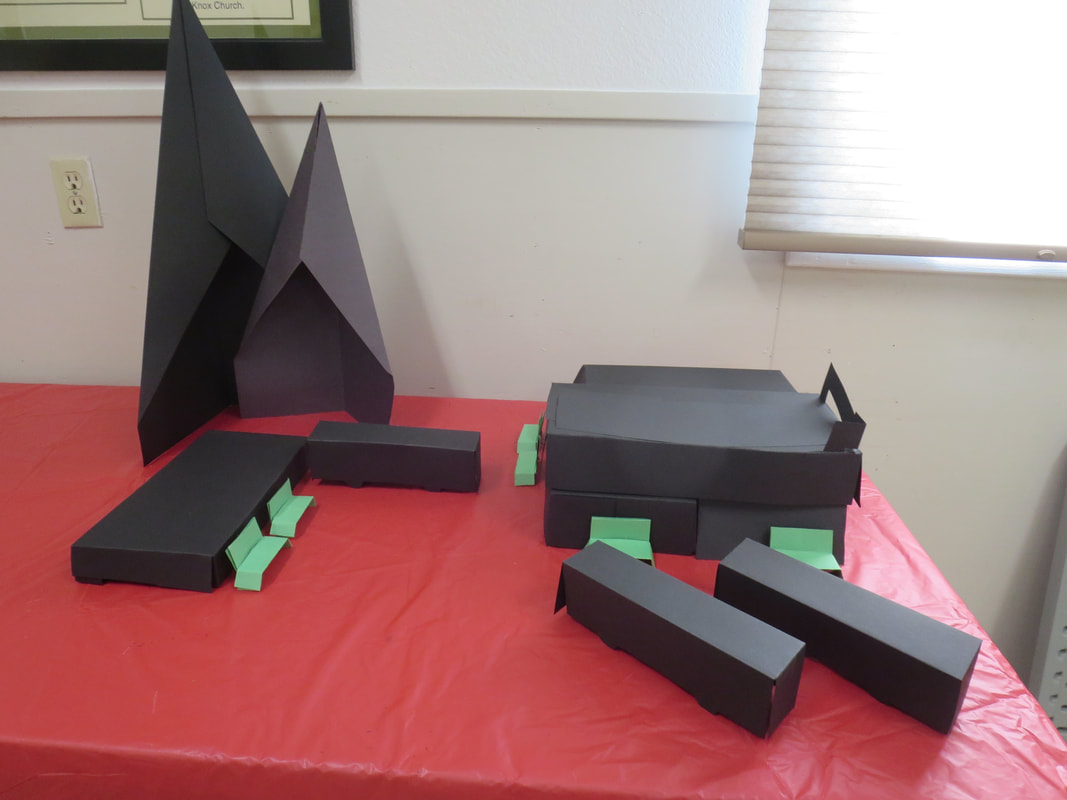
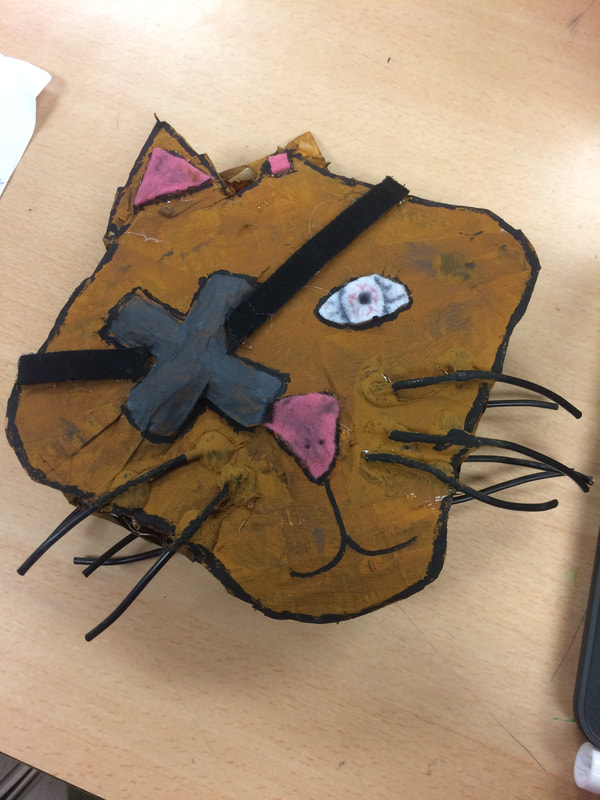
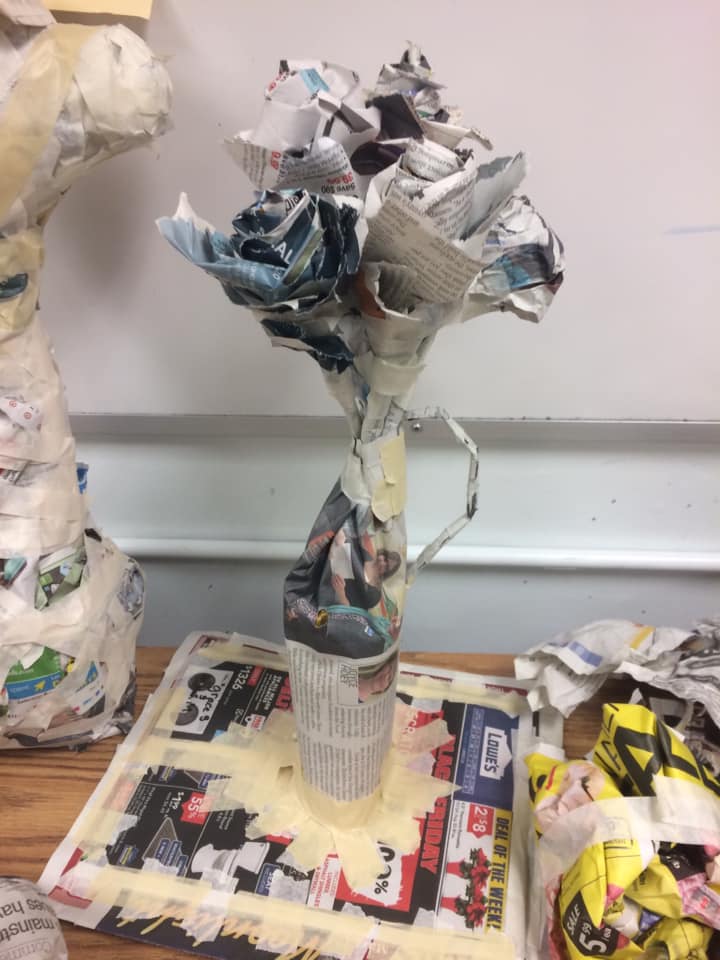
1 large 30cmx30cm minimum paper sculpture inspired by a famous artwork
You will produce a sculpture using only paper, masking tape, and optionally paint as your medium.
Your first job is to decide if you are working alone or in a group.
Begin by experimenting with some different types of paper.
How do you do that?
Think about what paper does? What purposes does it serve?
What are its defining properties?
How do papers vary?
Hold, feel, play with the paper to discover some possibilities.
Begin planning in your sketchbook designs and a final sculpture from all angles.
Try:
to think carefully about how your selected area works in the round vs flat
how can you use space, texture, colour, shadow?
how will the paper hold together with other pieces? stand up?
are there any other art/paper ideas you can reference in designing your piece?
This will be a two week in-class project.
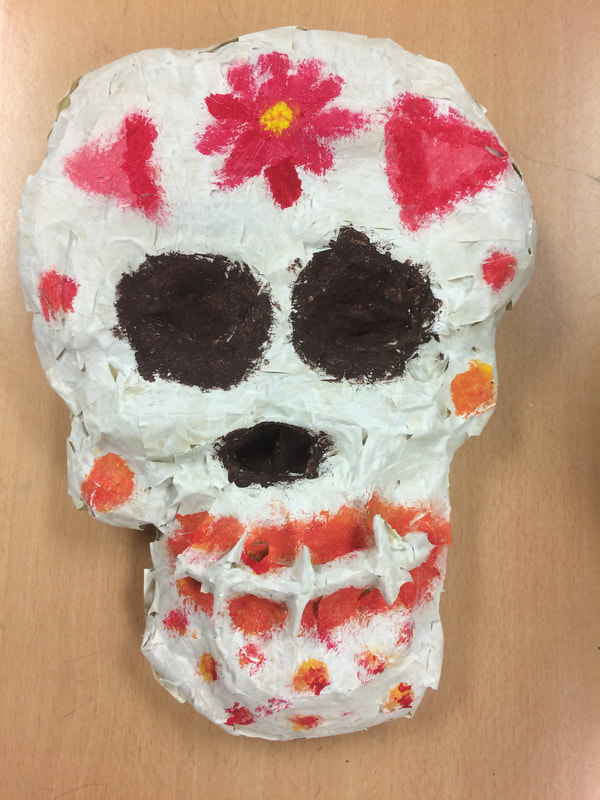

MAJOR ASSIGNMENT 6 - pysanky and cultural appropriation
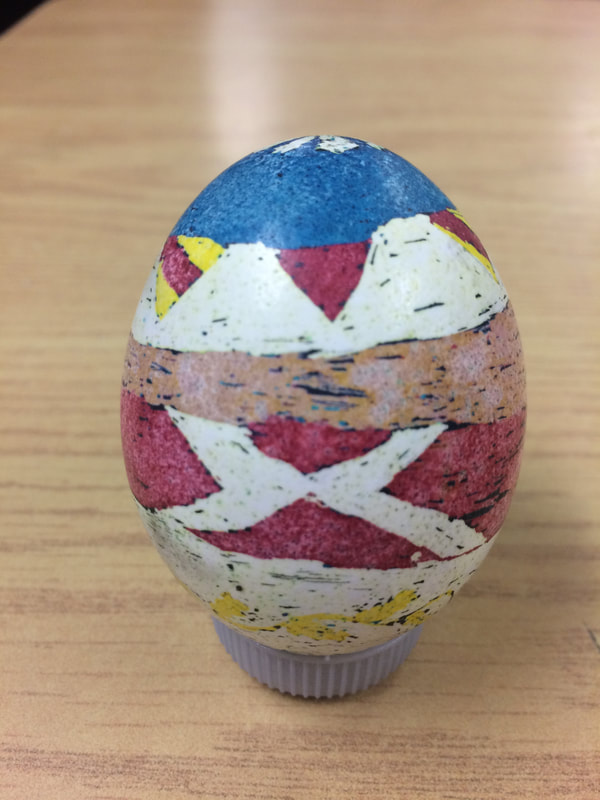
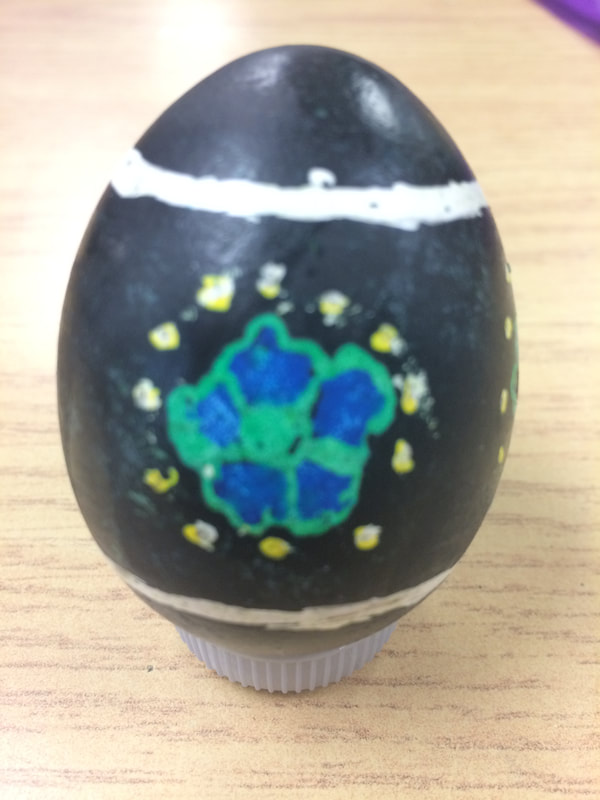
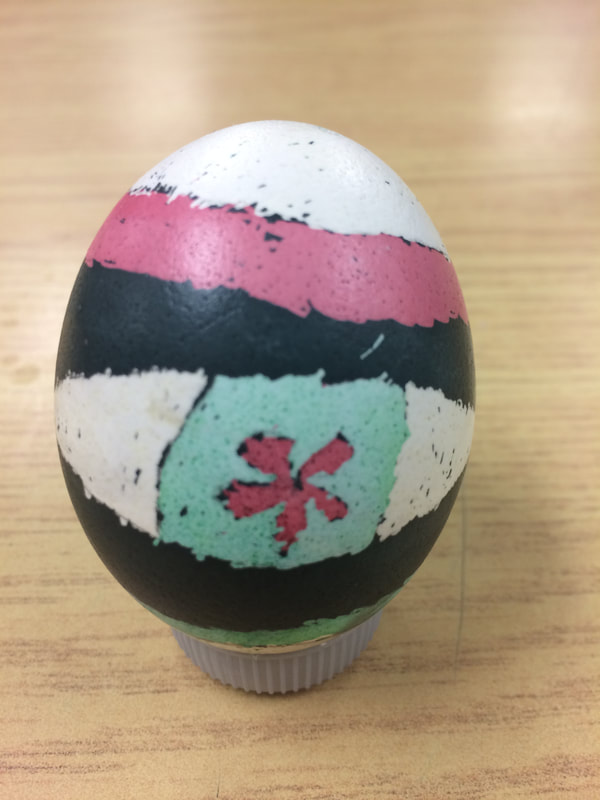
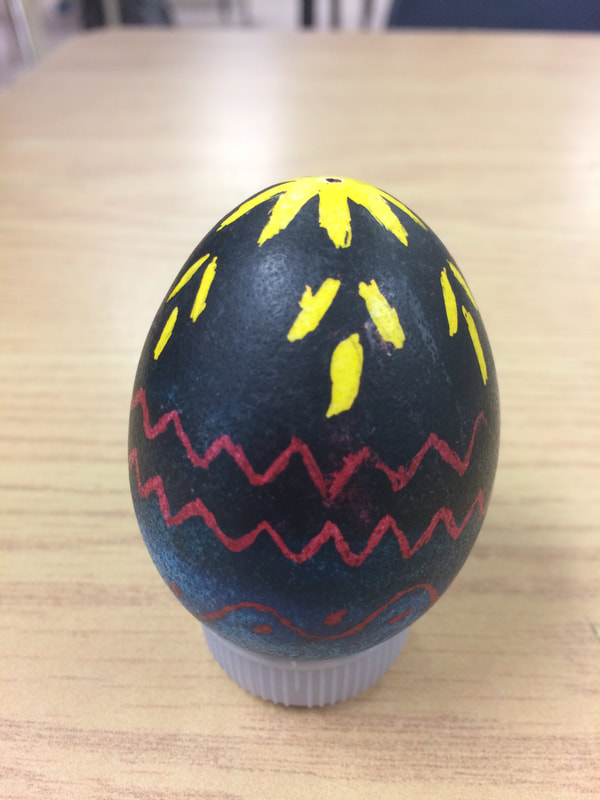
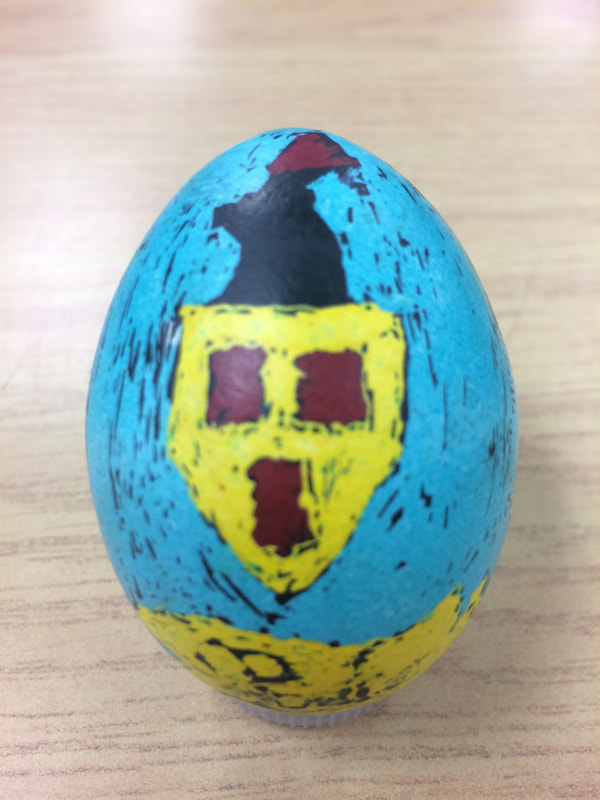
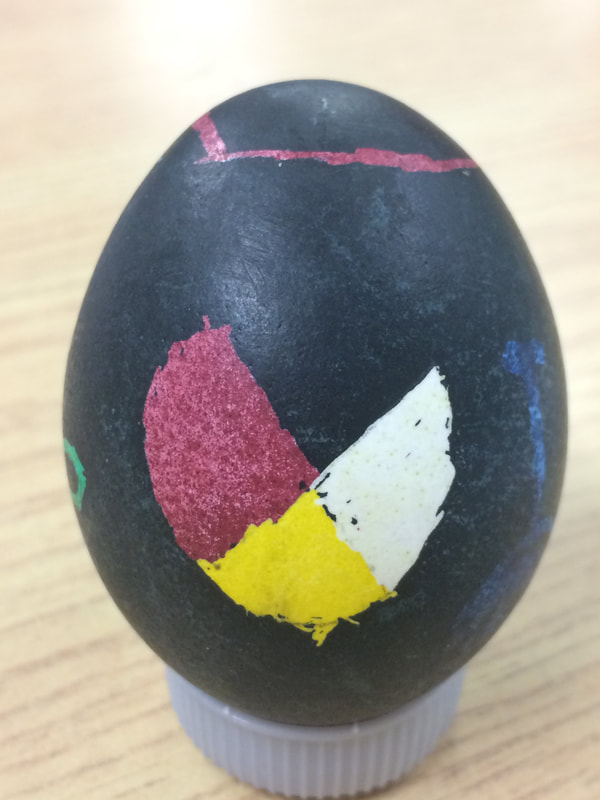
1 pysanky
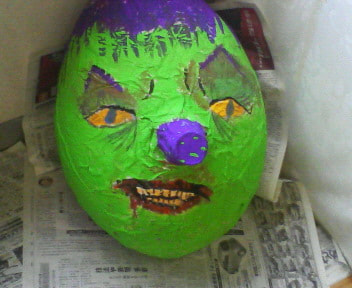
You will produce a wax resist egg representing your own cultural heritage
Your first job is to research symbols, patterns and motifs from your cultural background.
Use these design elements, while referencing Ukrainian pysanky, to create and interesting design showcasing your heritage in a unified way.
How do you do that?
Consider how to work on a surface that is round and 3D.
Design for viewing from all angles.
Choose colours that connect back to your cultural heritage.
When your design is complete, get it approved and begin mapping it out on your blown out egg.
The follow the instructions given in class for doing layers of wax resist and dyeing.
Try:
to think carefully about how your selected area works in the round vs flat
how can you use space, texture, colour, to help your design feel cohesive?
how will an audience be able to identify your cultural background from what they see?
This will be a three week in-class project.
1 pysanky
You will produce a wax resist egg representing your own cultural heritage
Your first job is to research symbols, patterns and motifs from your cultural background.
Use these design elements, while referencing Ukrainian pysanky, to create and interesting design showcasing your heritage in a unified way.
How do you do that?
Consider how to work on a surface that is round and 3D.
Design for viewing from all angles.
Choose colours that connect back to your cultural heritage.
When your design is complete, get it approved and begin mapping it out on your blown out egg.
The follow the instructions given in class for doing layers of wax resist and dyeing.
Try:
to think carefully about how your selected area works in the round vs flat
how can you use space, texture, colour, to help your design feel cohesive?
how will an audience be able to identify your cultural background from what they see?
This will be a three week in-class project.