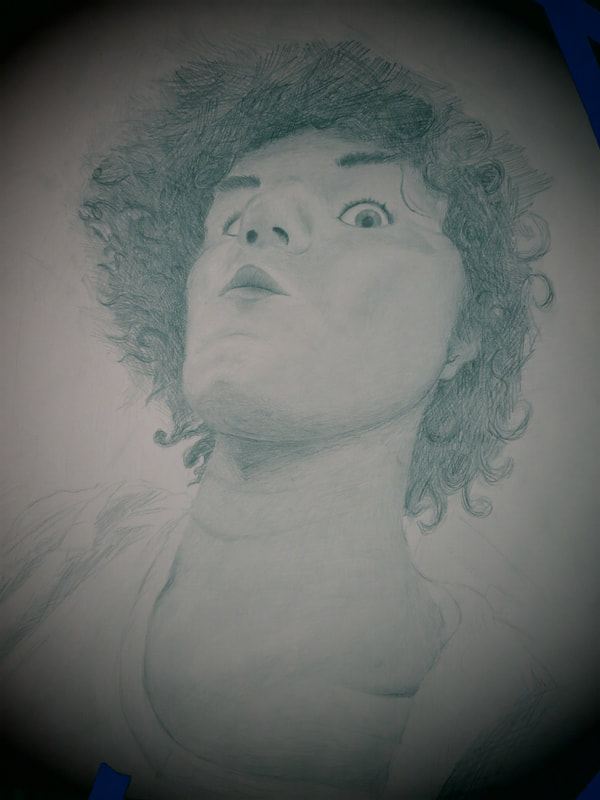
MAJOR ASSIGNMENT 1 - Self Portrait
1 Drawing
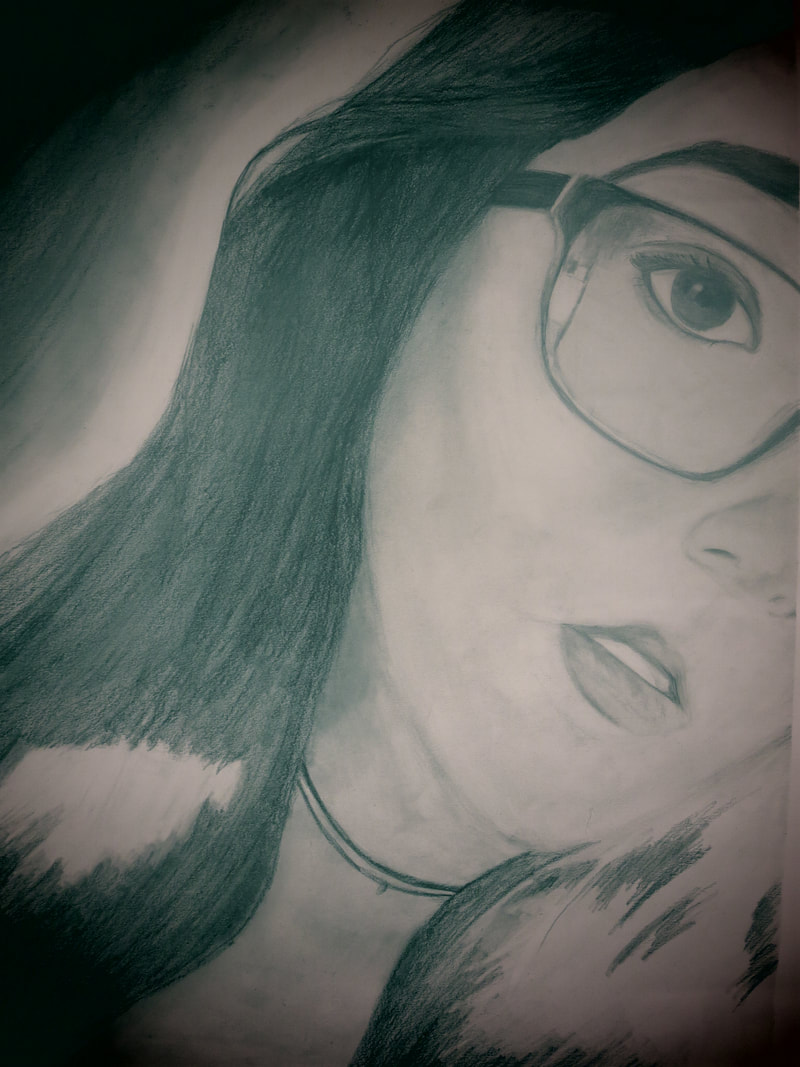
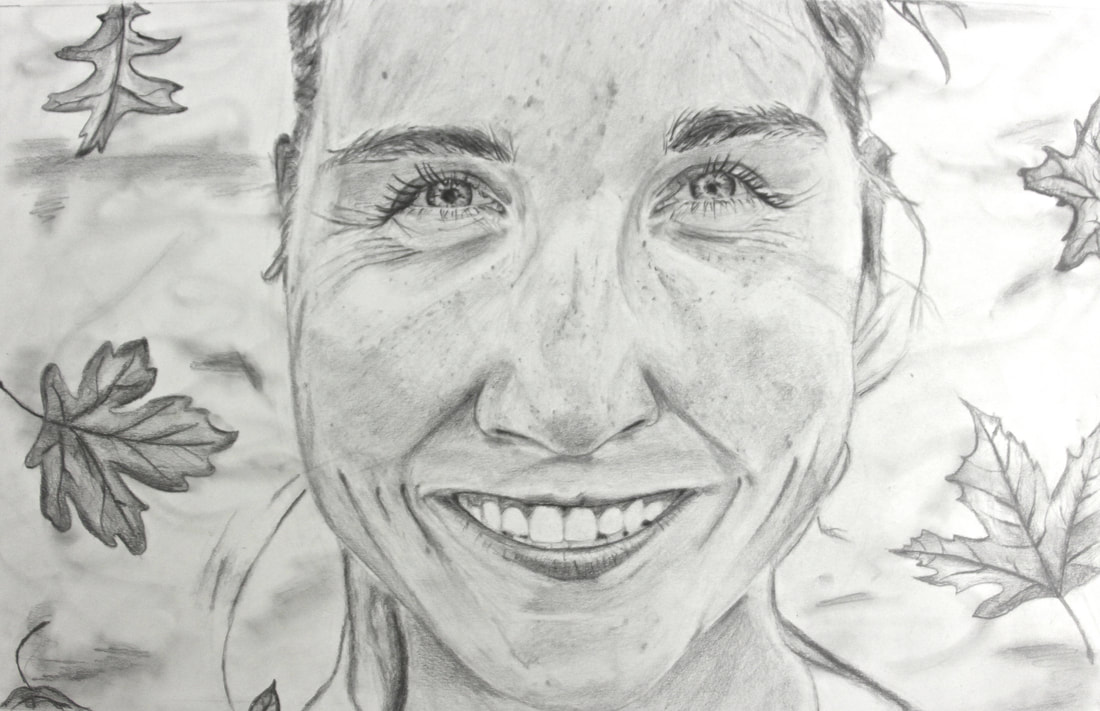
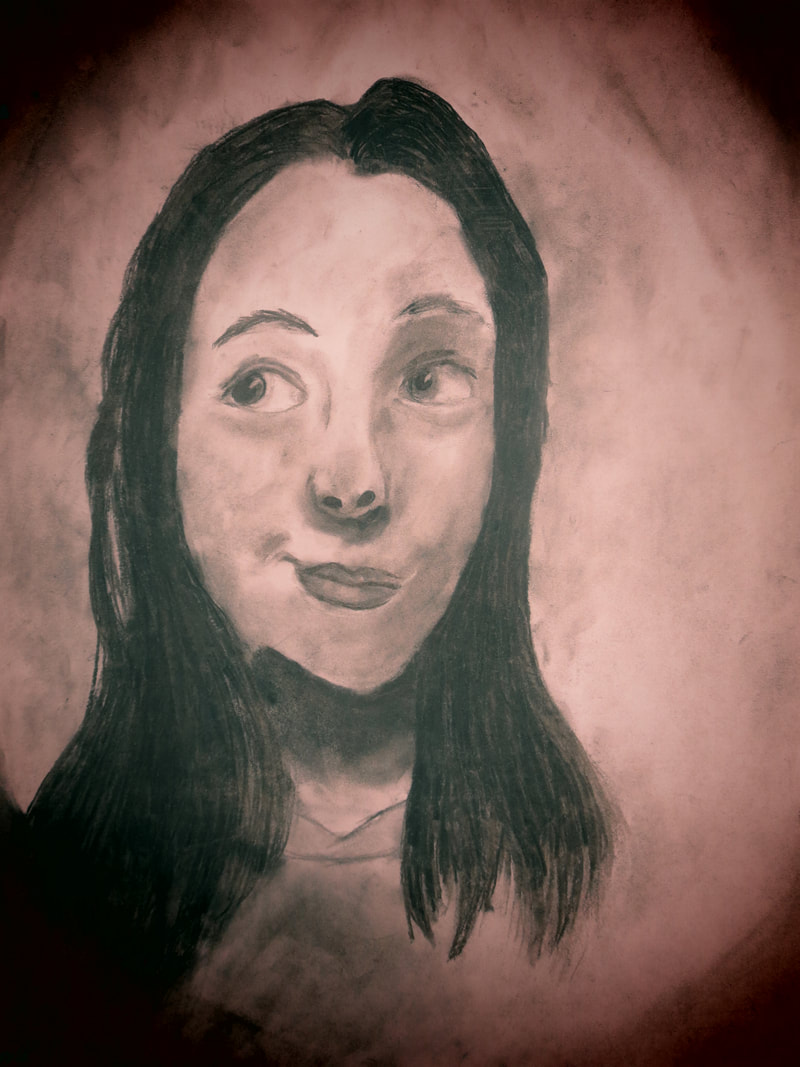
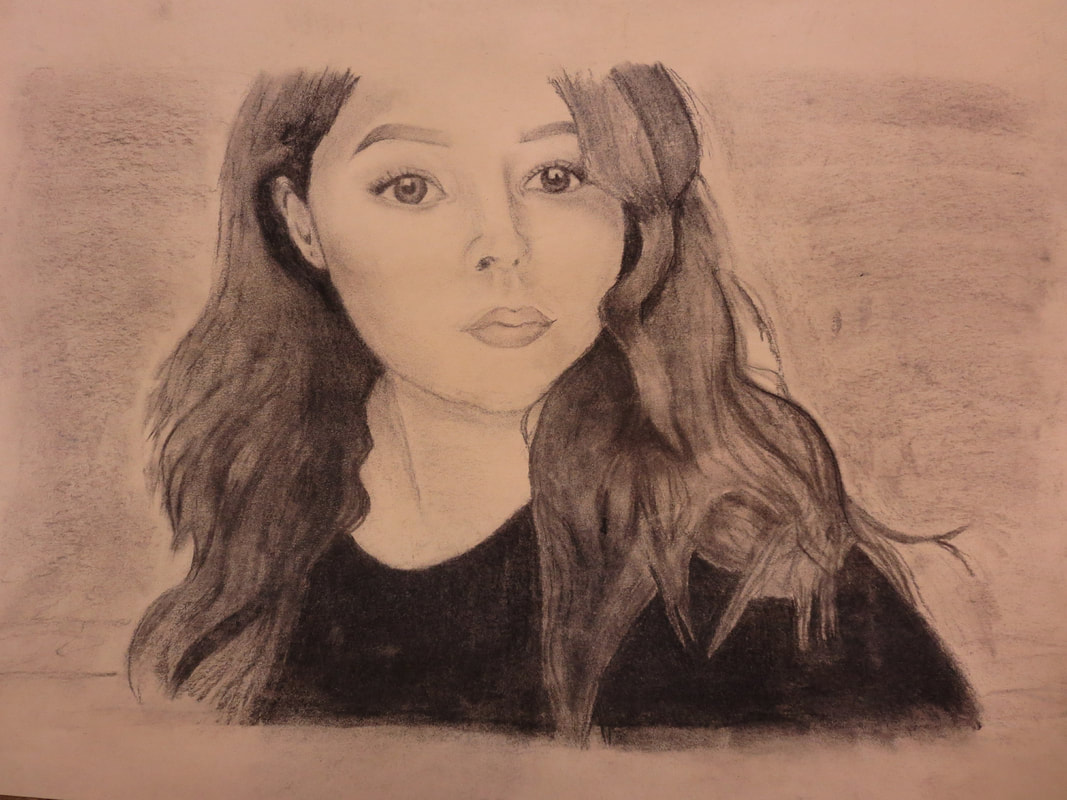
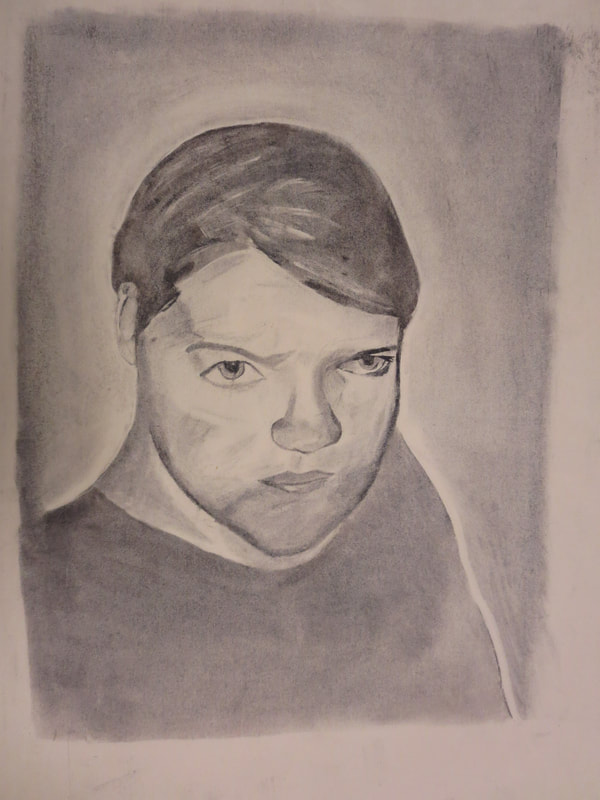
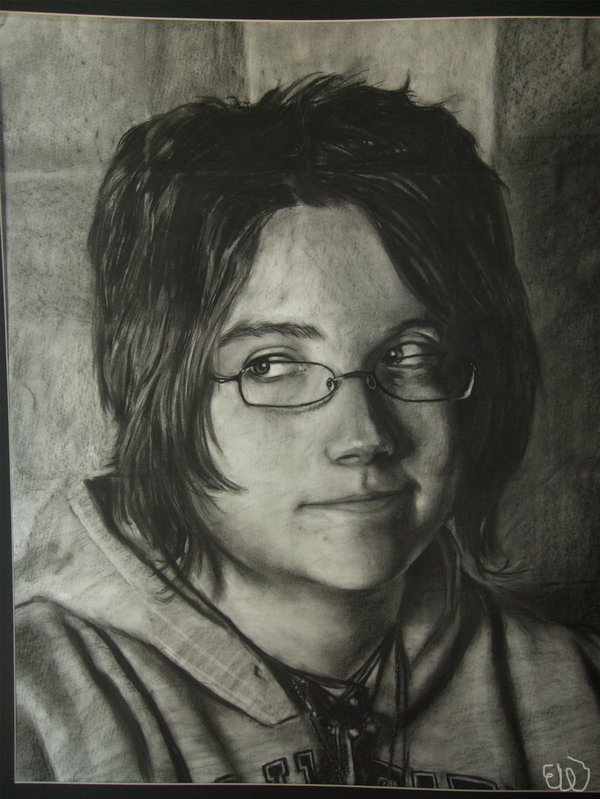
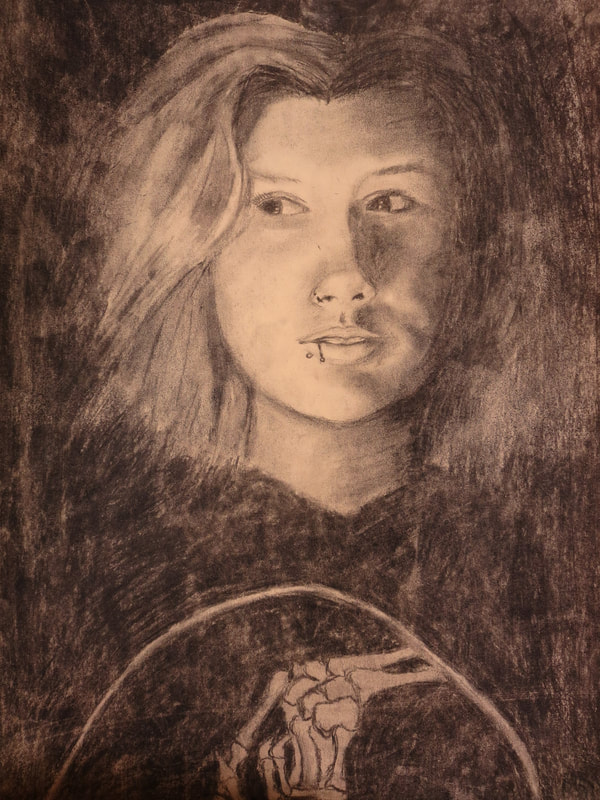
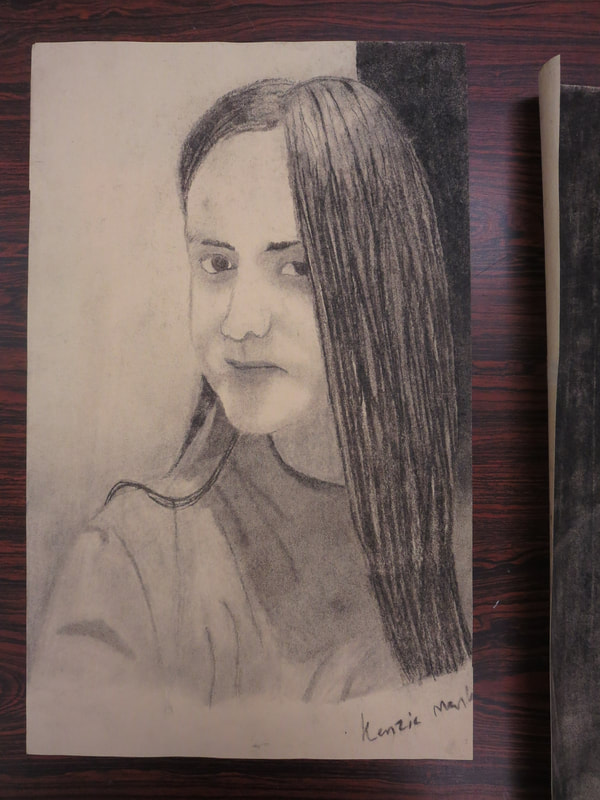
You will produce an image of yourself in large scale using charcoal or pencil.
Your first job is to take 25 selfies with your camera or phone.
Each image should vary in composition (various angles and framing), value (light and dark), expression, and location.
Sketch a few thumbnail images in your sketchbook to from your top choices to help finalize a decision.
Consider the background in relation to you.
Tape off a 1 inch border around the paper and draw inside this piece.
The head must be the same size or larger than your physical head.
Don't draw the head too small and make sure to have a surrounding environment.
Begin mapping out your image on the large paper.
How do you do that?
• Start with an egg shape- pointed area down (chin) and place the eyes inside
• Always start drawing the eyes first (and work to completion) – then nose- then mouth- the
Triangle of the Features.
• There is no bright white on the face, the entire face is a halftone, due to subdued lighting the
only real white of the paper is on the ball of your nose, cheek, and catch light in the eye
• Eyes are smaller than you think- 5 eyes across with one in between will give you accurate
spacing
• Memorize the placement rules, and size relationships
Key Points on Facial Proportions
• Eyes are the midpoint between the chin and the top of the head.
• Hairline to eyebrow 1/3
• Eyebrow to bottom of nose 1/3
• Bottom of nose to chin 1/3
Try:
applying different drawing techniques - hatching, blending, stippling, scumbling
to think about what you use lined paper for and what kind of image might come from that knowledge
play and have fun, this is a creative exercise to stretch your imagination
to push your blacks, don't be afraid to continually come back and darken the darkest appearing areas again
Evaluation:
Likeness
Shading of the Features
Proportion
Composition
Expression
Finished Quality
This will be a three week in-class project. Finished images should be in pencil or charcoal, or mixed.
1 Drawing
You will produce an image of yourself in large scale using charcoal or pencil.
Your first job is to take 25 selfies with your camera or phone.
Each image should vary in composition (various angles and framing), value (light and dark), expression, and location.
Sketch a few thumbnail images in your sketchbook to from your top choices to help finalize a decision.
Consider the background in relation to you.
Tape off a 1 inch border around the paper and draw inside this piece.
The head must be the same size or larger than your physical head.
Don't draw the head too small and make sure to have a surrounding environment.
Begin mapping out your image on the large paper.
How do you do that?
• Start with an egg shape- pointed area down (chin) and place the eyes inside
• Always start drawing the eyes first (and work to completion) – then nose- then mouth- the
Triangle of the Features.
• There is no bright white on the face, the entire face is a halftone, due to subdued lighting the
only real white of the paper is on the ball of your nose, cheek, and catch light in the eye
• Eyes are smaller than you think- 5 eyes across with one in between will give you accurate
spacing
• Memorize the placement rules, and size relationships
Key Points on Facial Proportions
• Eyes are the midpoint between the chin and the top of the head.
• Hairline to eyebrow 1/3
• Eyebrow to bottom of nose 1/3
• Bottom of nose to chin 1/3
Try:
applying different drawing techniques - hatching, blending, stippling, scumbling
to think about what you use lined paper for and what kind of image might come from that knowledge
play and have fun, this is a creative exercise to stretch your imagination
to push your blacks, don't be afraid to continually come back and darken the darkest appearing areas again
Evaluation:
Likeness
Shading of the Features
Proportion
Composition
Expression
Finished Quality
This will be a three week in-class project. Finished images should be in pencil or charcoal, or mixed.

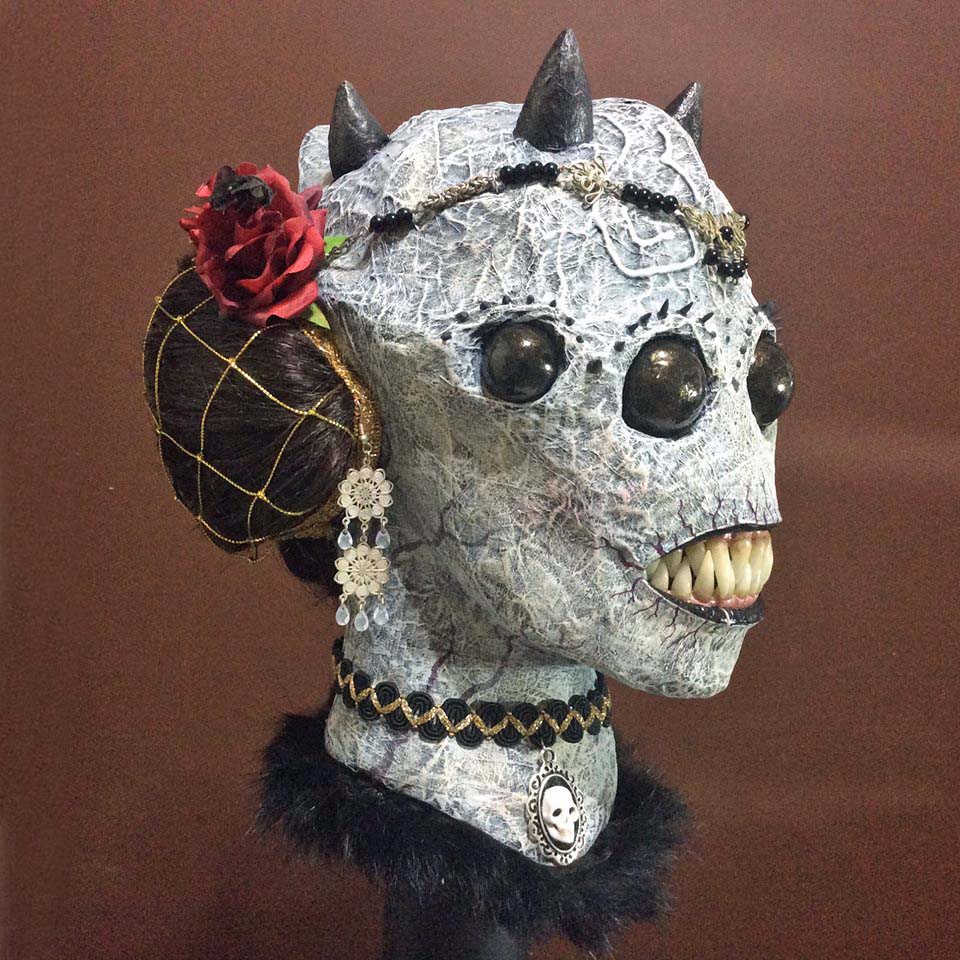
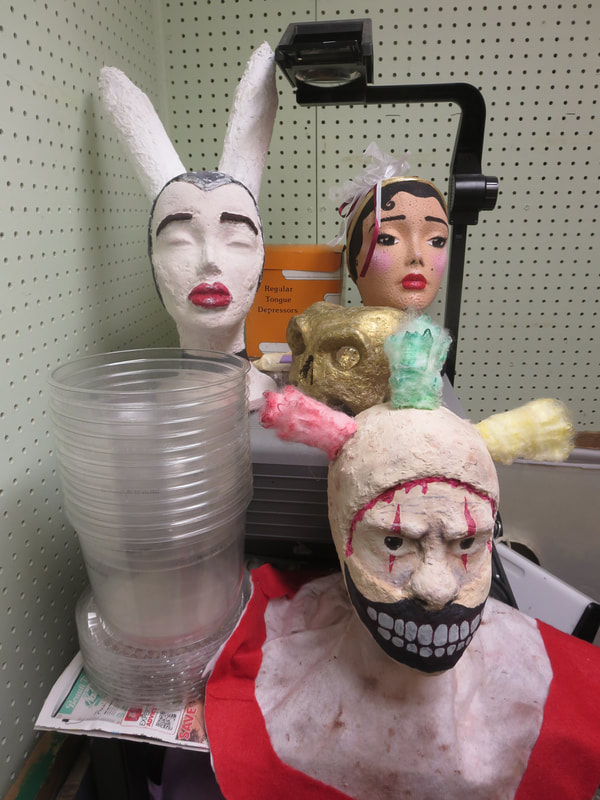
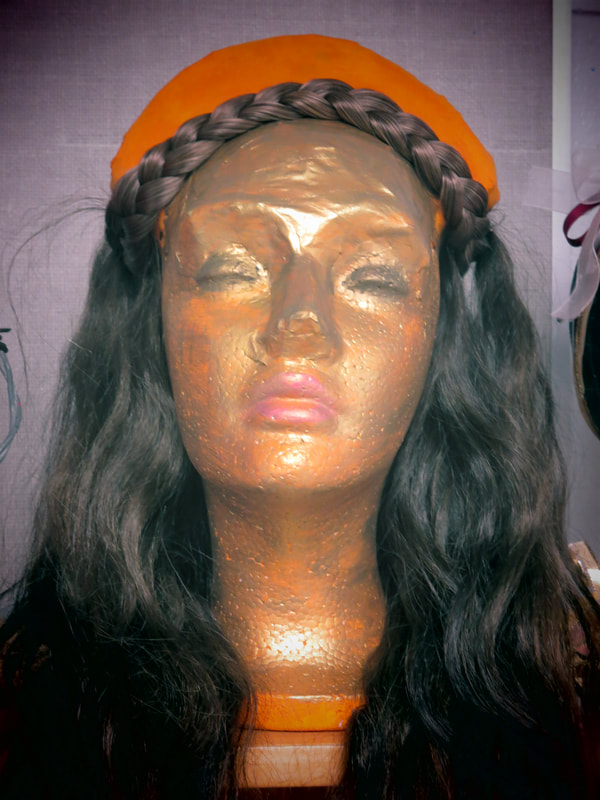
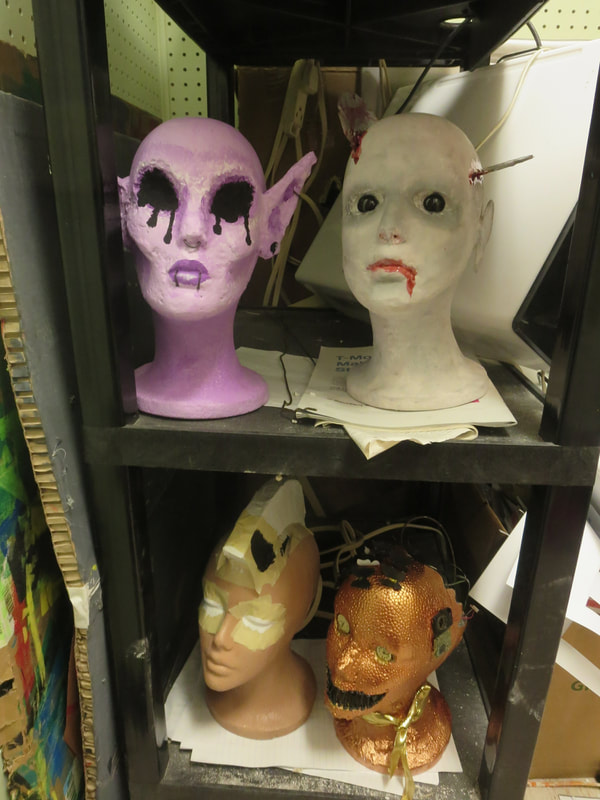
MAJOR ASSIGNMENT 2 - Fantastical Faces
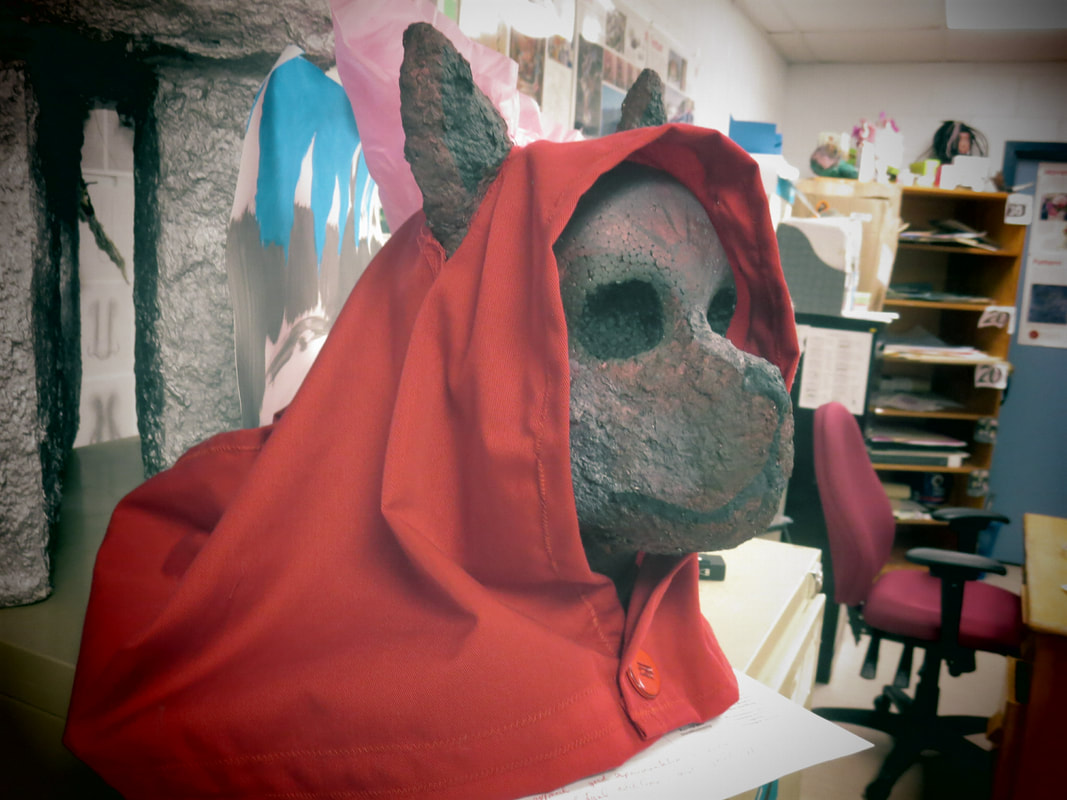
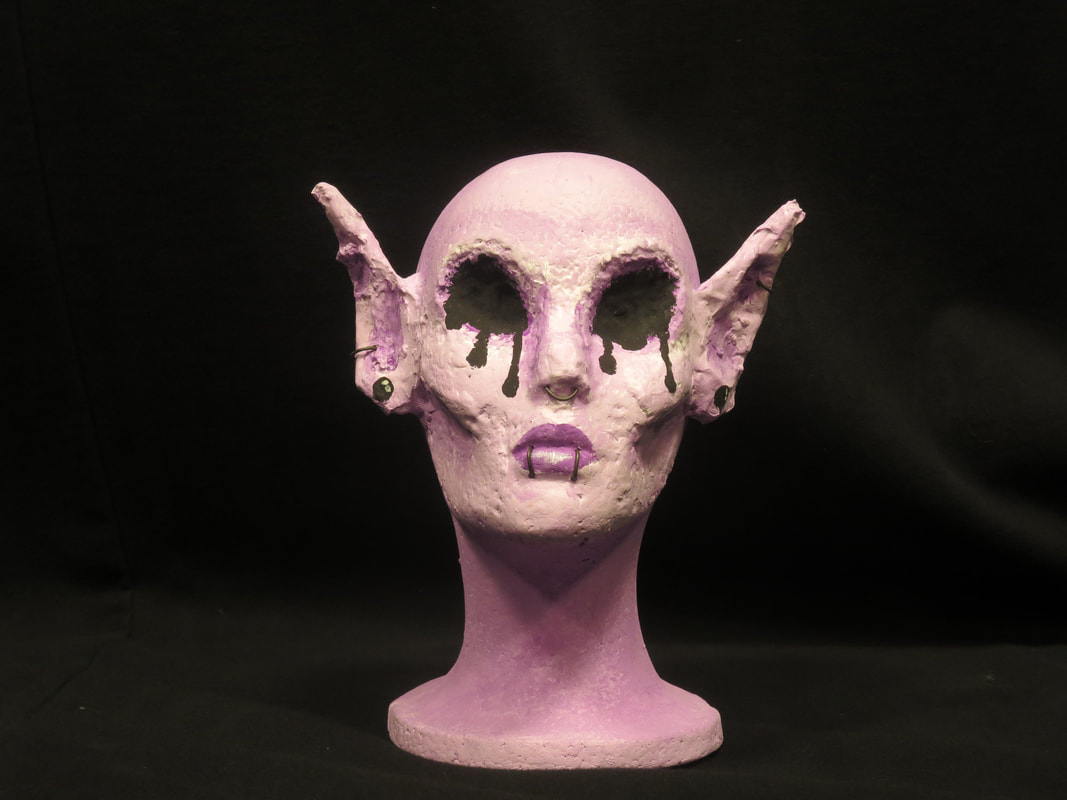
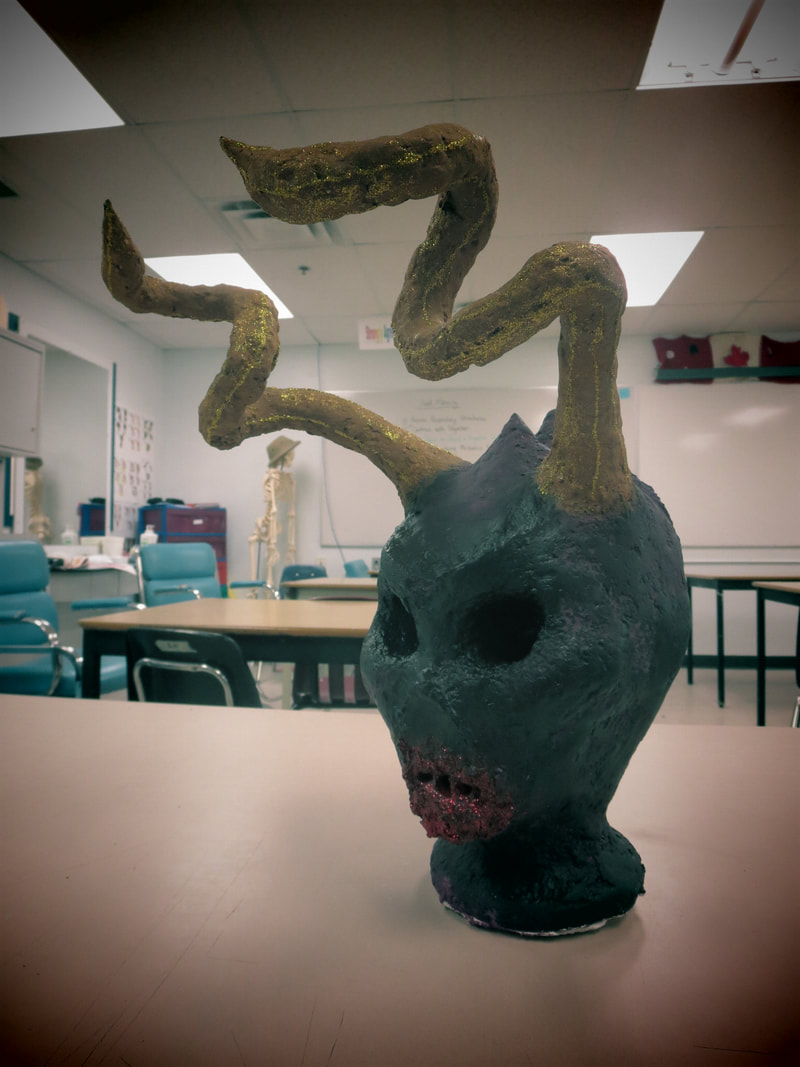
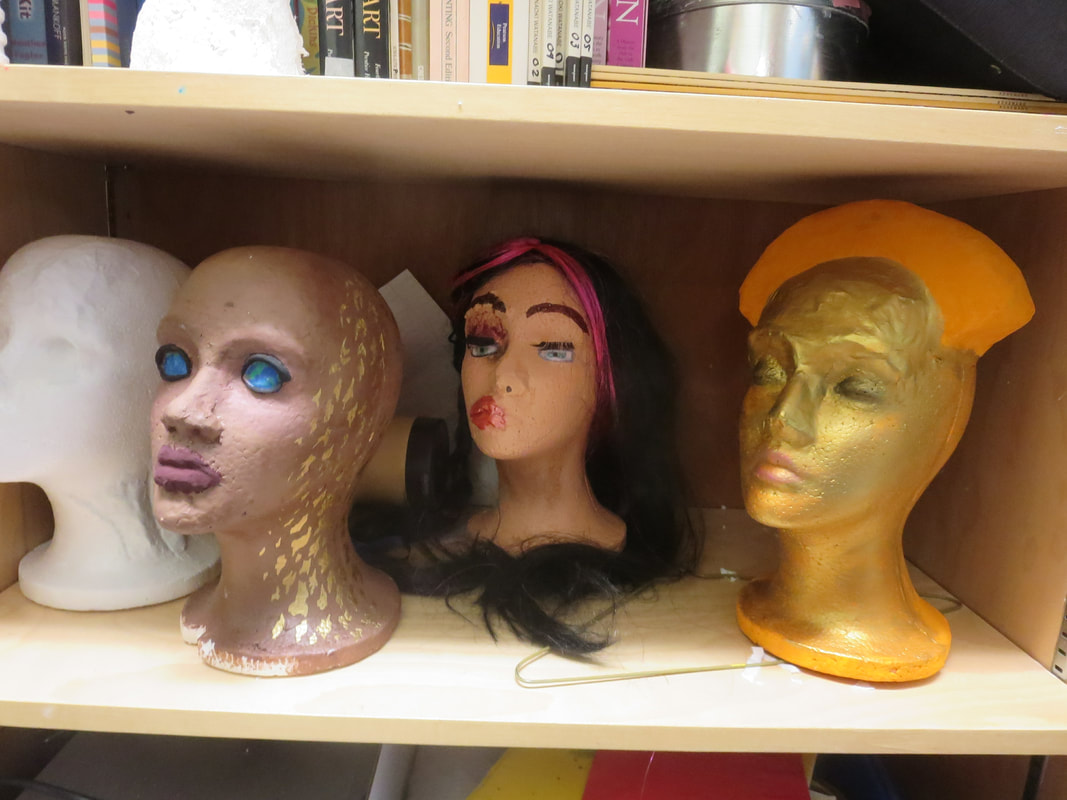
1 constructed sculpture
You will design a bust developing, expanding upon or reducing, and shaping features using styrofoam and paper modeling clay.
Your first job is to sketch 3 ideas for developing your bust in your sketchbook.
How do you do that?
Imagine stories, creatures, dream and visuals that would take people out of the ordinary into the strange, the surreal, or even the monstrous.
Choose one of your sketches and plan the front, back, and profile view in your sketchbook.
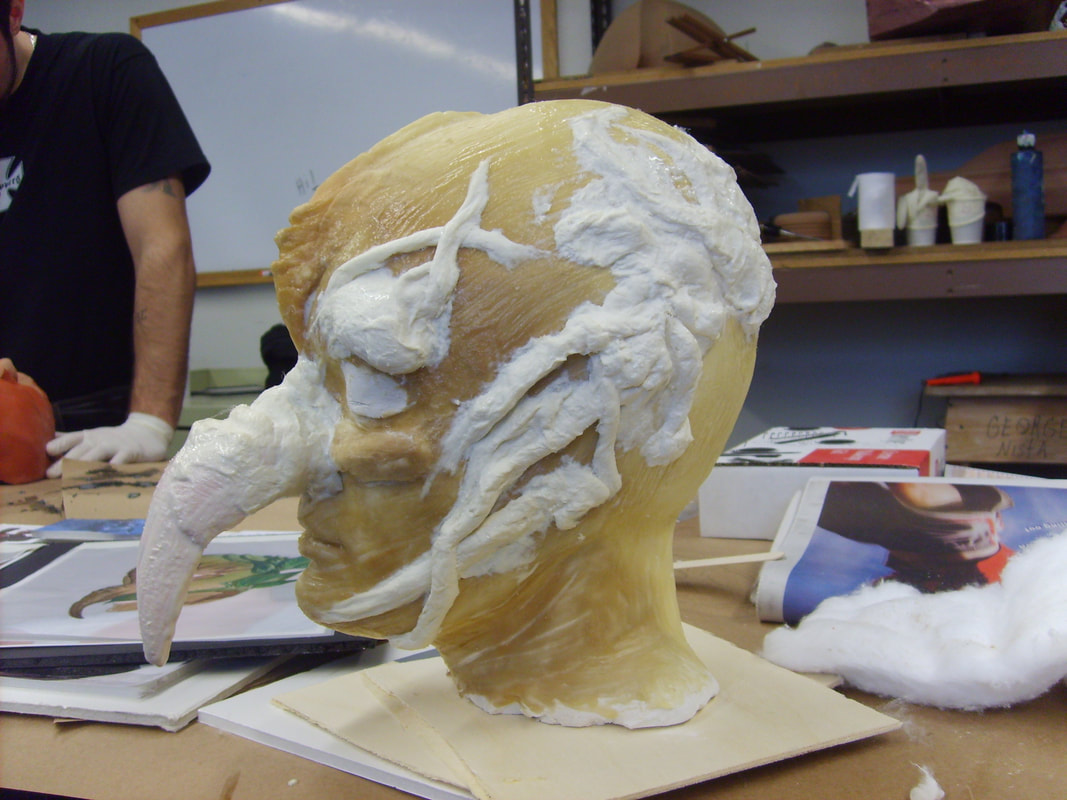
Mix an appropriate amount of clay compound each day to build on the bust template.
You are expected to build on the bust, but you may also carve into it.
Weight the base if necessary to assist in keeping it upright.
* new applications of clay compound will take approximately 24 hours to dry.
** compound can be sanded to a smooth texture once dry.
Try:
referencing images and stories you know
expanding on and contorting physical features
using elements of animals and/or nature references
using elements of technology
to think about colour and how it can describe what you are presenting
This will be a four week project in-class.
1 constructed sculpture
You will design a bust developing, expanding upon or reducing, and shaping features using styrofoam and paper modeling clay.
Your first job is to sketch 3 ideas for developing your bust in your sketchbook.
How do you do that?
Imagine stories, creatures, dream and visuals that would take people out of the ordinary into the strange, the surreal, or even the monstrous.
Choose one of your sketches and plan the front, back, and profile view in your sketchbook.
Mix an appropriate amount of clay compound each day to build on the bust template.
You are expected to build on the bust, but you may also carve into it.
Weight the base if necessary to assist in keeping it upright.
* new applications of clay compound will take approximately 24 hours to dry.
** compound can be sanded to a smooth texture once dry.
Try:
referencing images and stories you know
expanding on and contorting physical features
using elements of animals and/or nature references
using elements of technology
to think about colour and how it can describe what you are presenting
This will be a four week project in-class.

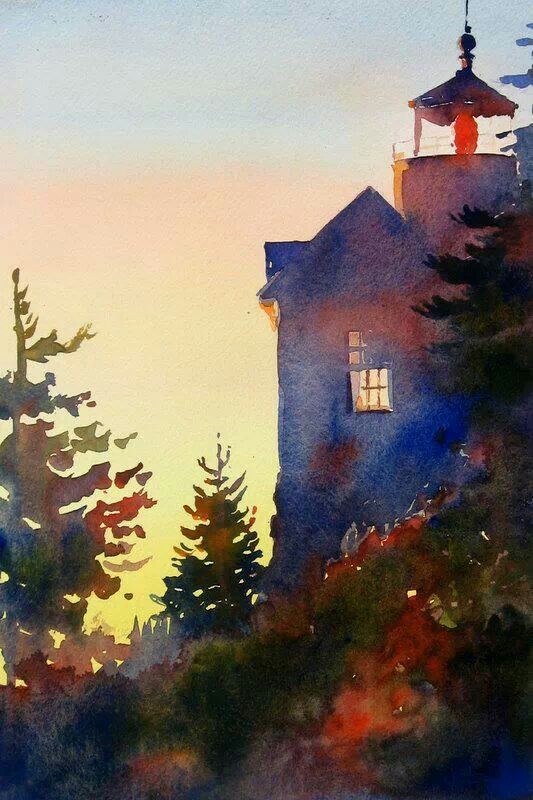
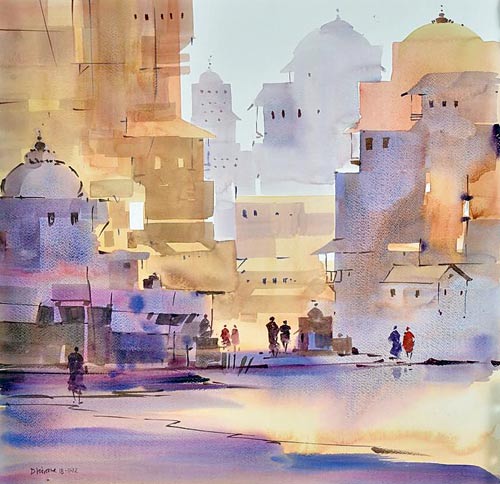
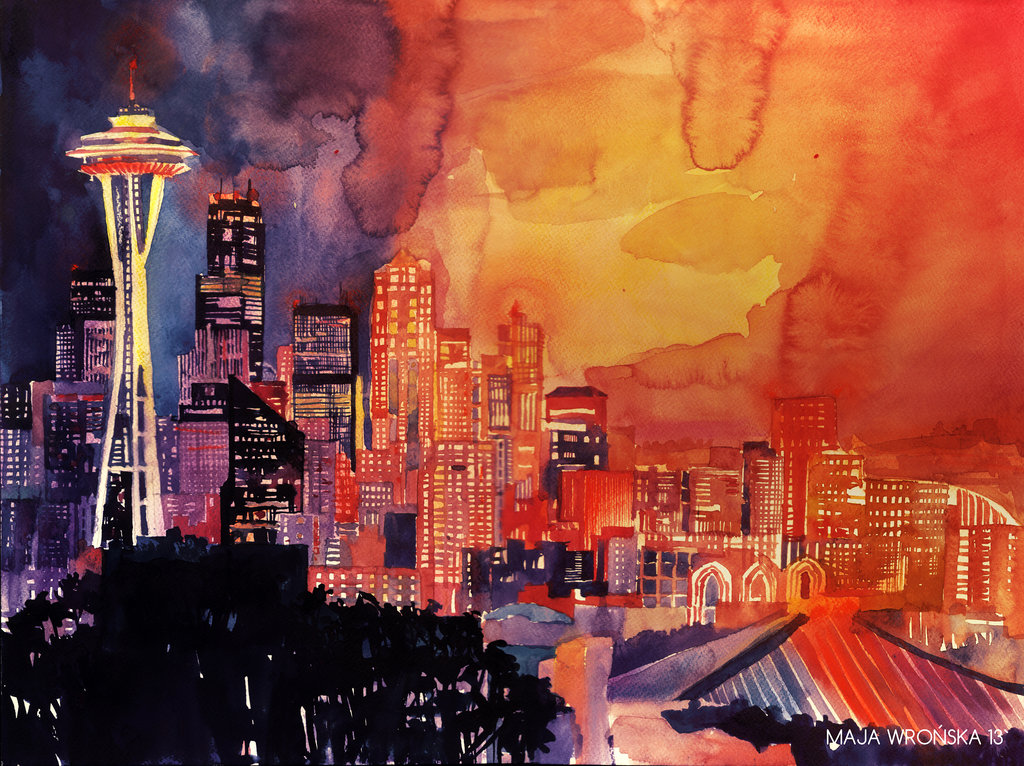
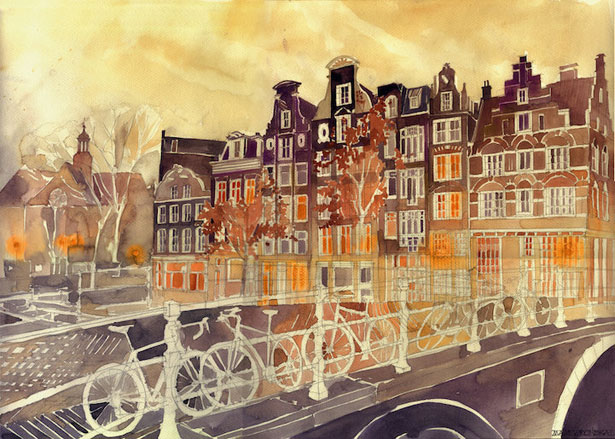
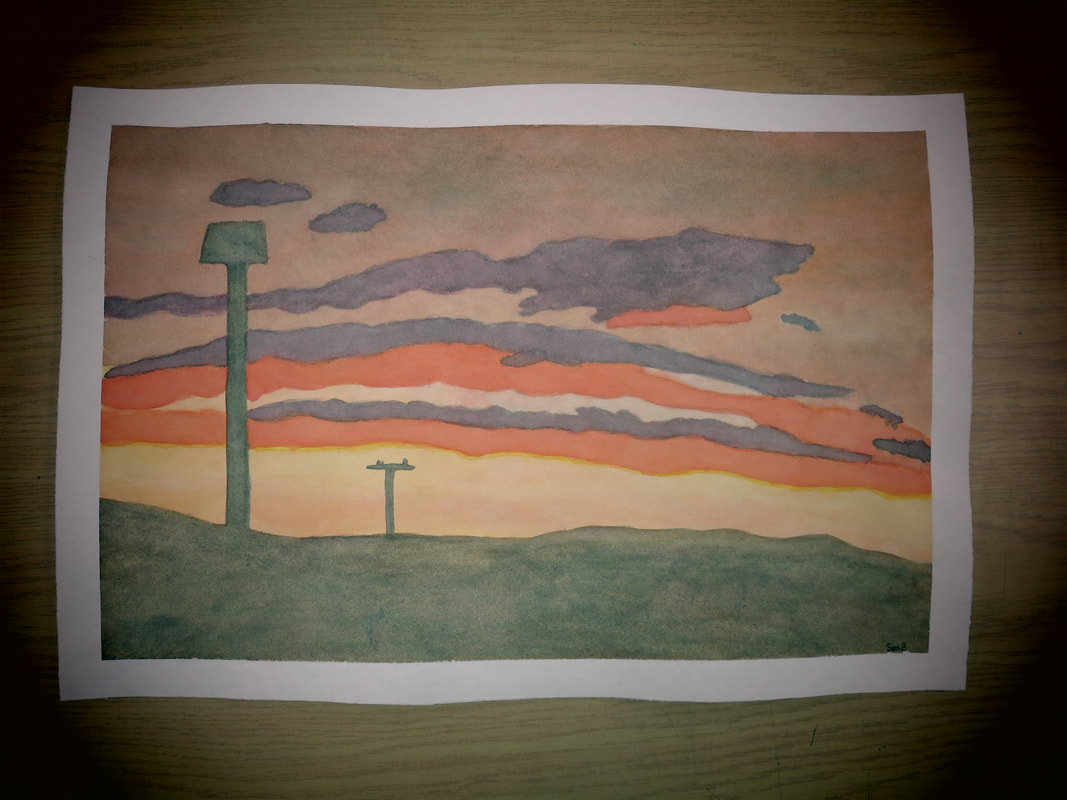
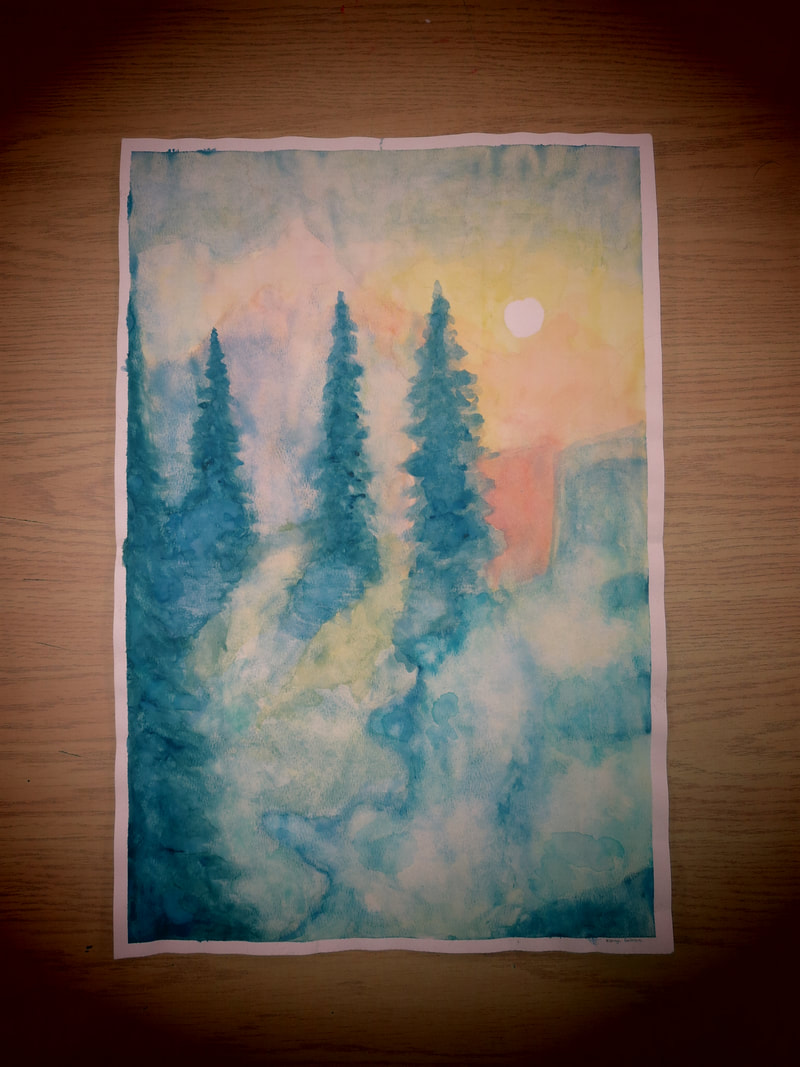
MAJOR ASSIGNMENT 3 - Watercolour Land/Cityscape
1 Painting and process work
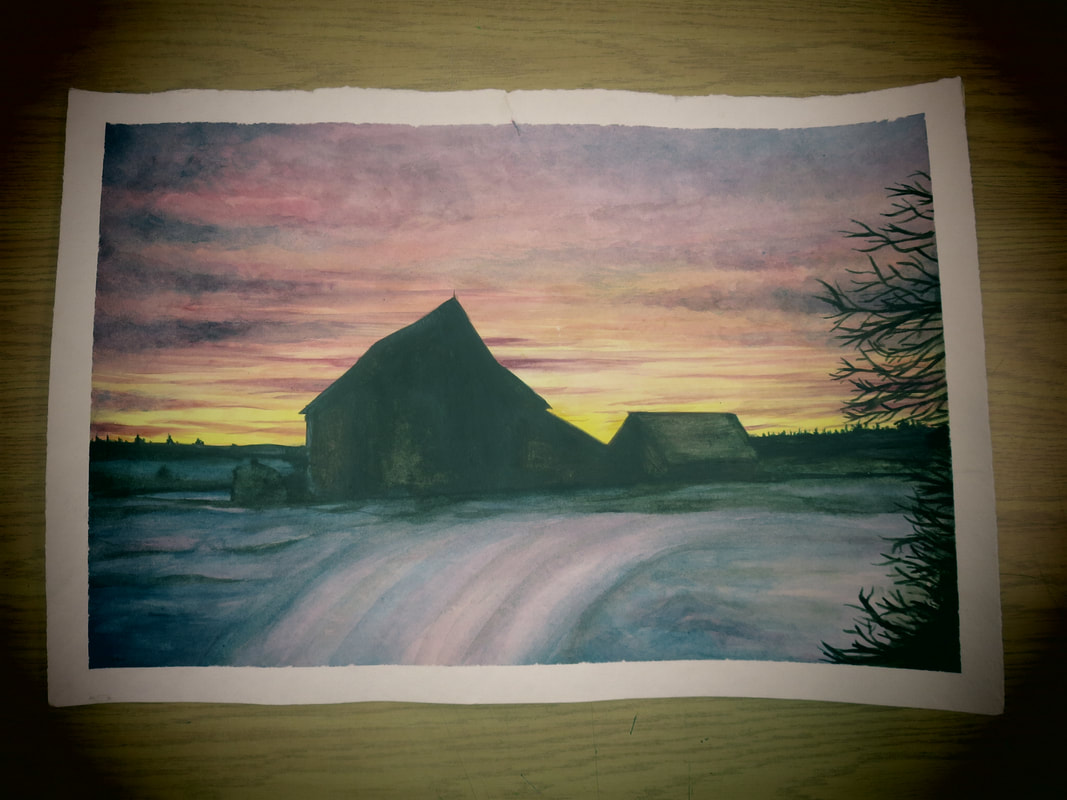
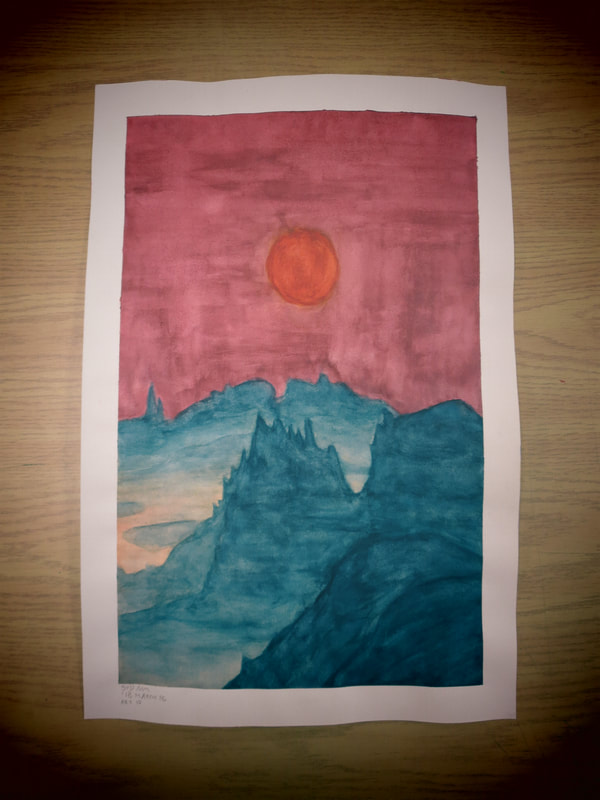
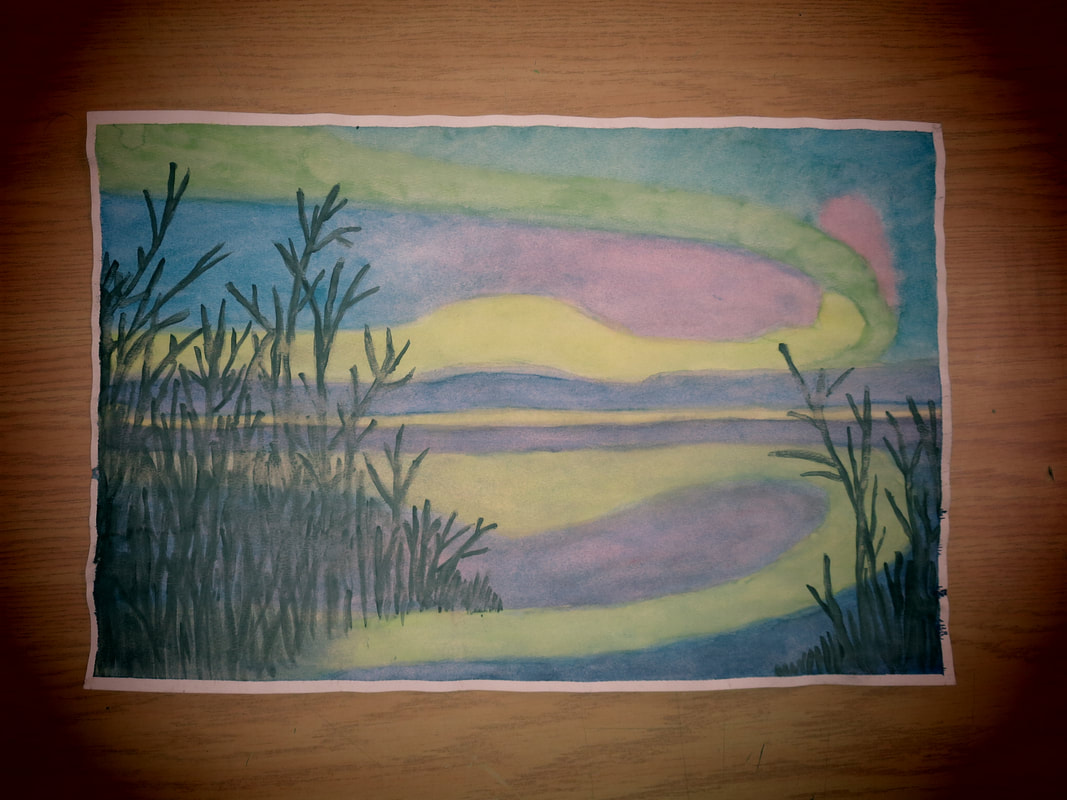
Using your knowledge of ground colour, washes and glazing, create a fully developed landscape or cityscape image.
Take a photo to work from or source an image.
Sketch a few thumbnail images in your sketchbook to design and adapt the photo to your idea.
Consider compositional rules and apply to your thumbnail plans.
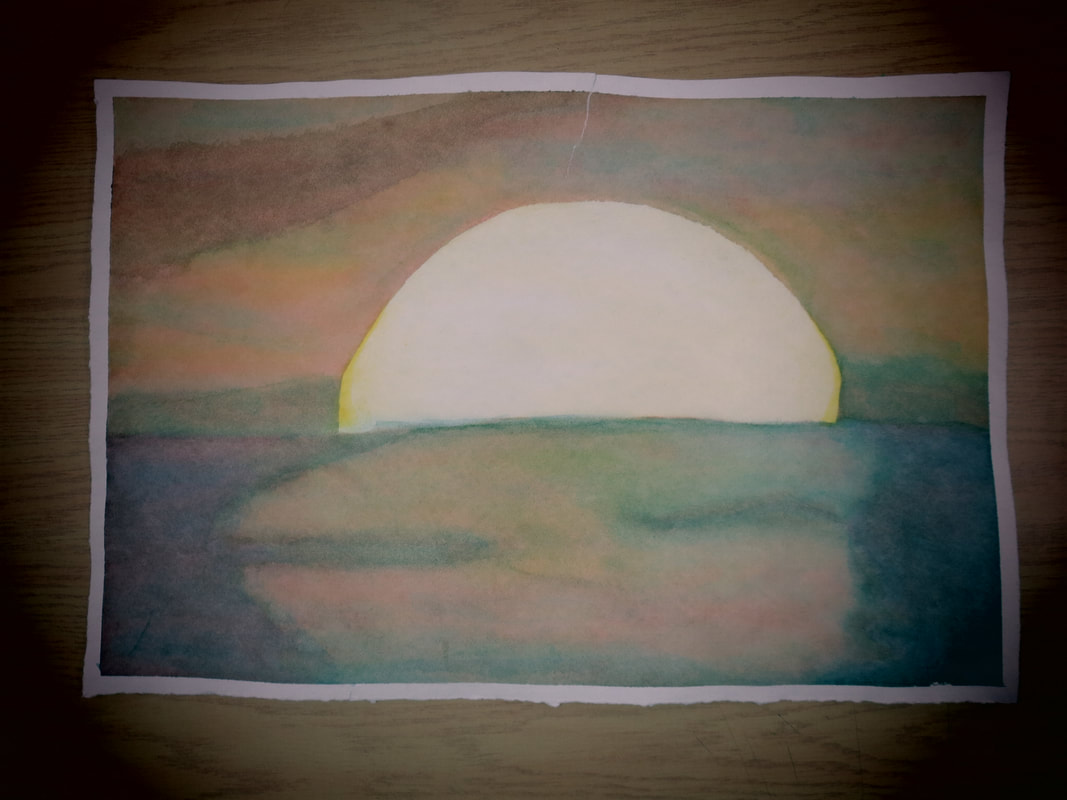
Try out some colour options using the limited paint palette assigned in your sketchbook.
(medium yellow, crimson, brilliant red, phthalo blue, yellow ochre, burnt umber)
Tape off a 1 inch border around the paper when mounting to the board.
Lightly map out your image, and refer to original image and sketches.
How do you do that?
• You can use a grid to help figure out placement of details.
• Pay attention to areas to remain white.
• Take your time and avoid erasing.
• Use pencil or light chalk pastel.
Begin with painting the ground colour, and continue to paint your image, drying between layers.
Try:
to keep colours from getting muddied
to use a variety of brush shapes and sizes that fit your purpose
to remember to clean your water and mixing areas of your palette regularly
to dry between applications of colour
Evaluation:
Technique
Composition
Visual interest
Artist Statement
Process Work
This will be a two week in-class project.
1 Painting and process work
Using your knowledge of ground colour, washes and glazing, create a fully developed landscape or cityscape image.
Take a photo to work from or source an image.
Sketch a few thumbnail images in your sketchbook to design and adapt the photo to your idea.
Consider compositional rules and apply to your thumbnail plans.
Try out some colour options using the limited paint palette assigned in your sketchbook.
(medium yellow, crimson, brilliant red, phthalo blue, yellow ochre, burnt umber)
Tape off a 1 inch border around the paper when mounting to the board.
Lightly map out your image, and refer to original image and sketches.
How do you do that?
• You can use a grid to help figure out placement of details.
• Pay attention to areas to remain white.
• Take your time and avoid erasing.
• Use pencil or light chalk pastel.
Begin with painting the ground colour, and continue to paint your image, drying between layers.
Try:
to keep colours from getting muddied
to use a variety of brush shapes and sizes that fit your purpose
to remember to clean your water and mixing areas of your palette regularly
to dry between applications of colour
Evaluation:
Technique
Composition
Visual interest
Artist Statement
Process Work
This will be a two week in-class project.
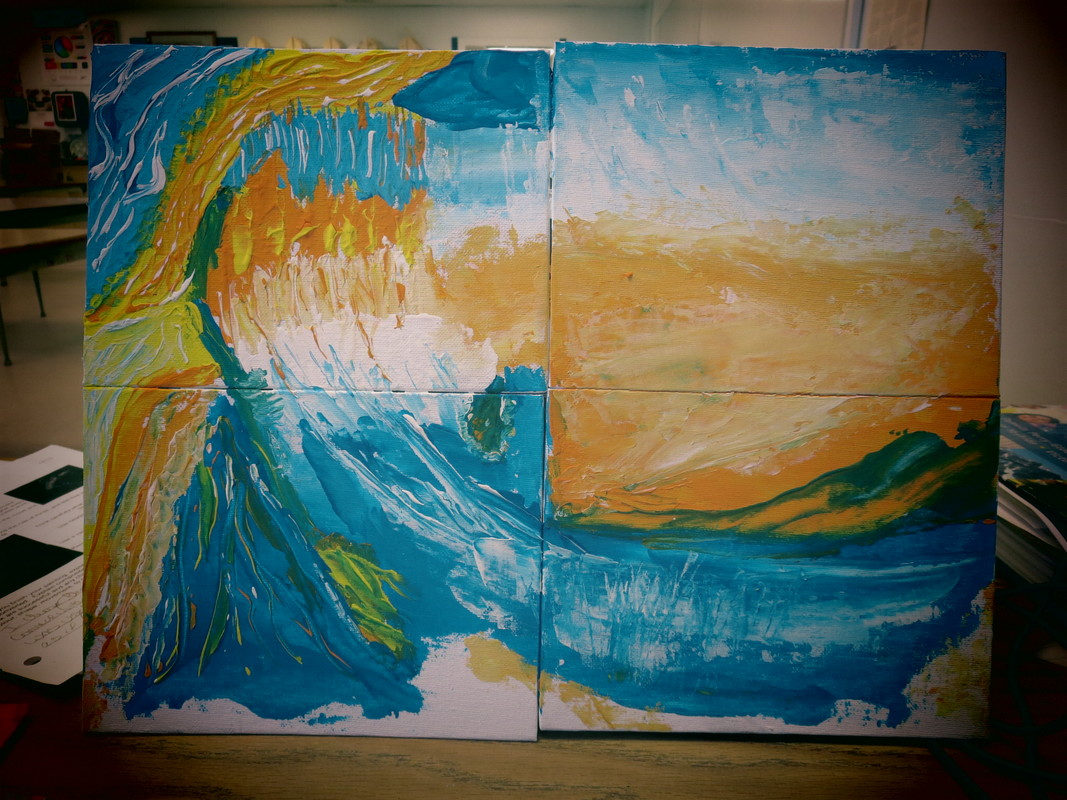
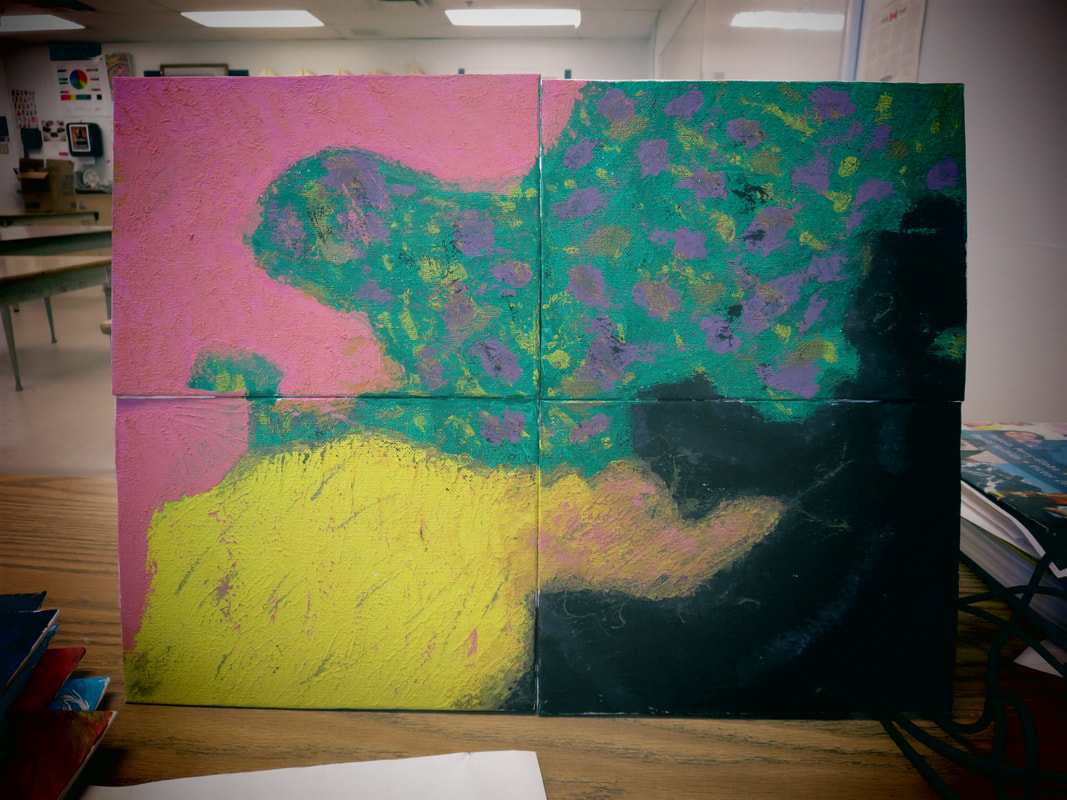
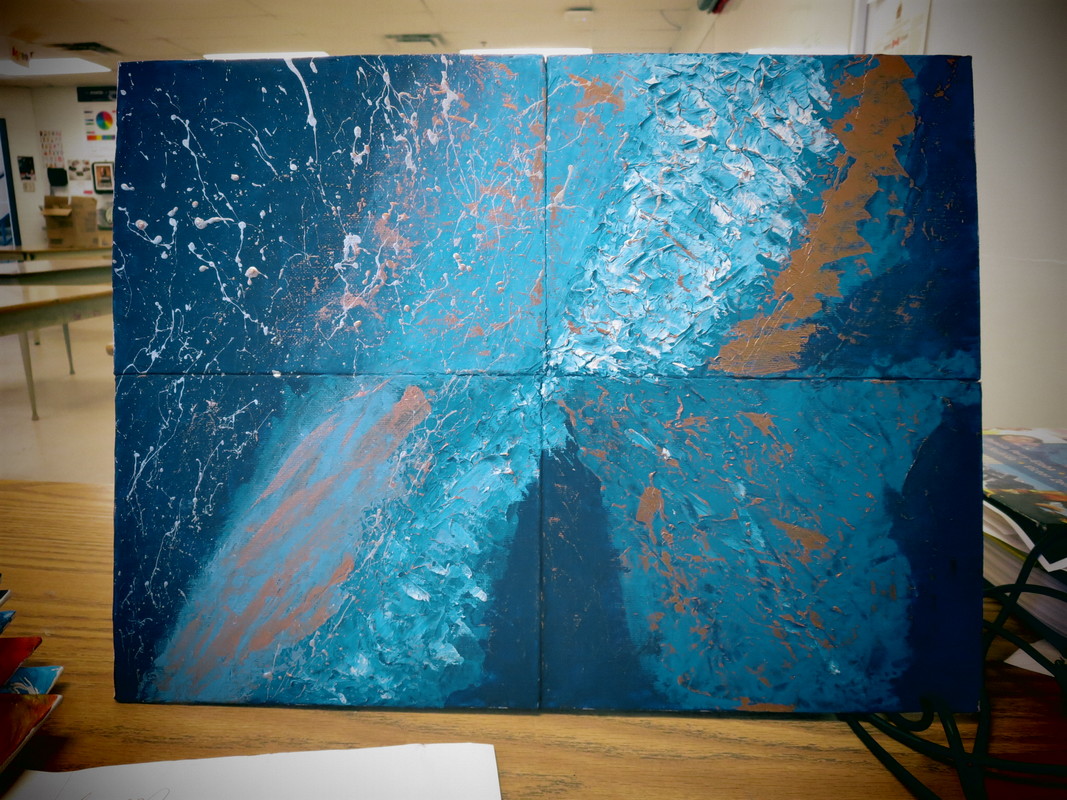
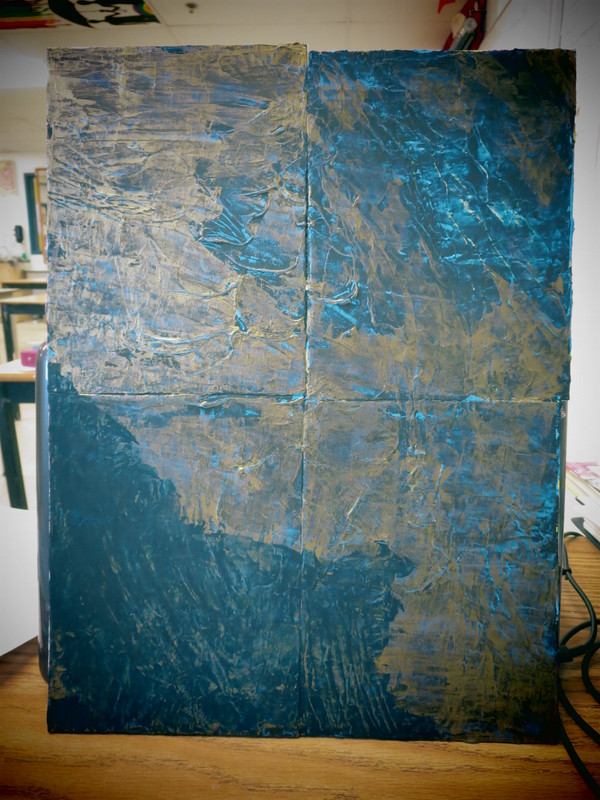
MAJOR ASSIGNMENT 4 - Abstraction and sound
1 Painting and process work, digital audio file
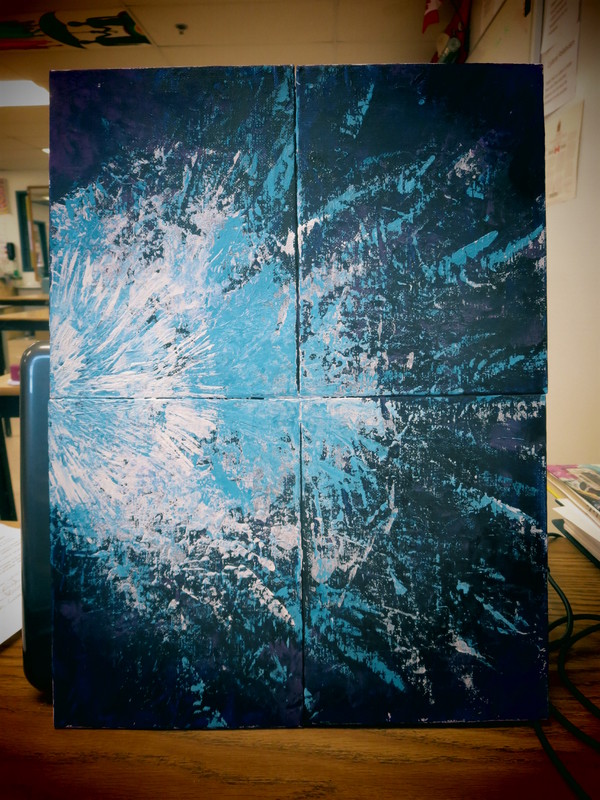
Develop a compositionally 'sound' painting inspired by a piece/song you have a connection with. Experiment with using a palette knife.
Choose a song/piece. Listen to it repeatedly.
Write down feelings, colours, shapes, movements that come to find.
Review your compositional rules.
Try out some colour options while experimenting with the selection of palette knives.
Use your practice to prepare for your final image in acrylic on canvas.
How do you do that?
• Associate a colour or two with a kind of sound and listen and paint that 'section' before moving on to the next.
• Think about visual and actual textures and how they could be relevant to the emotions you want to convey.
• Let some layers dry, some blend, as you see fit. Experiment with the paint, you can always paint over it.
• Be conscious of composition.
Advice:
Begin with painting the ground colour.
Paint upright.
Use headphones and the repeat function.
Try:
to keep colours from getting muddied
to use a variety of knife and brush shapes and sizes that fit your purpose
to remember to clean your water and mixing areas of your palette regularly
to dry between applications of colour when desired
Evaluation:
Technique
Composition
Visual interest
Artist Statement
Process Work
This will be a two week in-class project.
1 Painting and process work, digital audio file
Develop a compositionally 'sound' painting inspired by a piece/song you have a connection with. Experiment with using a palette knife.
Choose a song/piece. Listen to it repeatedly.
Write down feelings, colours, shapes, movements that come to find.
Review your compositional rules.
Try out some colour options while experimenting with the selection of palette knives.
Use your practice to prepare for your final image in acrylic on canvas.
How do you do that?
• Associate a colour or two with a kind of sound and listen and paint that 'section' before moving on to the next.
• Think about visual and actual textures and how they could be relevant to the emotions you want to convey.
• Let some layers dry, some blend, as you see fit. Experiment with the paint, you can always paint over it.
• Be conscious of composition.
Advice:
Begin with painting the ground colour.
Paint upright.
Use headphones and the repeat function.
Try:
to keep colours from getting muddied
to use a variety of knife and brush shapes and sizes that fit your purpose
to remember to clean your water and mixing areas of your palette regularly
to dry between applications of colour when desired
Evaluation:
Technique
Composition
Visual interest
Artist Statement
Process Work
This will be a two week in-class project.

MAJOR ASSIGNMENT 5 - Light Installation
1 light-based painting or video
Using the project and various translucent, colour materials, creating either a video or projected painting.
You can project onto a flat or textured surface, and using video in stop- or continuous motion filming to document movement in a piece.
You may work alone or in pairs.
After experimenting, create a proposal explaining what you plan to make, how to execute it, required materials, and intention (in content or meaning).
Advice:
Experiment with different materials, shape, and colours.
Consider whether a static or moving piece best suits you.
Try:
To consider the message or emotion you want to convey with the piece.
understanding that the piece is temporary, and is gone without the light.
projecting onto fabric, walls, round/flat/textured surfaces.
Evaluation:
Technique
Composition
Visual interest
Artist Statement
Process Work
MAJOR ASSIGNMENT 6 - Mixed Media Silhouette
1 composed image
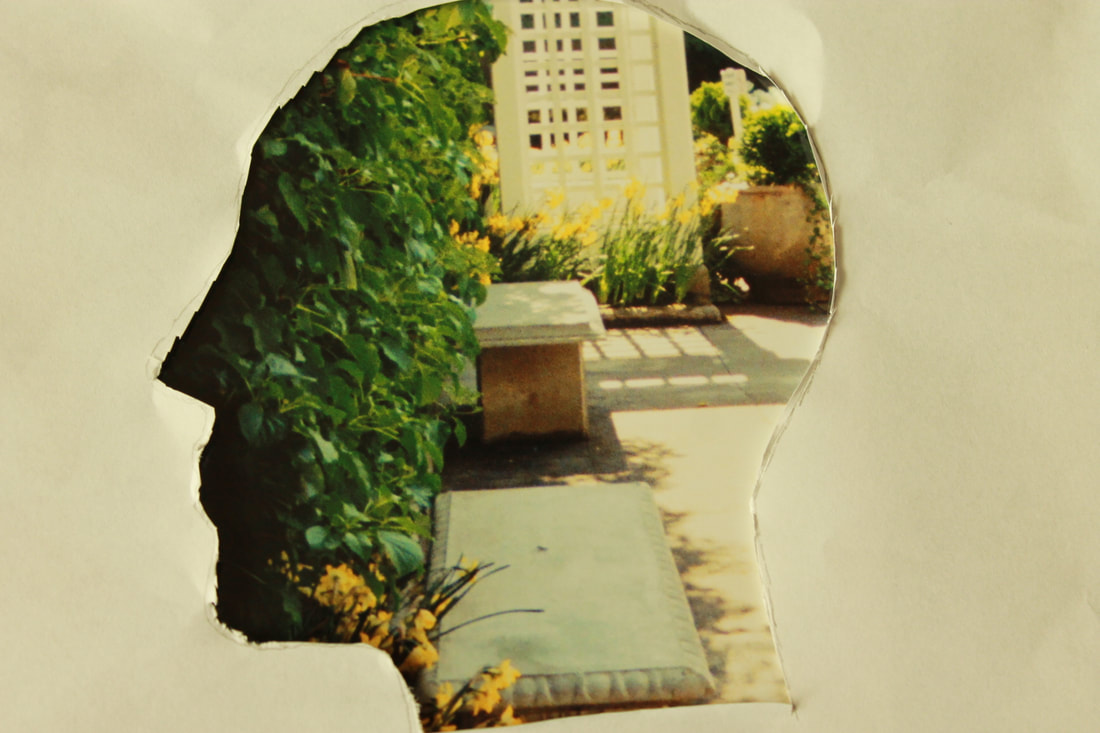
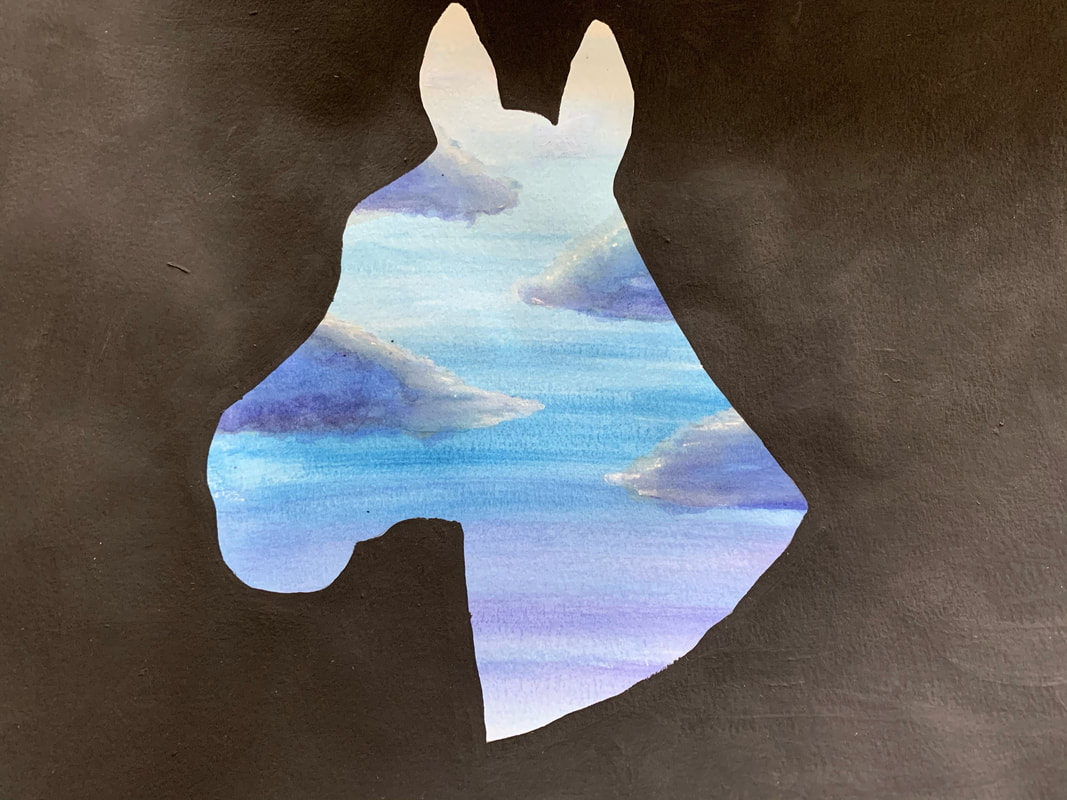
Create a silhouette to illustrate your general feelings/well being/emotional state, or a feeling from a specific experience.
A silhouette is the image of a person, an object or scene represented as a solid shape, its edges matching the outline of the subject.
Thinking about colour and texture, use one of the three options to complete the assignment.
Your media options include 1 of the following:
1. Working digitally - using a computer/chromebook and a digital painting programme (photoshop, gimp, photopea, etc.)
-----
2. Working with drawing - using graphite, pencil crayons, inks and markers, produce your original image or texture and then place/fit it under another piece of paper with the silhouette shape cut out .
-----
3. Working with found materials/collage - using magazines, printouts, books, windows, tv/computer screens, find interesting images or texture and then place/fit it under another piece of paper with the silhouette shape cut out.
* for options 2 and 3 - You may use your phone or computer as a lightbox to trace the silhouette shape you'd like to use, but the option to free-hand draw is available as well.
After experimenting, create a proposal explaining what you plan to make, how to execute it, required materials, and intention (in content or meaning).
Advice:
Experiment with different materials, shape, and colours.
Try out some of the software with the provided tutorials and your teacher's support, and to see if digital is a viable option for your hardware.
Consider whether a static or moving piece best suits you.
Try:
- how you are feeling and what colours, images, shapes, might best convey those feelings.
- are there any symbolic ways to represent how you are using your time?
- how are you using the space on your page/screen? Remember rules of composition to apply for visual interest and balance..
Evaluation:
Technique
Composition
Visual interest
Artist Statement
Process Work
1 composed image
Create a silhouette to illustrate your general feelings/well being/emotional state, or a feeling from a specific experience.
A silhouette is the image of a person, an object or scene represented as a solid shape, its edges matching the outline of the subject.
Thinking about colour and texture, use one of the three options to complete the assignment.
Your media options include 1 of the following:
1. Working digitally - using a computer/chromebook and a digital painting programme (photoshop, gimp, photopea, etc.)
-----
2. Working with drawing - using graphite, pencil crayons, inks and markers, produce your original image or texture and then place/fit it under another piece of paper with the silhouette shape cut out .
-----
3. Working with found materials/collage - using magazines, printouts, books, windows, tv/computer screens, find interesting images or texture and then place/fit it under another piece of paper with the silhouette shape cut out.
* for options 2 and 3 - You may use your phone or computer as a lightbox to trace the silhouette shape you'd like to use, but the option to free-hand draw is available as well.
After experimenting, create a proposal explaining what you plan to make, how to execute it, required materials, and intention (in content or meaning).
Advice:
Experiment with different materials, shape, and colours.
Try out some of the software with the provided tutorials and your teacher's support, and to see if digital is a viable option for your hardware.
Consider whether a static or moving piece best suits you.
Try:
- how you are feeling and what colours, images, shapes, might best convey those feelings.
- are there any symbolic ways to represent how you are using your time?
- how are you using the space on your page/screen? Remember rules of composition to apply for visual interest and balance..
Evaluation:
Technique
Composition
Visual interest
Artist Statement
Process Work

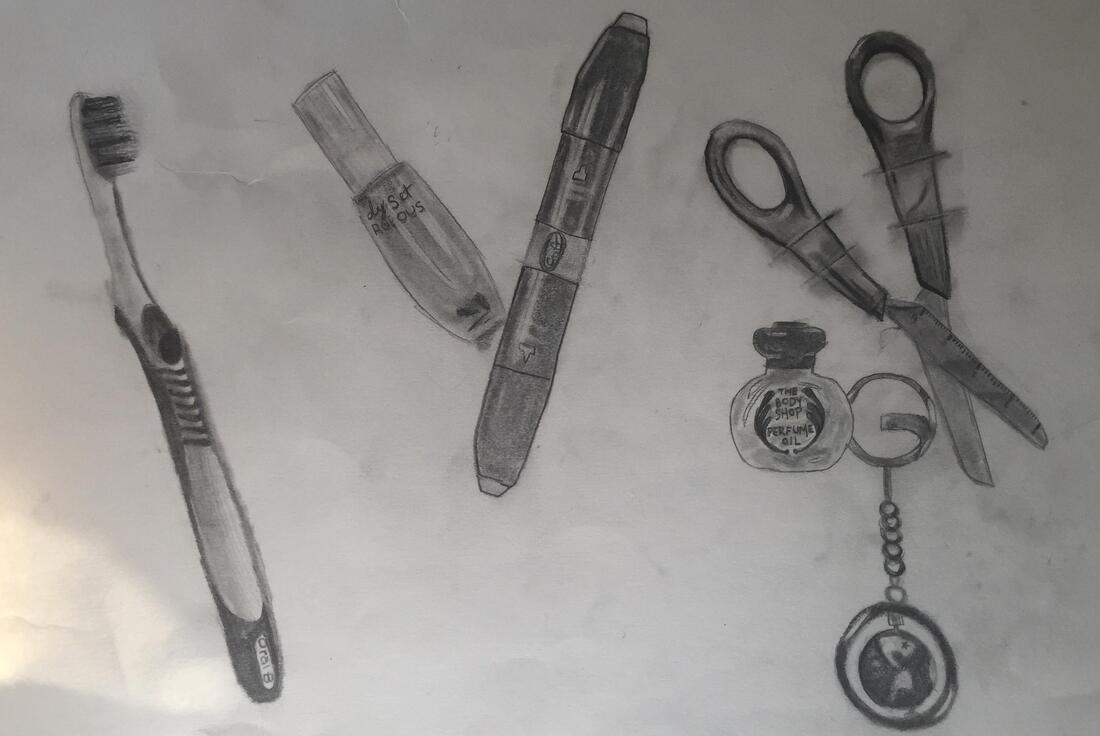
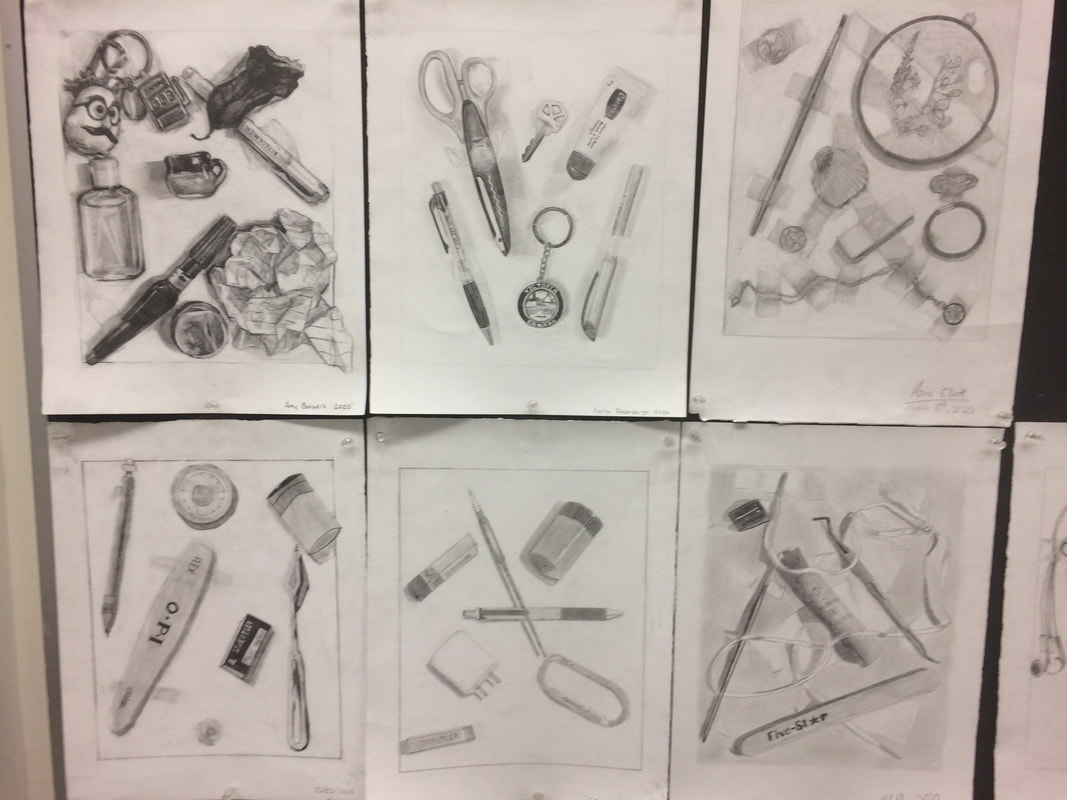
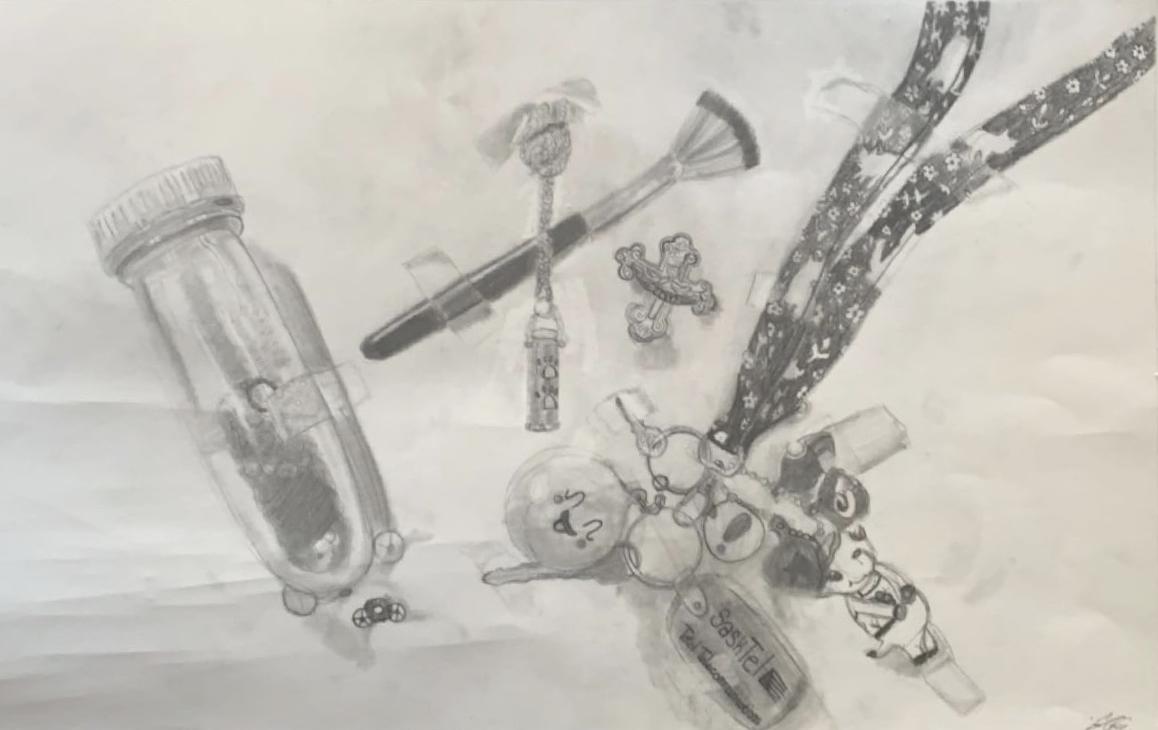
MAJOR ASSIGNMENT 7 - Carried Object Portrait
1 rendered realistic graphite drawing
What do your daily belongings say about you? Create a composition of arranged objects from your bag, backpack or desk, while keeping aware of the rules of composition. Objects can be cello taped into place if help. Then plan the drawing, considering rendering techniques practiced in class (blending, stippling, scumbling, hatching) and making use of your blending stump.
Thinking about value and space carefully. How do you create visual harmony? How does the image represent you and what does it say about you? How is realism achieved?
Once your plan has been critiqued by the class and approved, move on to the large, quality paper to map out and draw your image.
Advice:
Experiment with different techniques, shapes, and arrangements.
Take a photo of your composition in case it gets jostled.
Squint to look for areas of value shifts that are high and mid-contrast.
Push your values in your work so you have extremes to create depth.
Evaluation:
Technique
Composition
Visual interest
Artist Statement
Process Work